Lulling about, I am.
I was sitting there and thought, "when am I going to get to that shift rod?"
/viewtopic.php?f=47&t=13694#p230727

Well, to get to the shift rod, you have to take out the engine and transaxle. So I did:

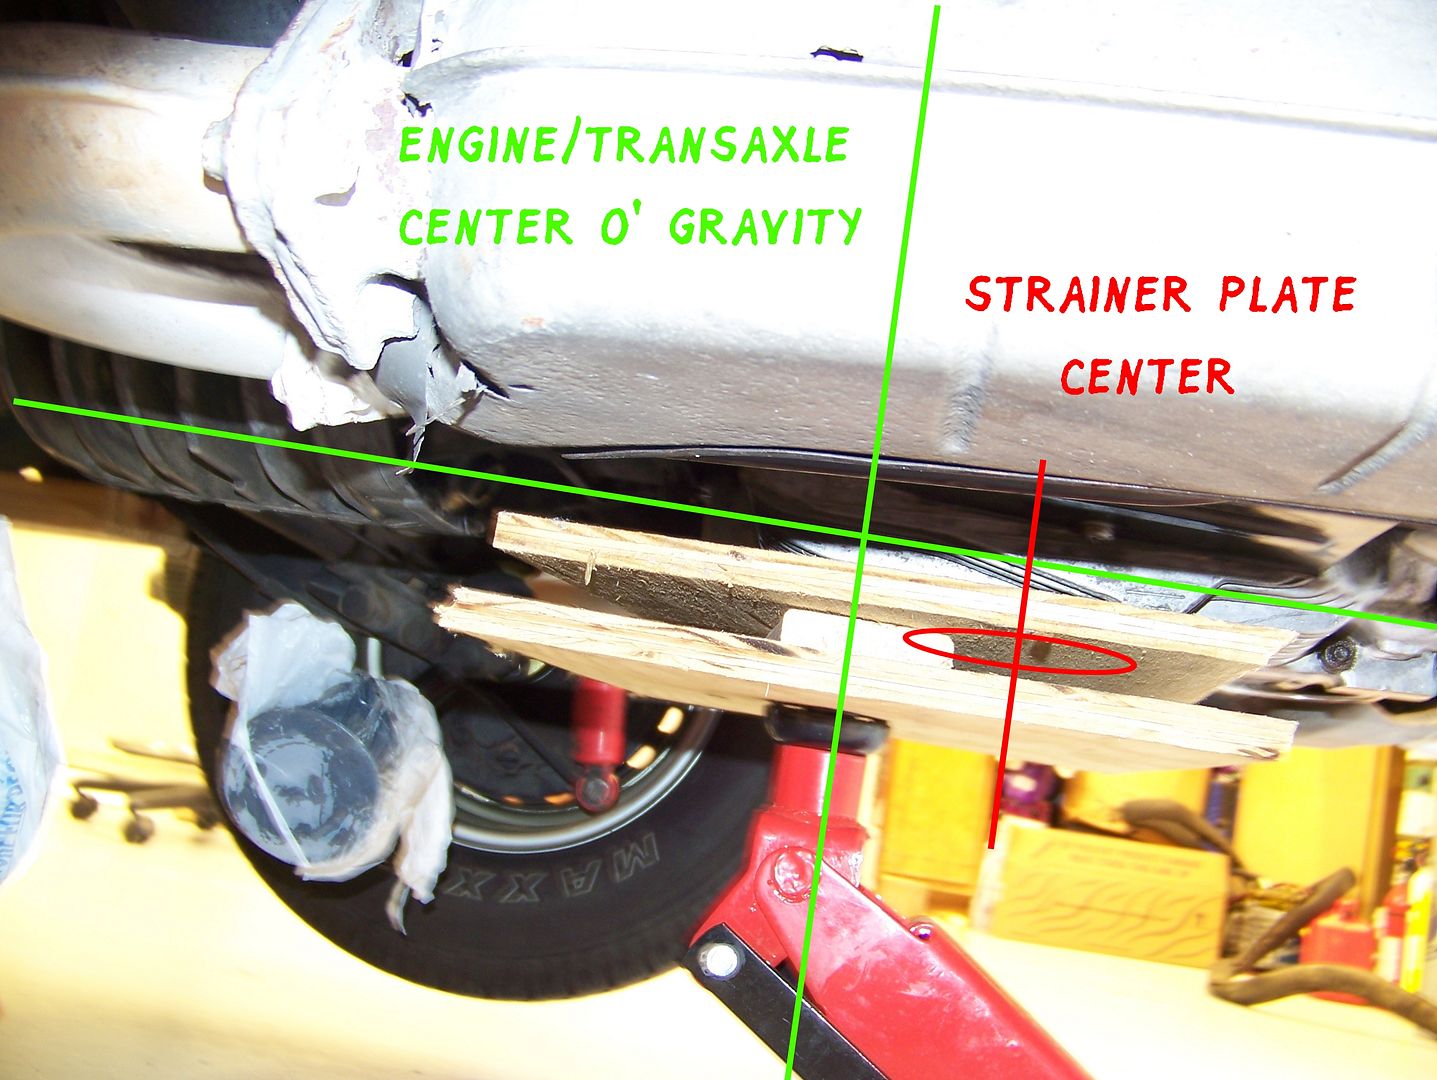
To take out the engine and transaxle with a little 'ol floor jack, you need to hit the center of gravity of the whole assembly:
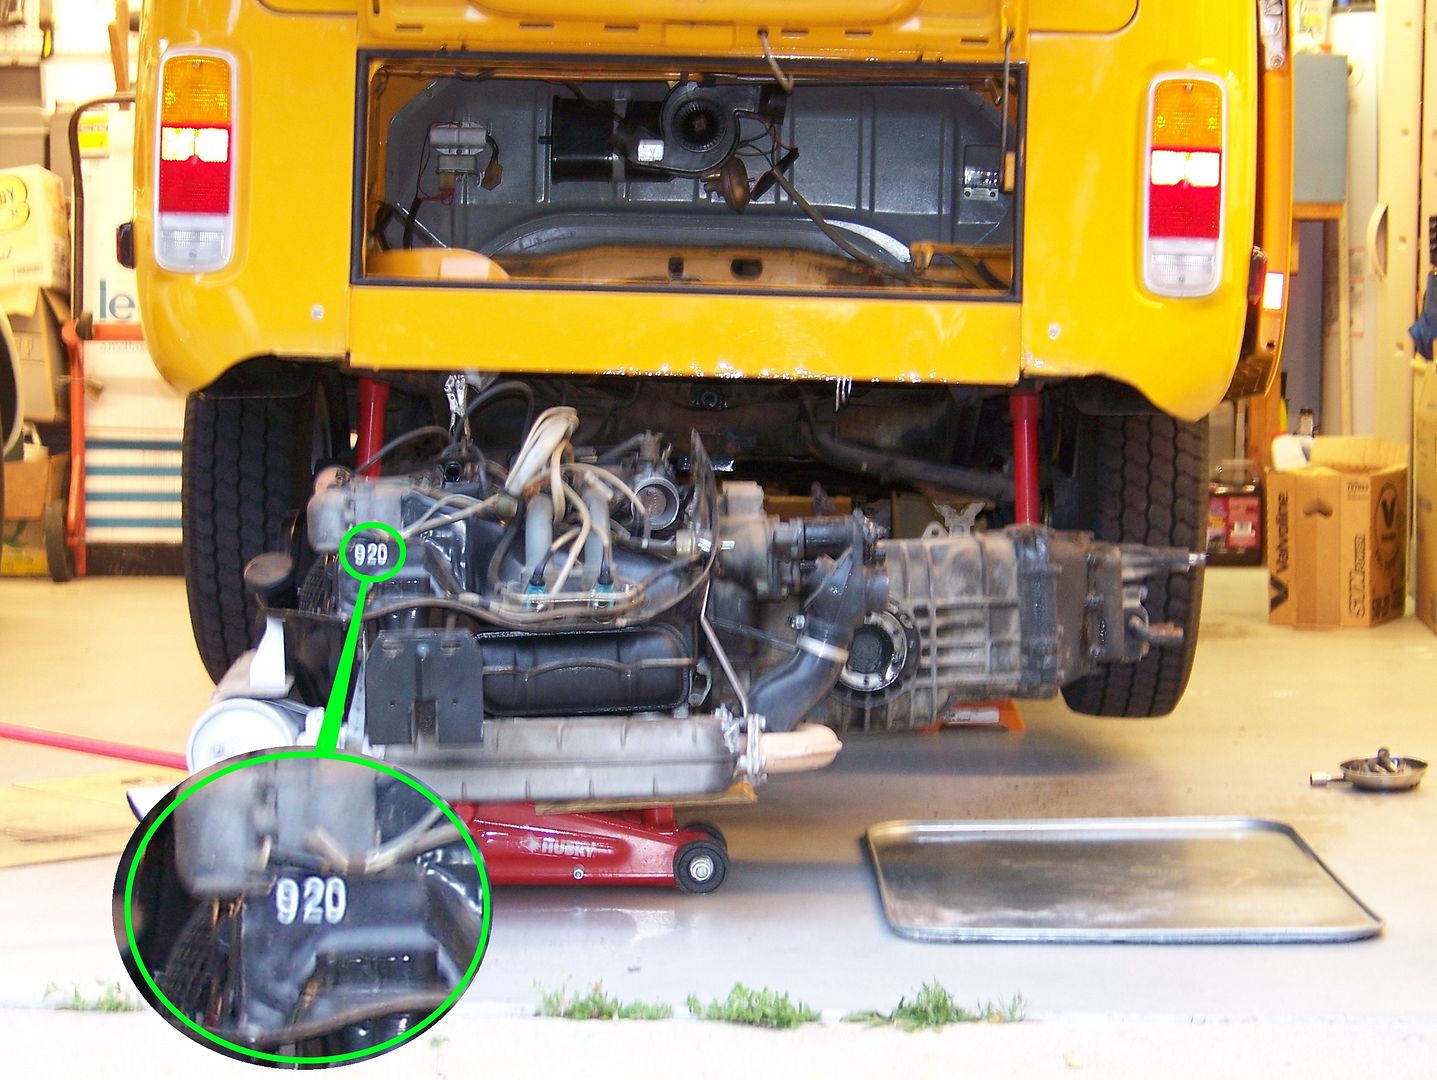
The engine can remain fully-dressed when you remove the transaxle and the engine together. The only additional steps are to unbolt the inner CVs and remove clutch cable bracket, reverse wires and wires from the starter:


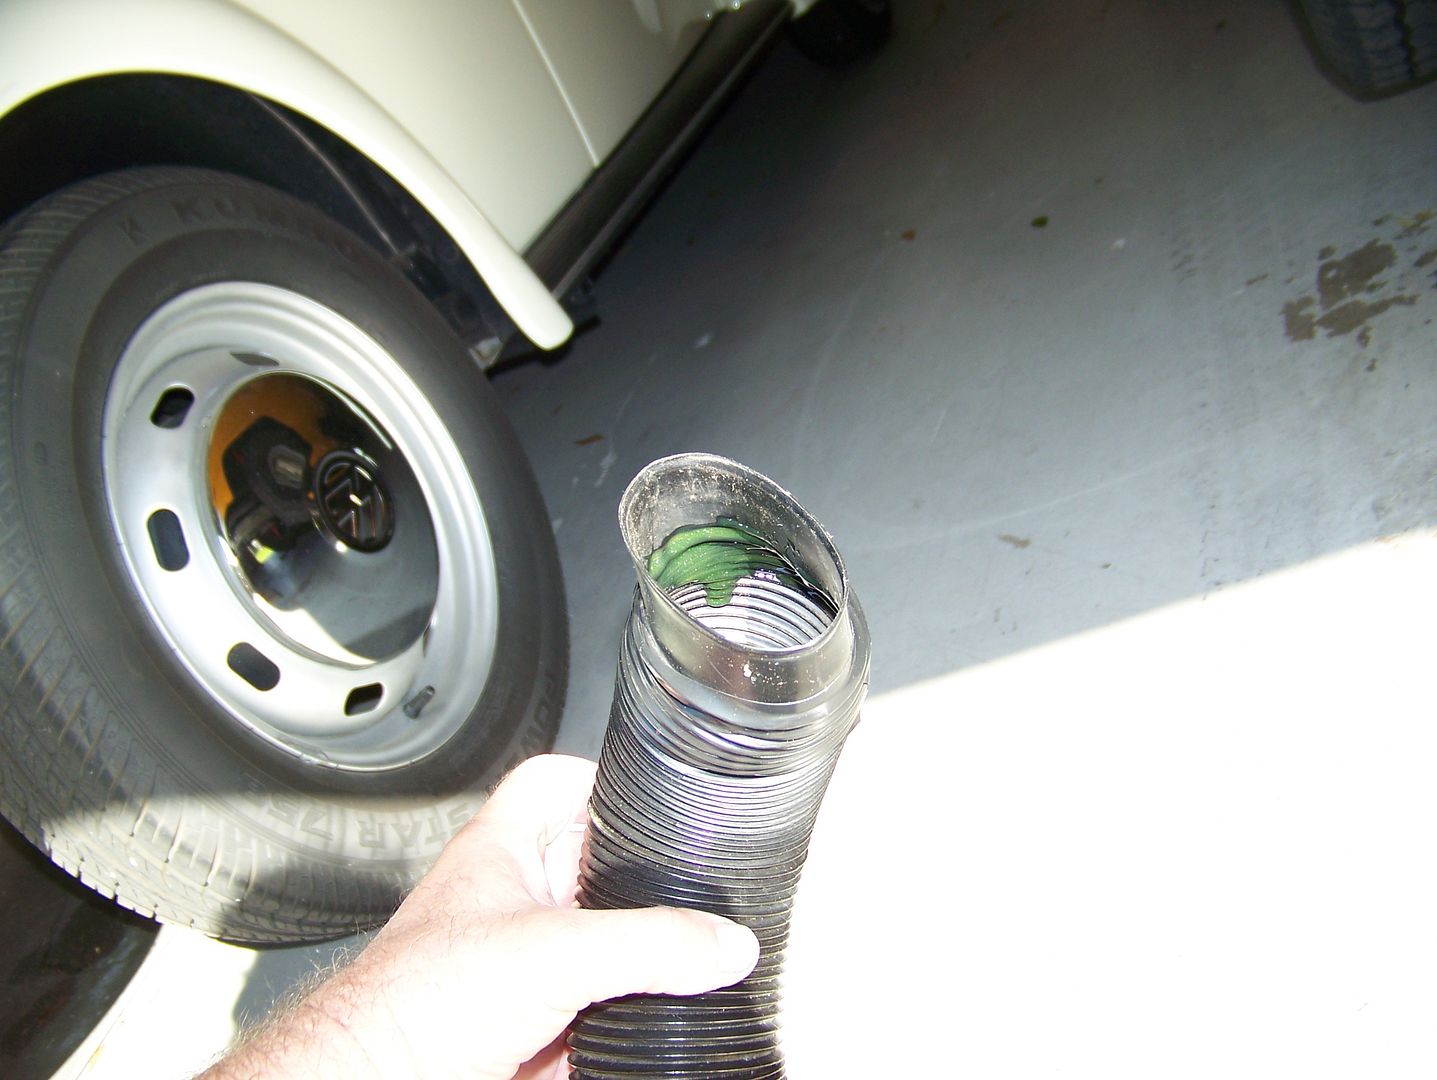
Factory fresh at 97,000 miles, folks, there's the emission code:
I wanted to restore everything to super-gorgeous, but I do NOT have time ... but I did get the red hose from the decel valve to the plastic tube re-redded. Me and the kid, happy:
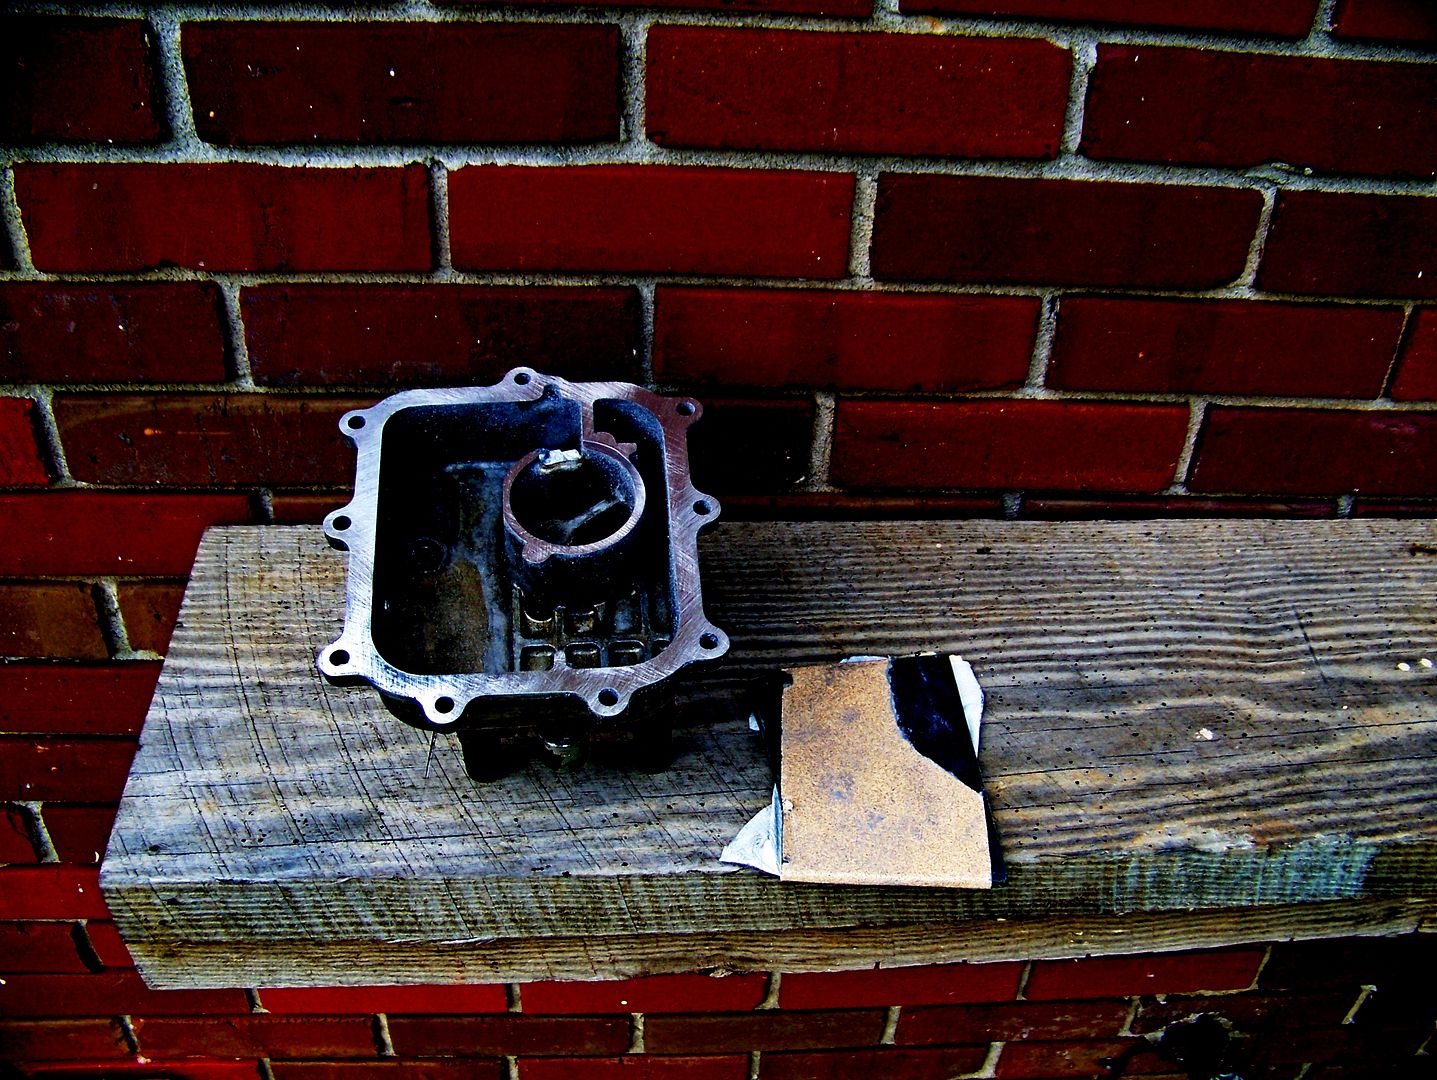
Because the path to the shift rod removal includes having the transaxle out of the car, I thought, "let's install a bearing retainer plate and a new hockey stick ball!" See how you clean BEFORE disassembly?


Am I just wasting TIME around here?
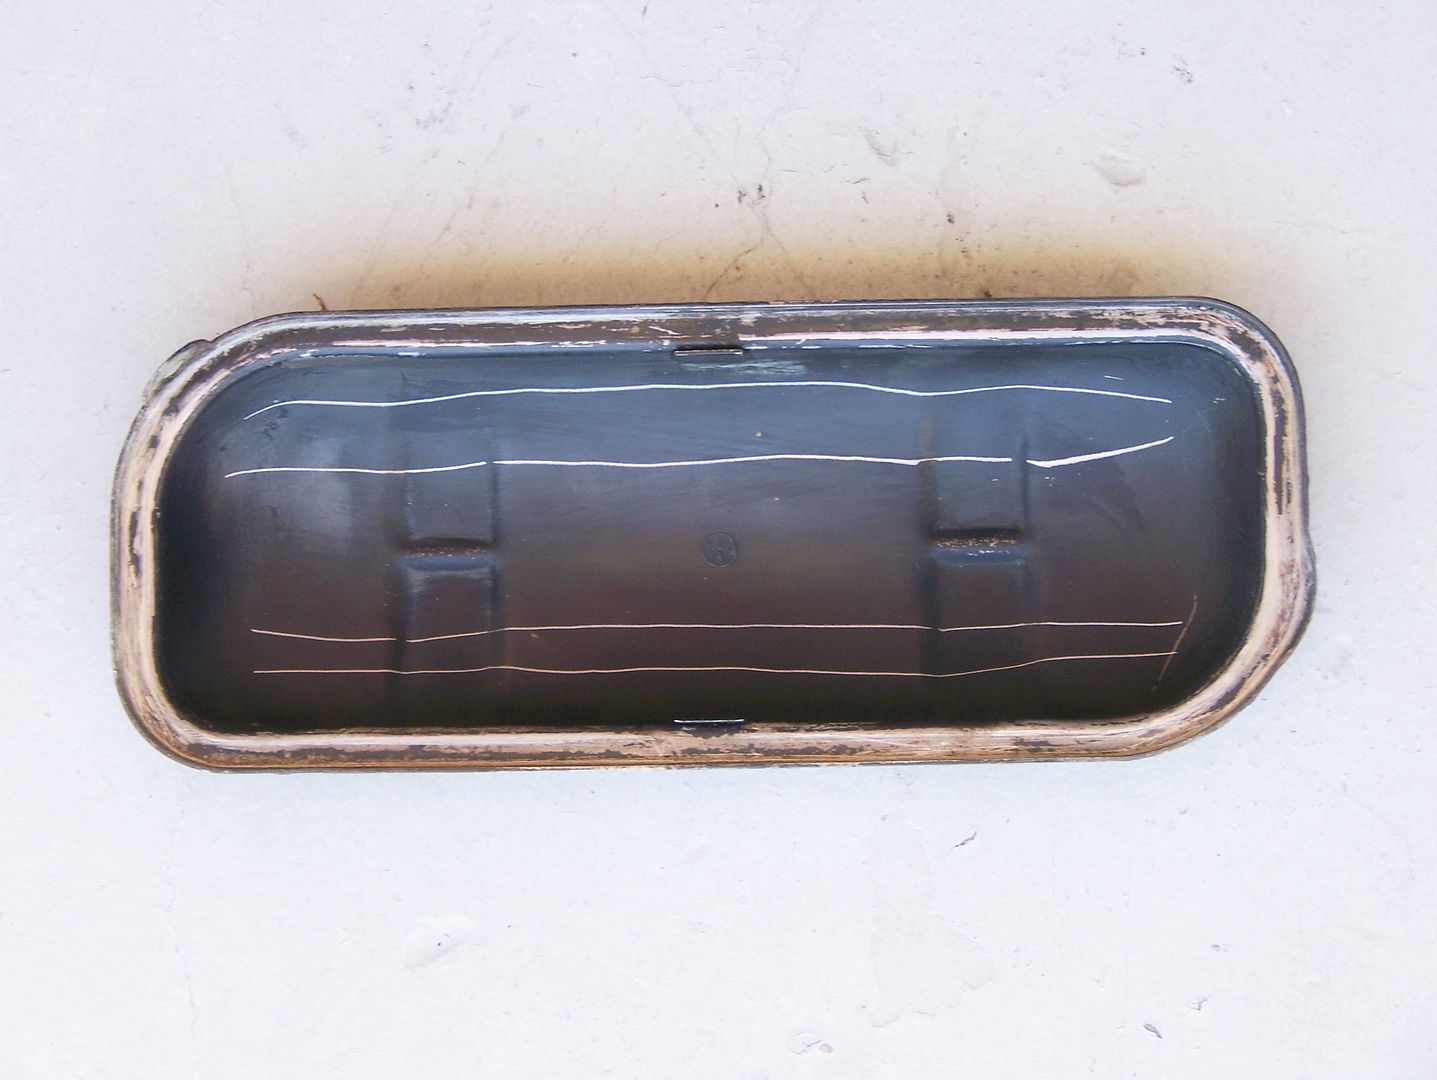
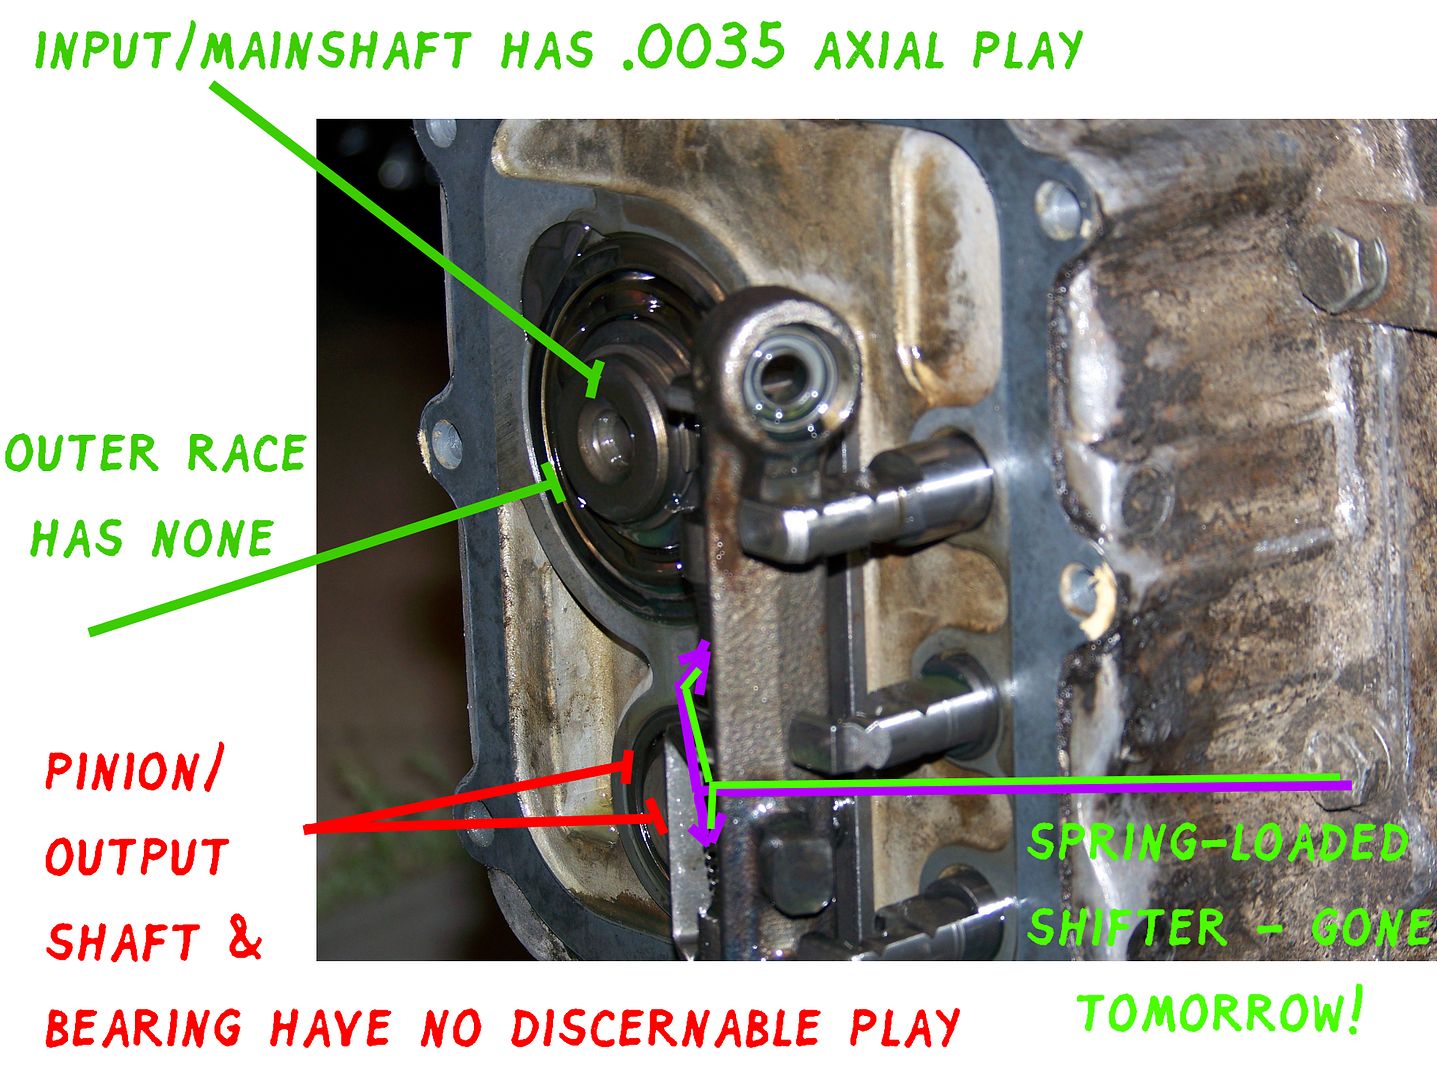
Well, maybe, but I am putting in this bearing retainer plate to help prevent the axial play in the gearbox from bashing the bearings out. That's right folks, your quiet helical (diagonally cut) gears cause a lot of forward/backward forces every time you accelerate/decelerate. This steel plate stops the movement a whole lot better than the magnesium of the nose cone:
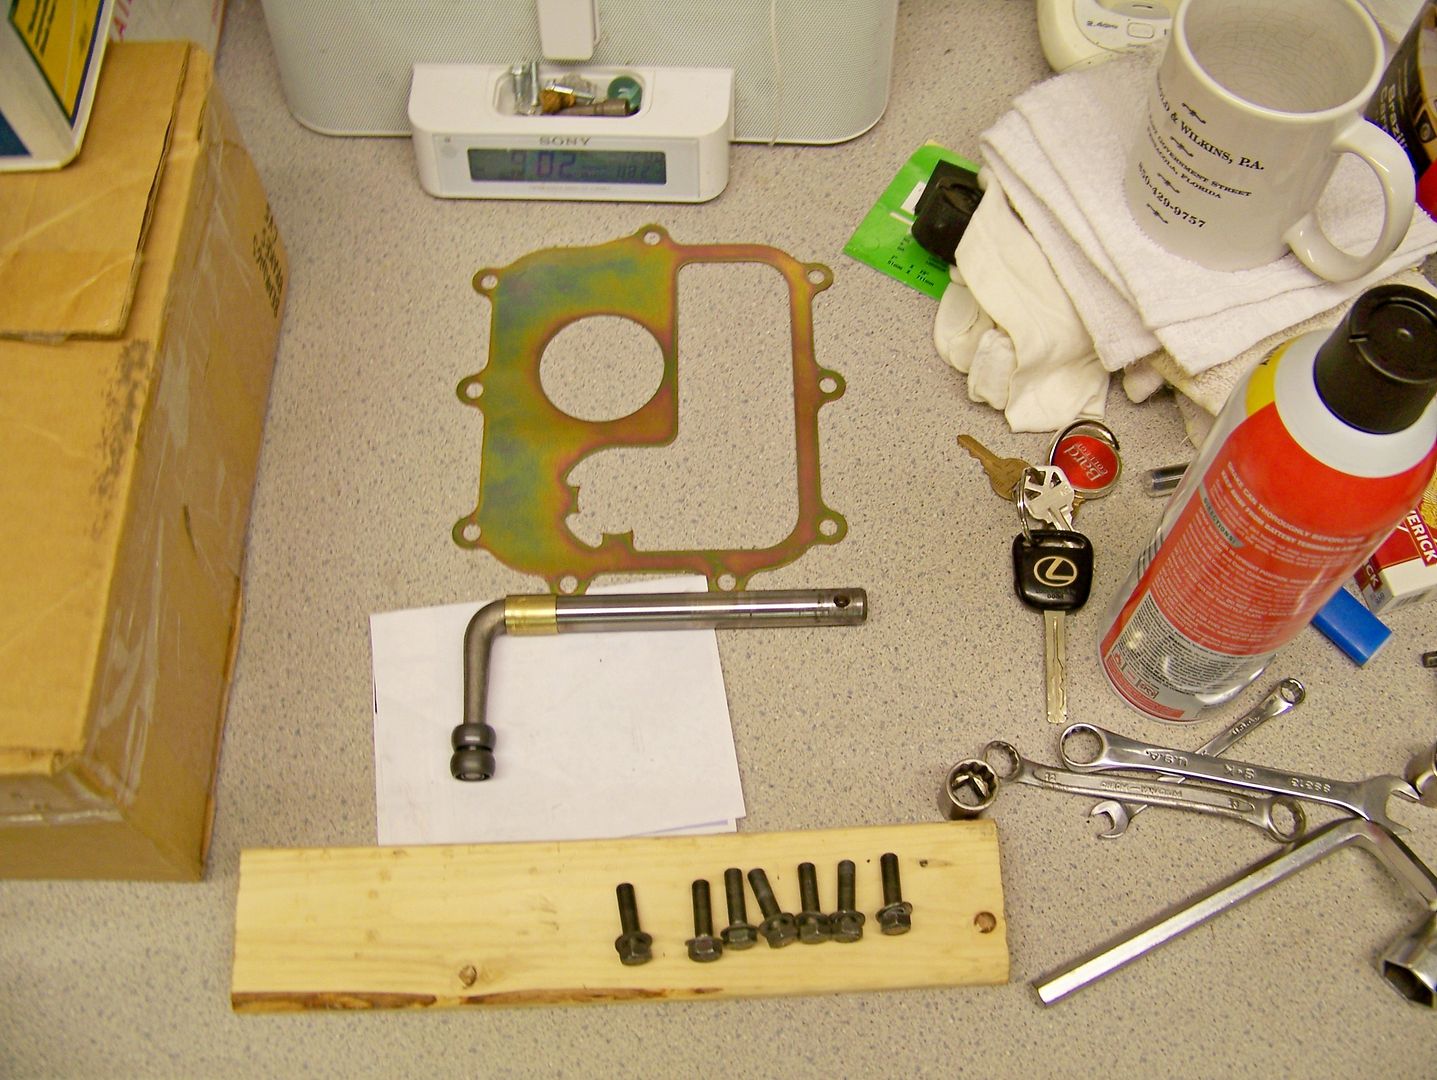
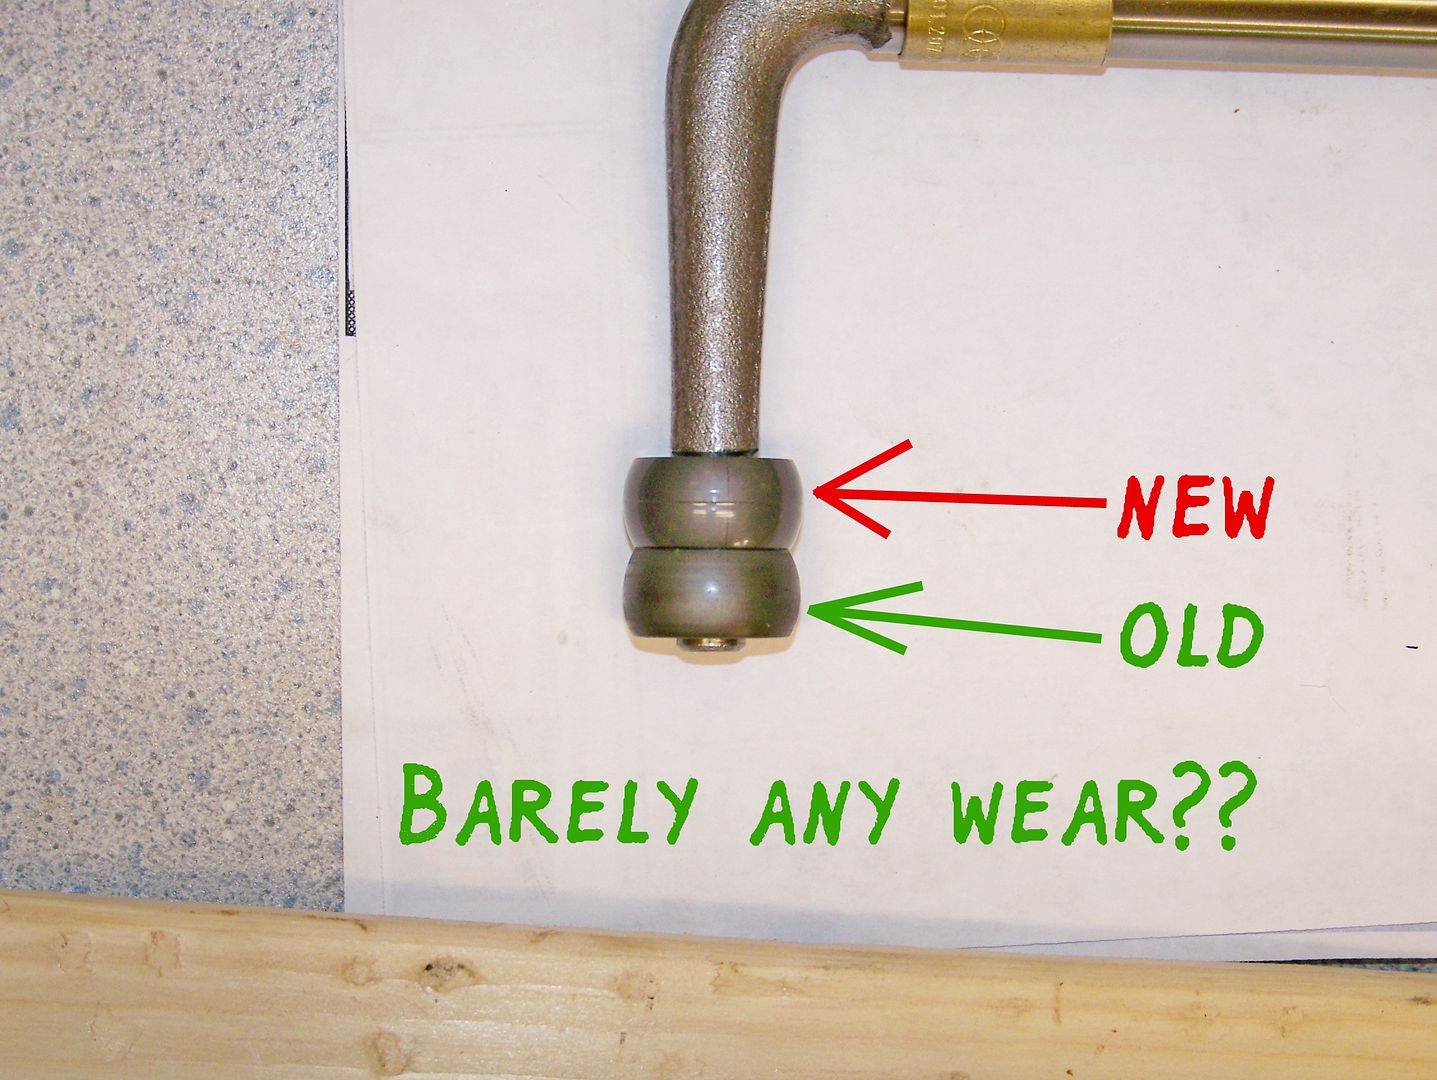
I did do a mirror/80 grit milling operation the next morning to remove the very little evidence of wear. Note the grease soaked paper towel in the hockey stick bore:
I used the ambient light reflecting off the gasket surface to keep my "milling" accurate:

Then I washed the heck out of the nose cone with plenty of Dawn and hot water and re-lubricated the very nice original hockey stick bushings/little embedded ball bearings. Removed the hated springs that gave us that 1976-on-up spring-loaded shift gate, and stuck in a new hockey stick ball (plastic, not metal, no springs to wear the thing out!) and. Yay!
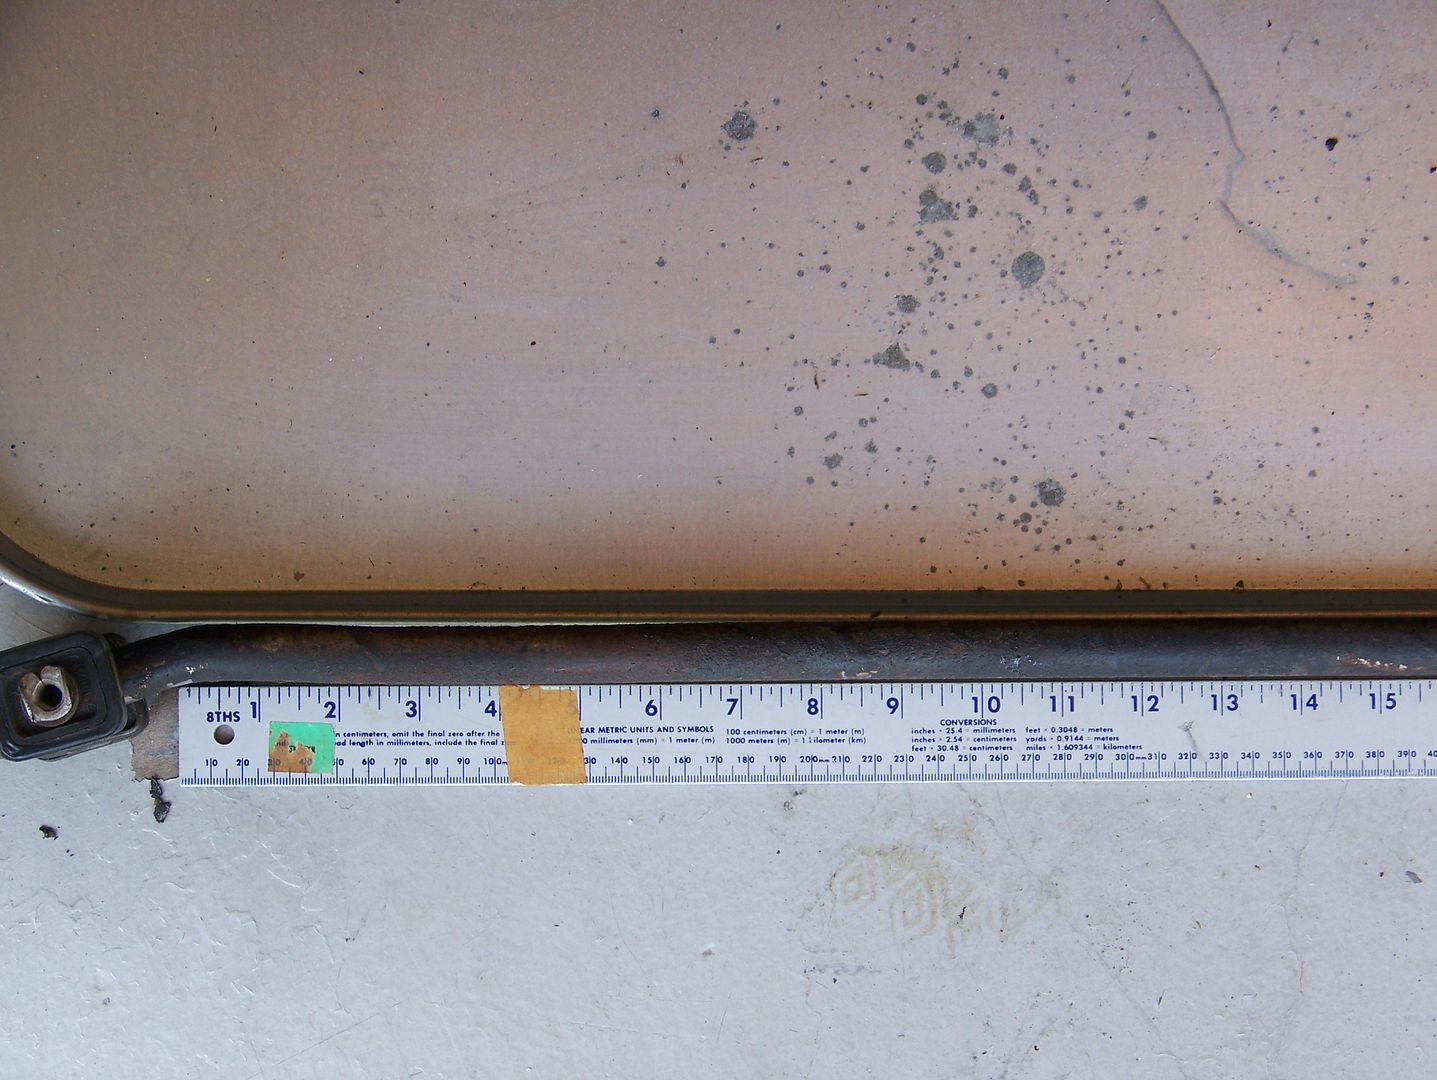
Oh yeah, remember the bent shift rod diagram up there at the top? I finally got to it. Pretty diagrams are one thing but photos or it didn't happen. It happened. Here is the residual shift rod bend after my field repair straightening made the car so much more civilized ...
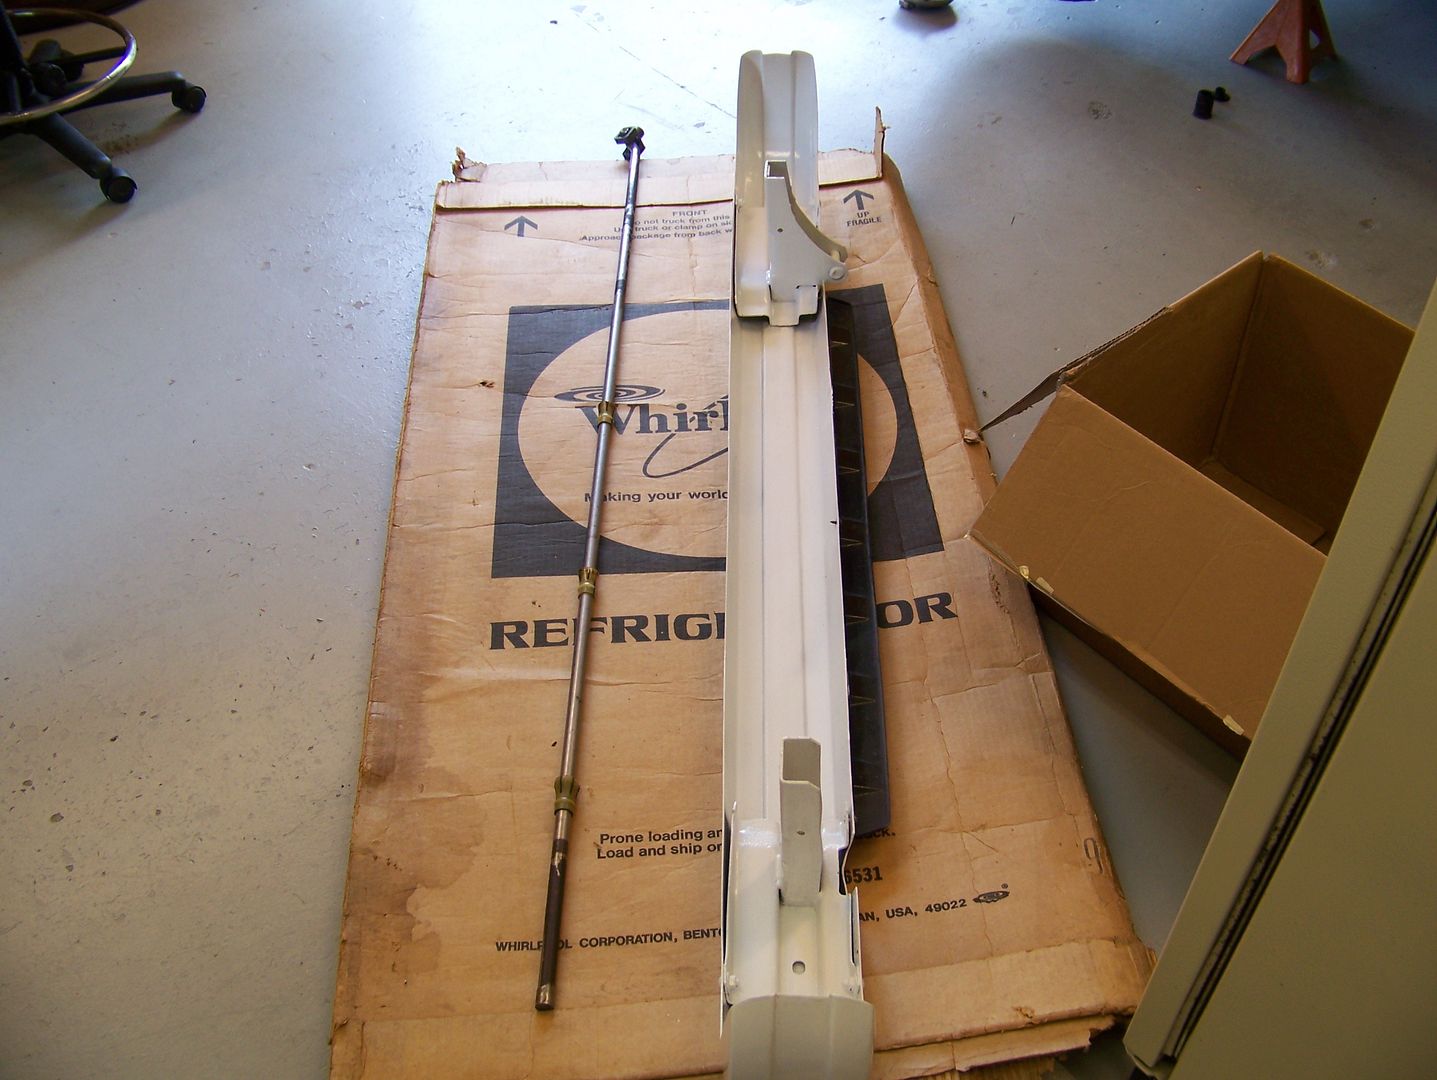
The final "perfect" straightening was not much fun. Too much crap falling off the counters, but you can see the "fulcrum" I slipped in at the middle of the bend. Then I crushed it flat in the vise, but it sprang back when I loosened, so I had to bend the whole shift rod at the first curve against the near edge of the vise a "little too much" so it would then spring back perfectly straight:

Sanded the rust off the shift rod AND the inside of the rear bumper, then brush-painted the inside of the bumper and rust-catalyzing primer followed by silver for the shift rod:
Now-silver shift rod going back into the car with grease and new boots:

So much I wanted to do, but no TIME. The only thing I did for the engine was to remove every tin screw one-at-a-time and hit their threads with anti-seize, so I can do future tin-painting projects out in the boonies without wasting half the day due to a stuck screw .... go! engine in! Bye.