2018 Preparation Deprecations
Posted: Fri Apr 20, 2018 7:14 am
Oh yes, there is no other word that can possibly describe the mad mutterings and cursing and dead-cold stares of the past few days. You have no idea.
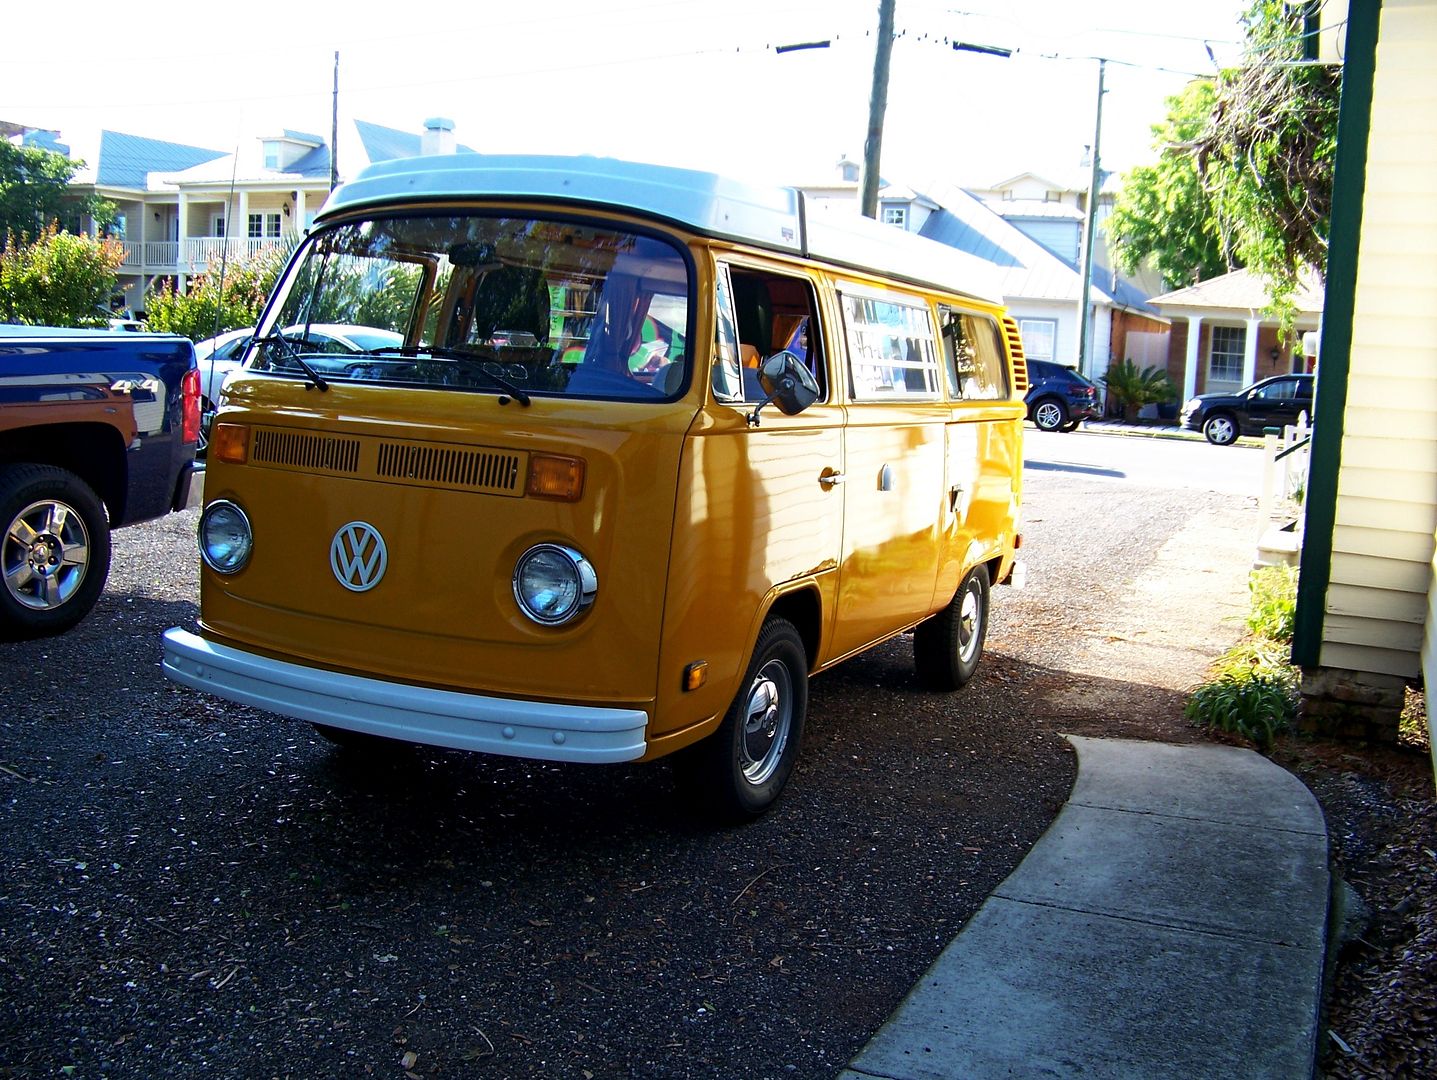
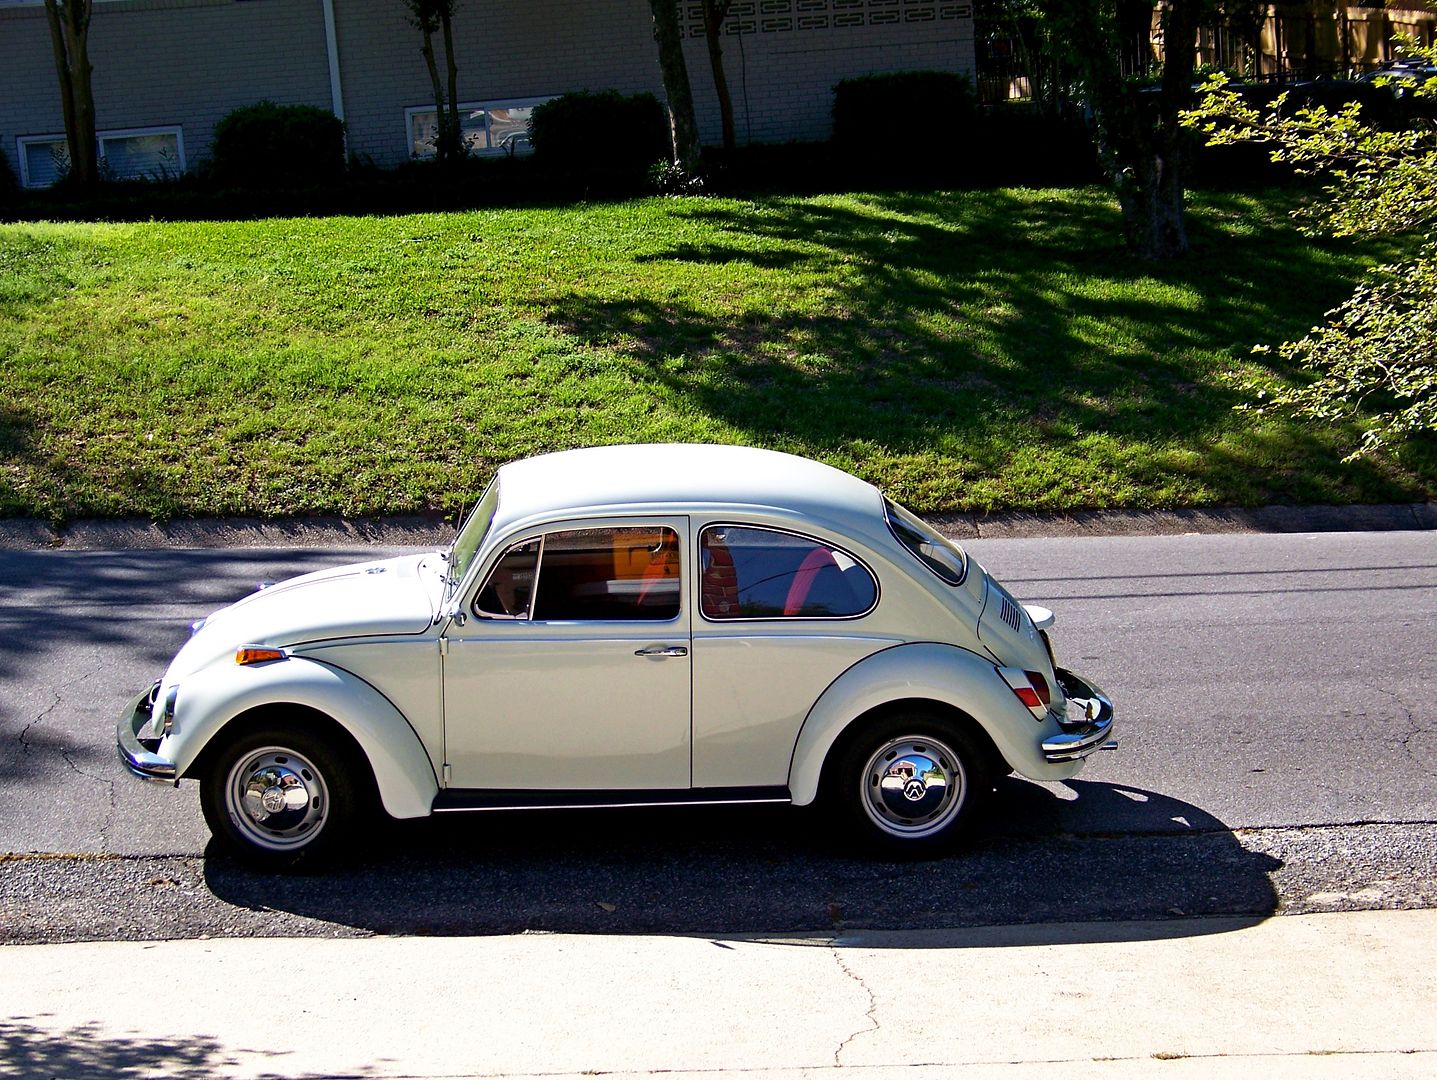
Let's start with the usual happy contented marveling with which I greet every sunny morning. Why do I even bother to wake up happy? But I did. I washed the most beautiful Rodney The Pilot's 1970 VW Beetle in the world. Note that the below photograph is *before* the wash, that is why the pavement is "dry" (not yet wet with my tears):
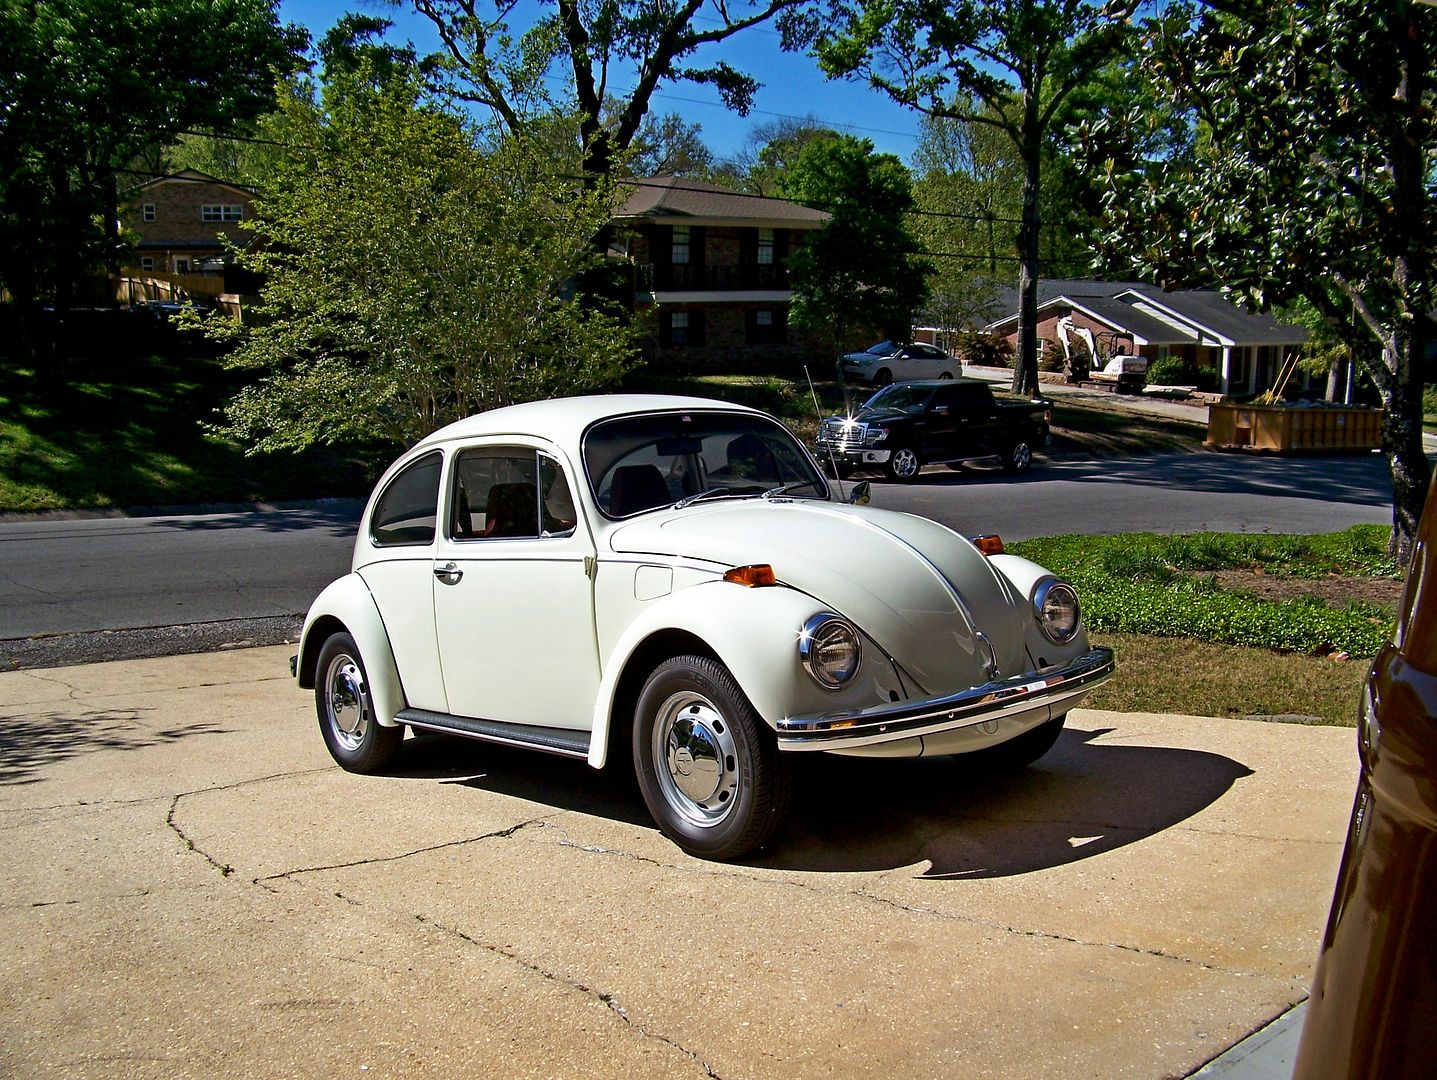
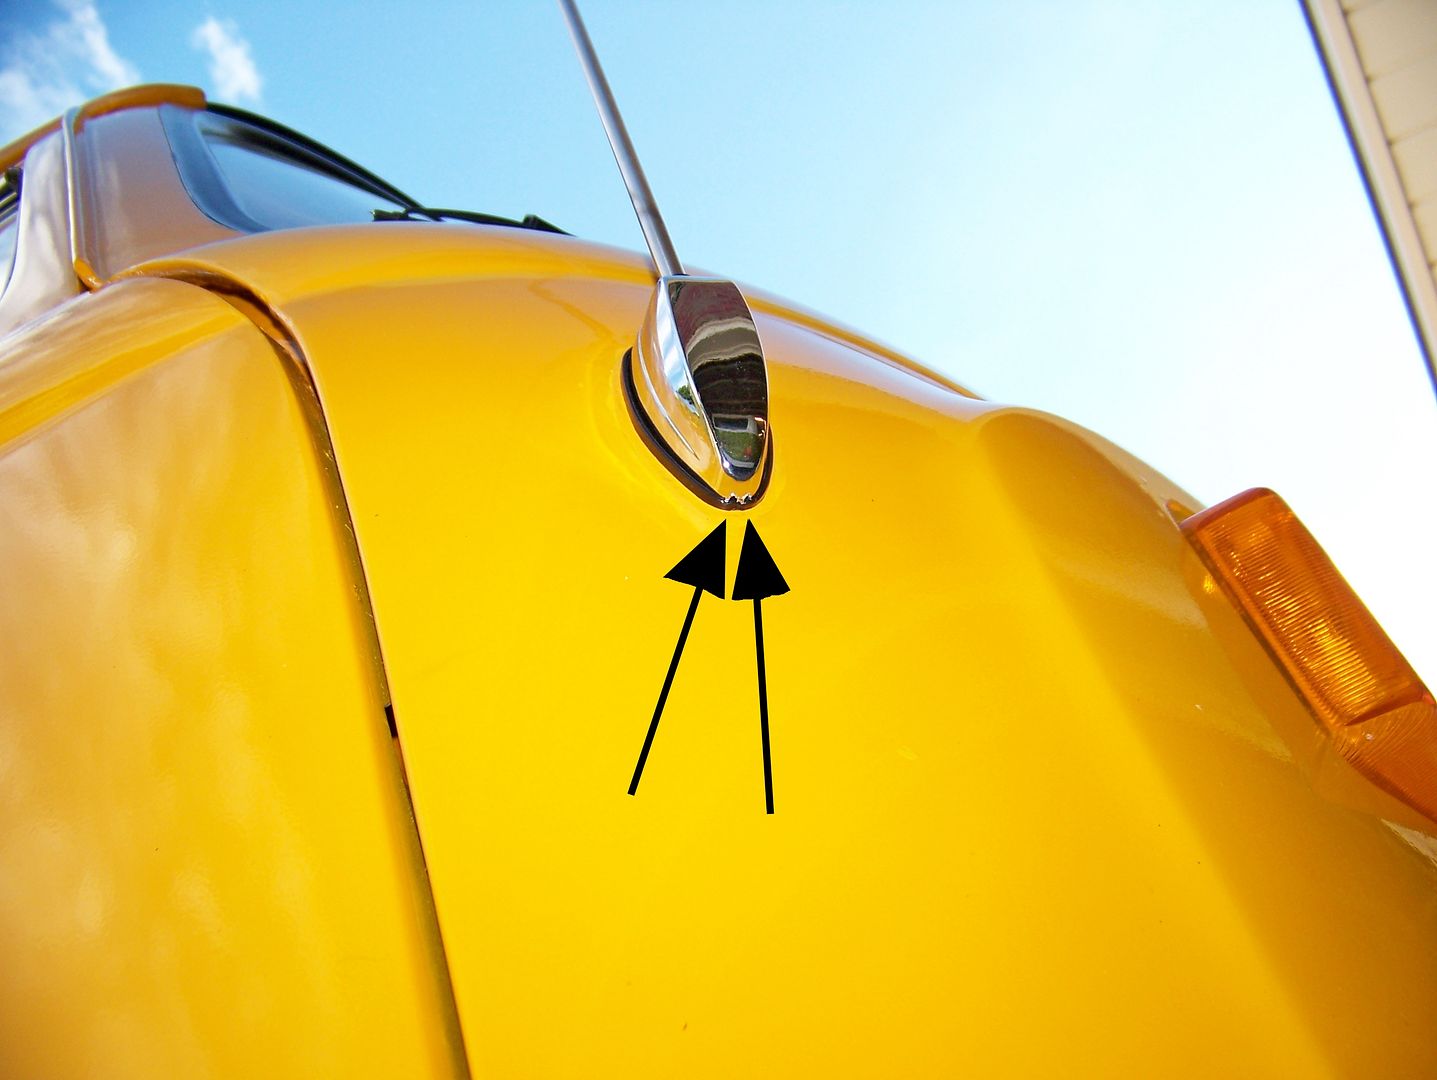
Took a moment to appreciate the incredibly honest and unique lines of the Beetle, the only shape in the automotive universe that transitions so beautifully from one plane to the next:
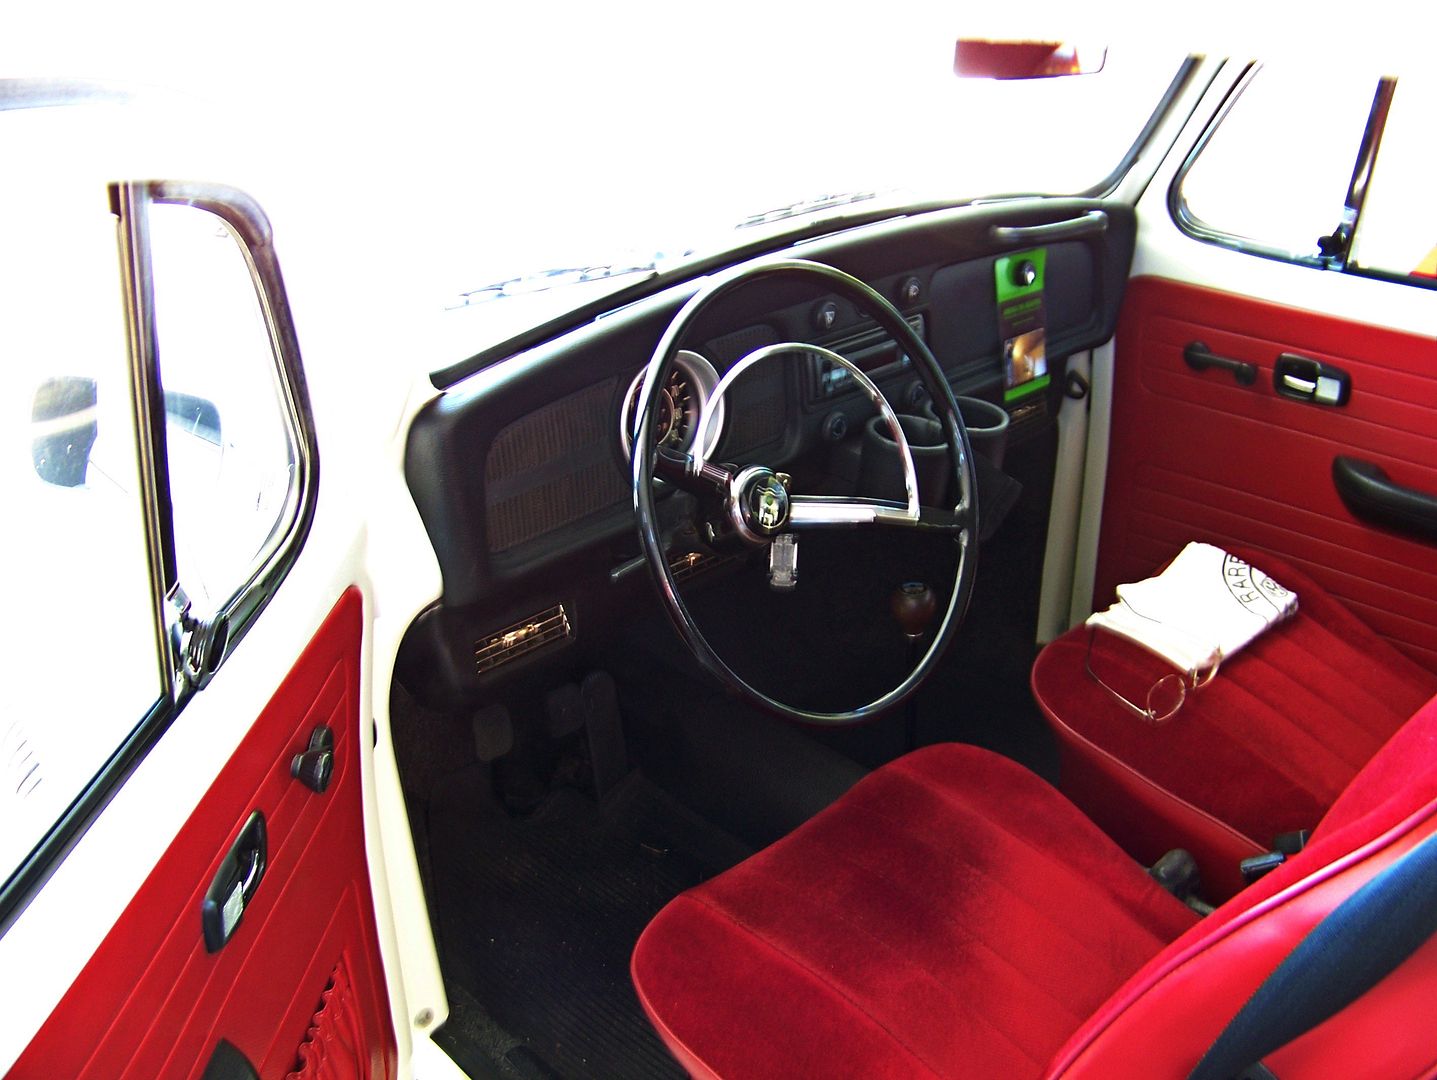
Noted a rare thing in this car that I have to give to Rodney The Pilot. The integrity of this car's appearance and function. It is not a slap-together shiny "restoration". Everything works and the doors close with solidity, the brakes are light and tight, the clutch has correct free play, the engine works as intended, the car steers exactly like a proper young Beetle, light, precise, tight. Now look at this interior:
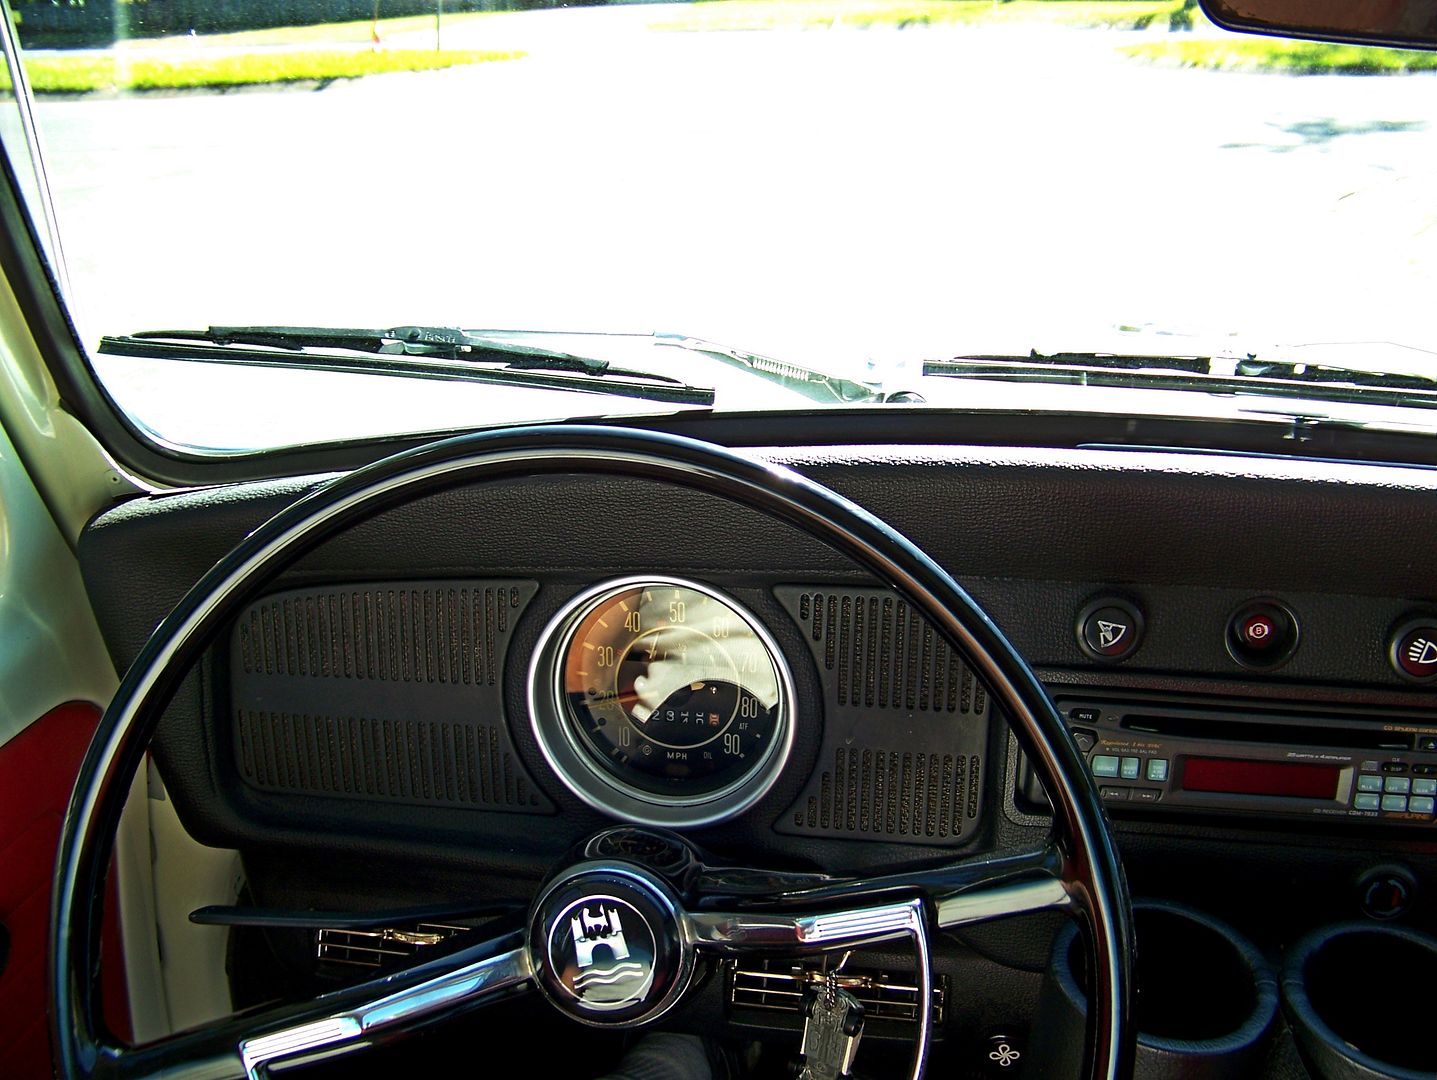
The magnificence of that sparkling speedometer is due to me, I accept your accolades:
viewtopic.php?f=76&t=13276&start=90 (see: P 7 ) 9331
Here is my first repair using the box of original spade terminals with the weird swage tool:
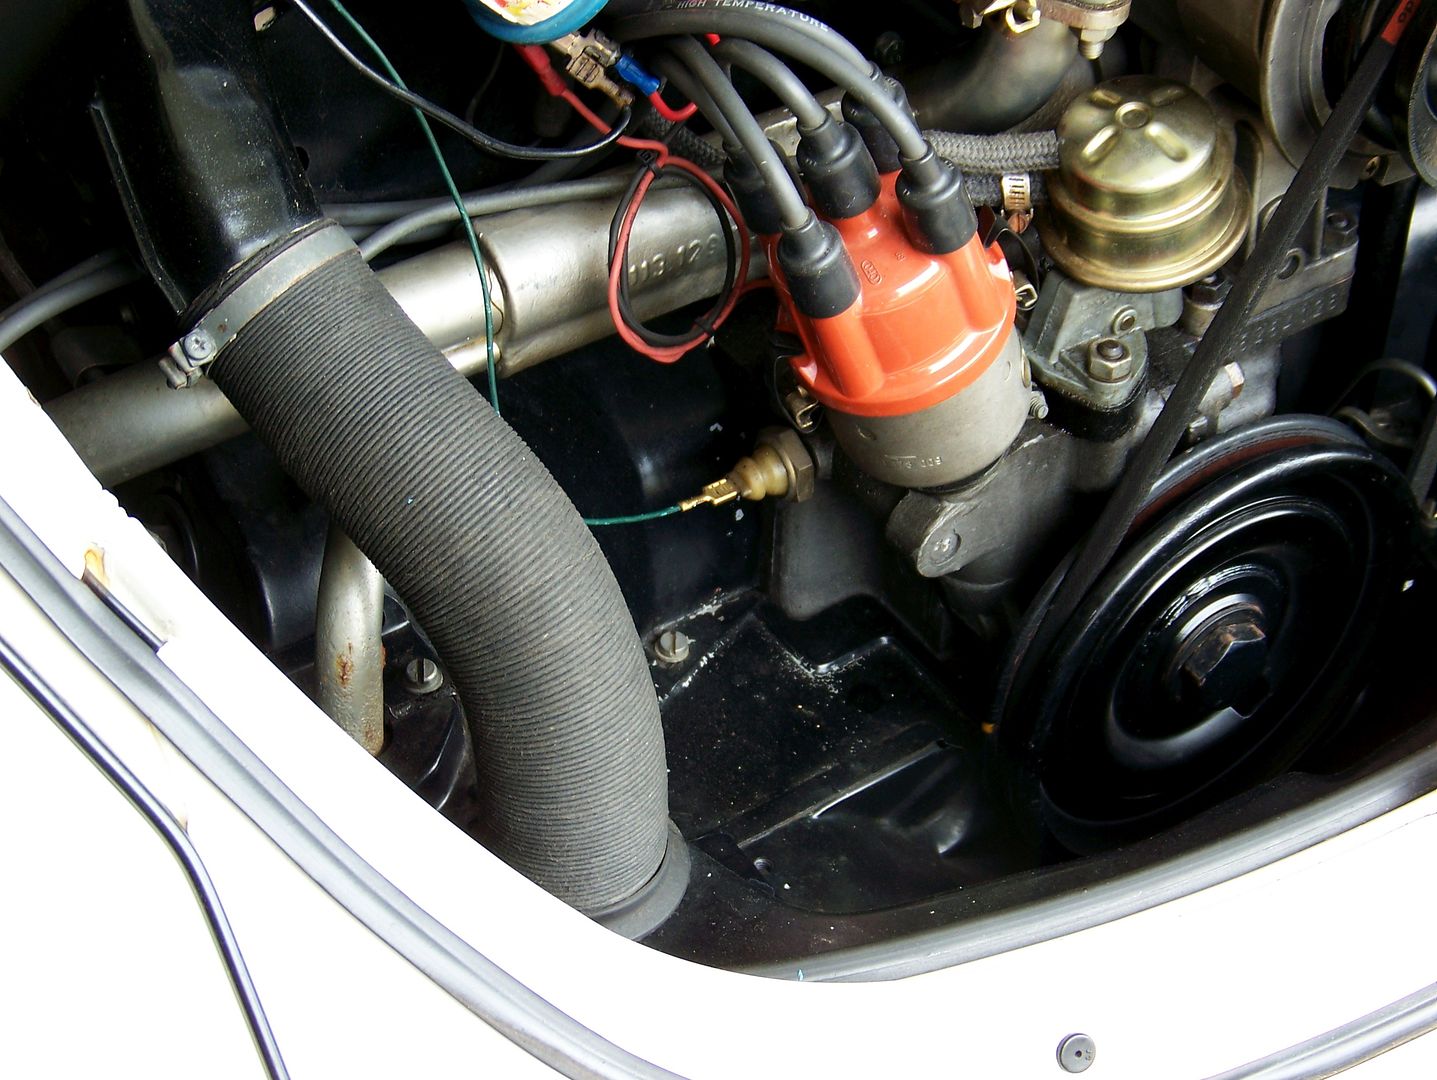
Decided to run Rodney The Pilot's 1970 VW Beetle to the gas station since it was on reserve and nobody ever listens to me as to the importance of keeping the fuel tank topped up until they hotly declare that it makes the interior smell like gas to which I of course reply well why don't you fix the cause? The saucy functional look of the Beetle just make all the other cars around it look grotesque and stupidly zingablingy.
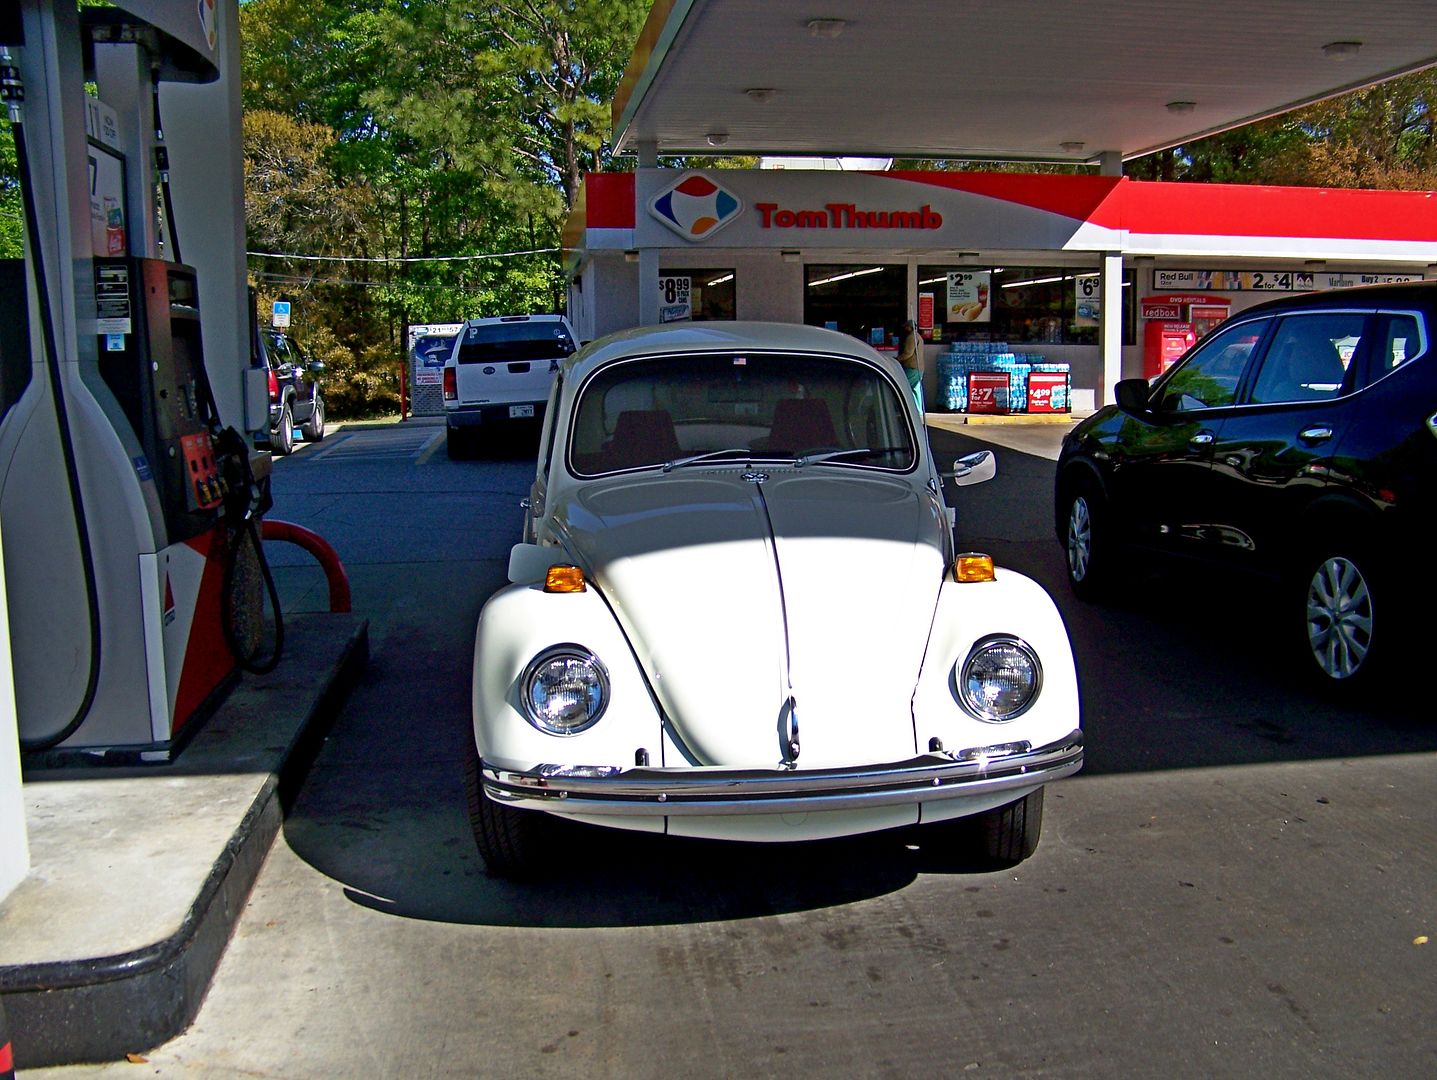
Yeah, so the interior sure did smell like gas after I topped the tank . . . . do you see how the universe tries so hard to destroy my happiness? With my ears burning, with a blush of humiliation, I emptied out the trunk and the perfect trunk carpeting and eventually discovered a loose hose clamp on the filler hose. Drove around again to air out the interior and practice my newfound haughty speech about "why don't you fix the cause?" . . .
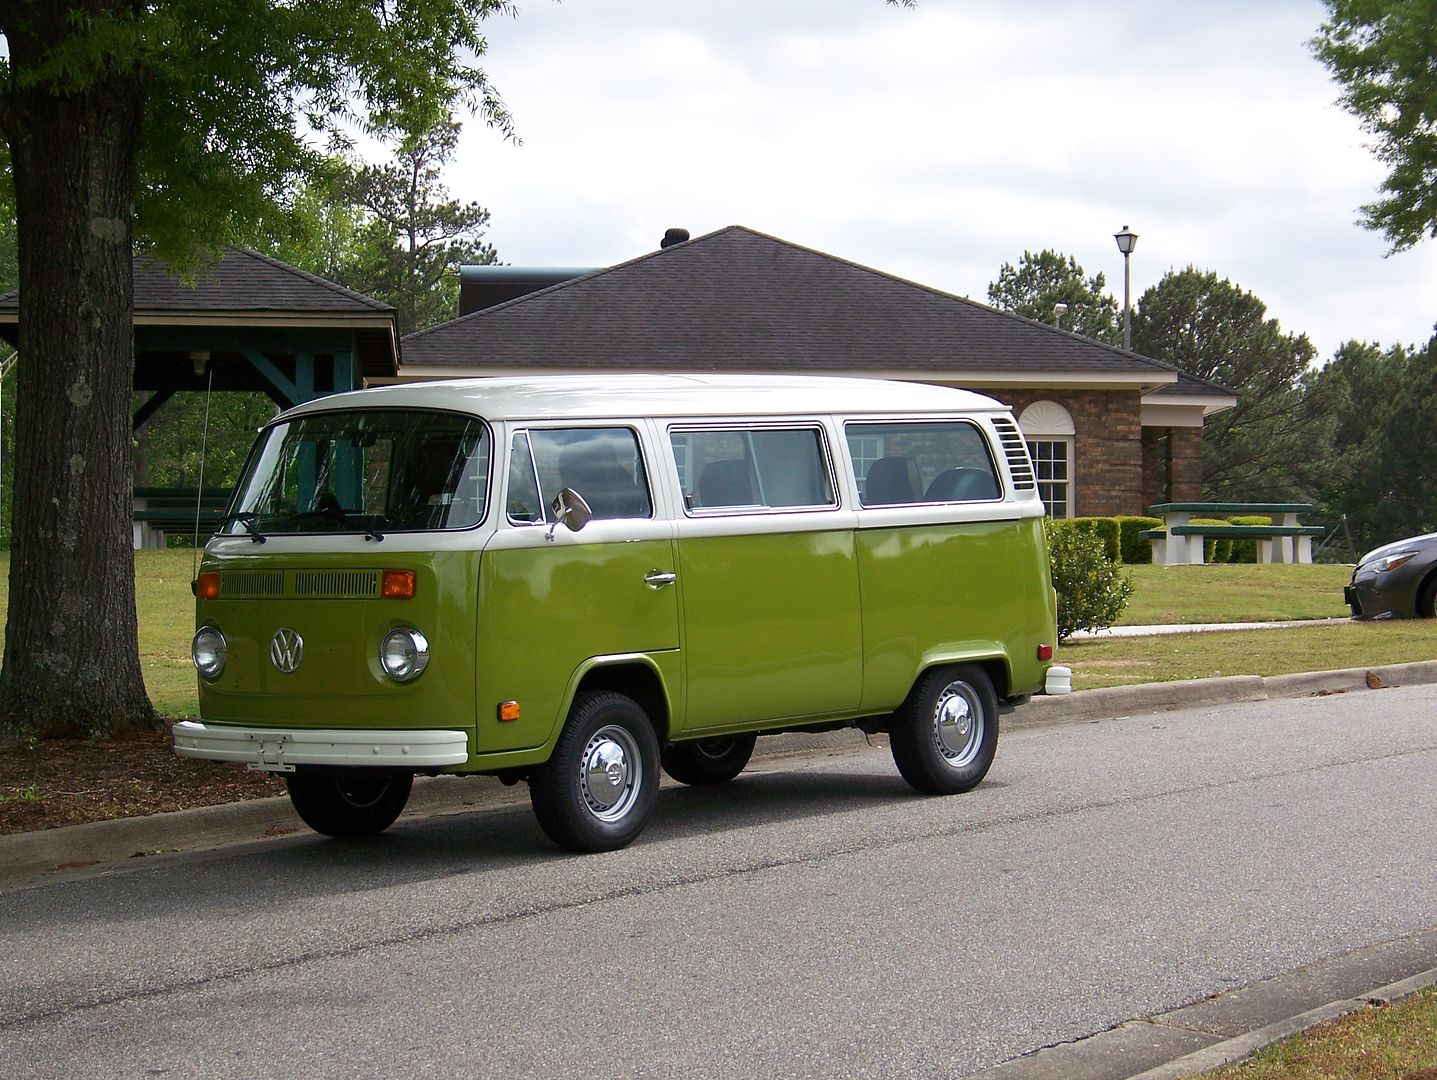
Parked Rodney The Pilot's 1970 Beetle at about 11 AM. What a nice car. I love air-cooled Volkswagens . . . .
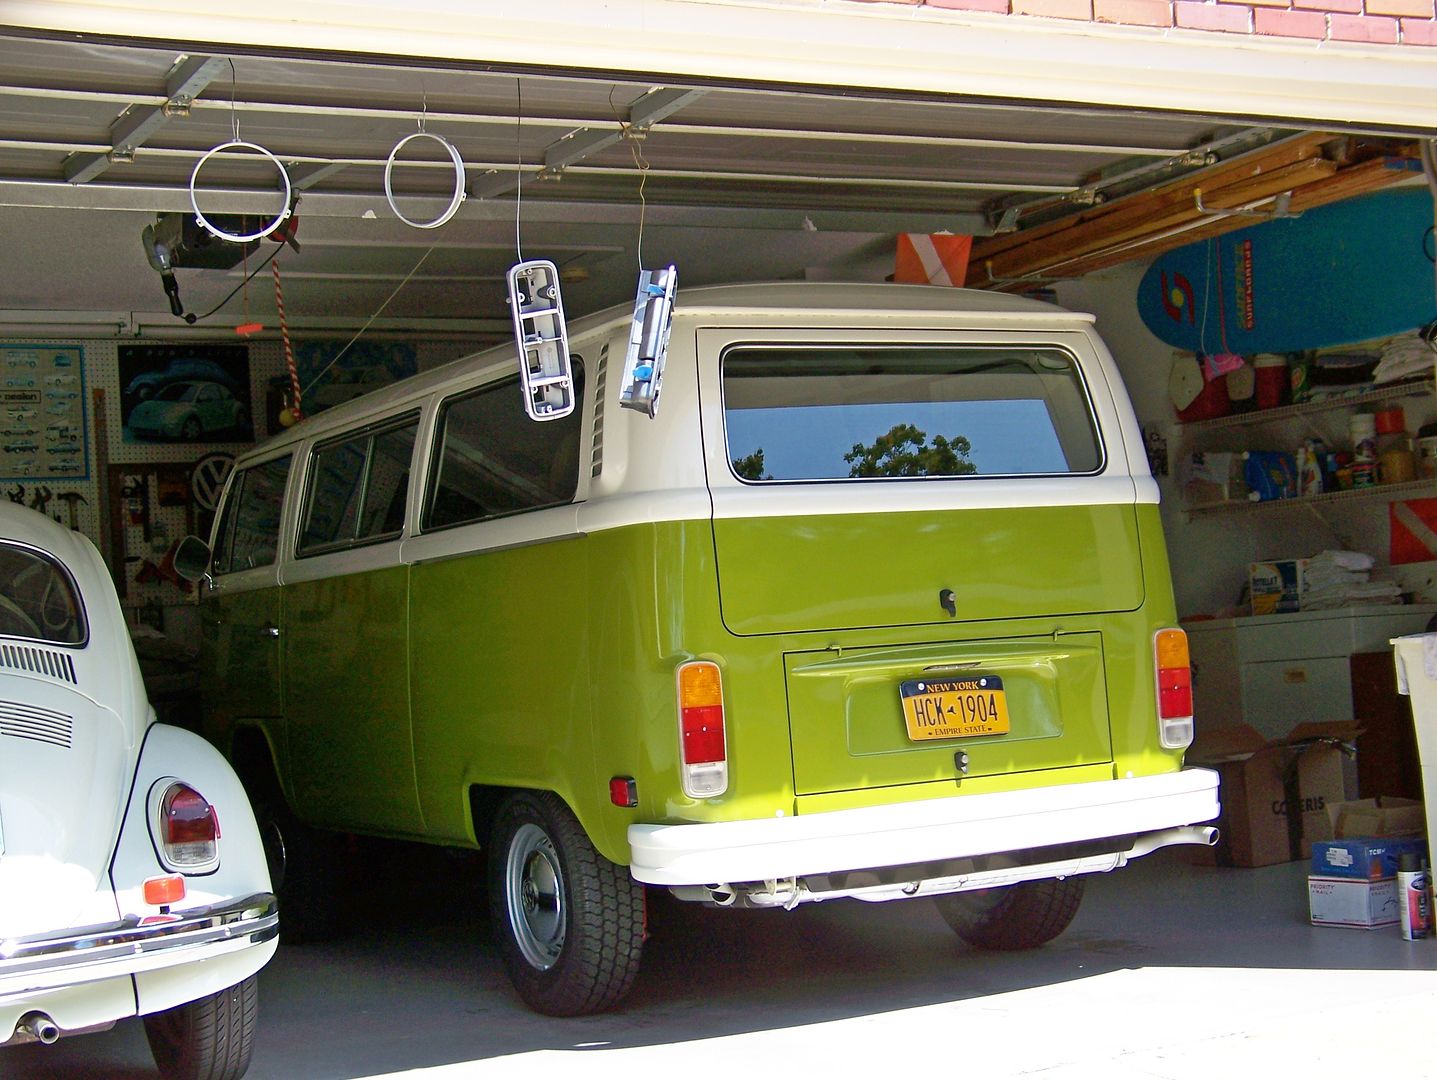
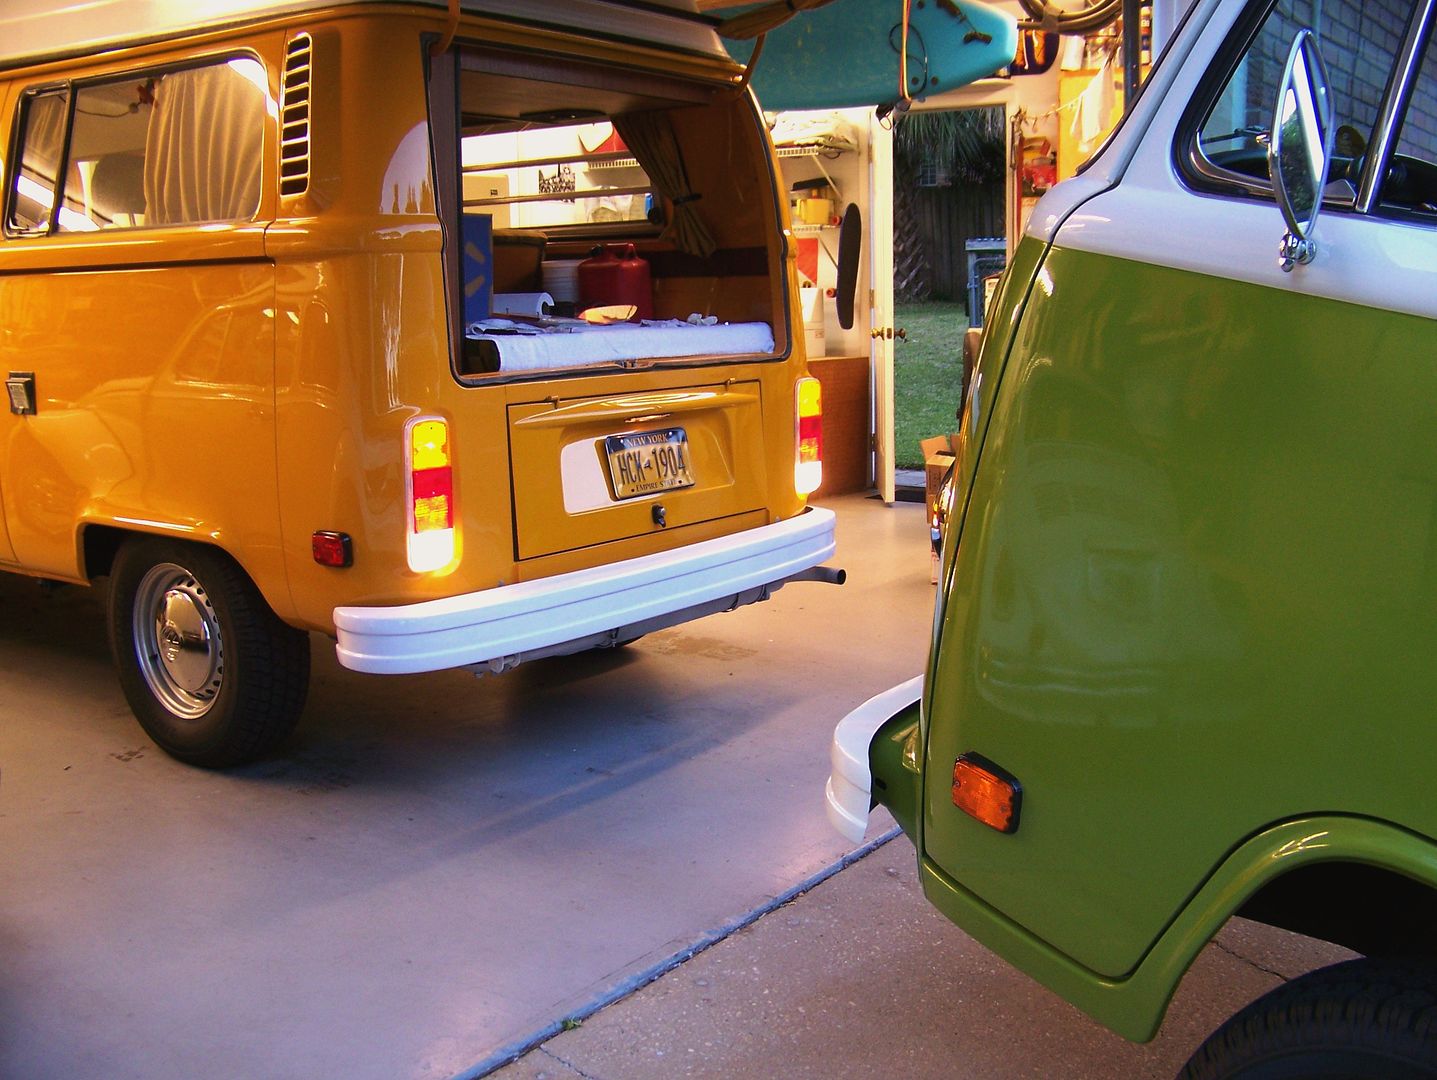
"Let's install the new taillamp assemblies into NaranjaWesty," I happily exclaimed to myself. After all, the left taillamp lens had a chip in it from the accident in Los Alamos on September 11, 2016. The insurance company had grudgingly sprung for one "OEM quality" lens. I demanded two VW Audi Mexican lenses (the color of the replacement won't match the original, so we need two), and new "Hella" housings. The housings are black. You can't do that, it steals luminosity.
See? :

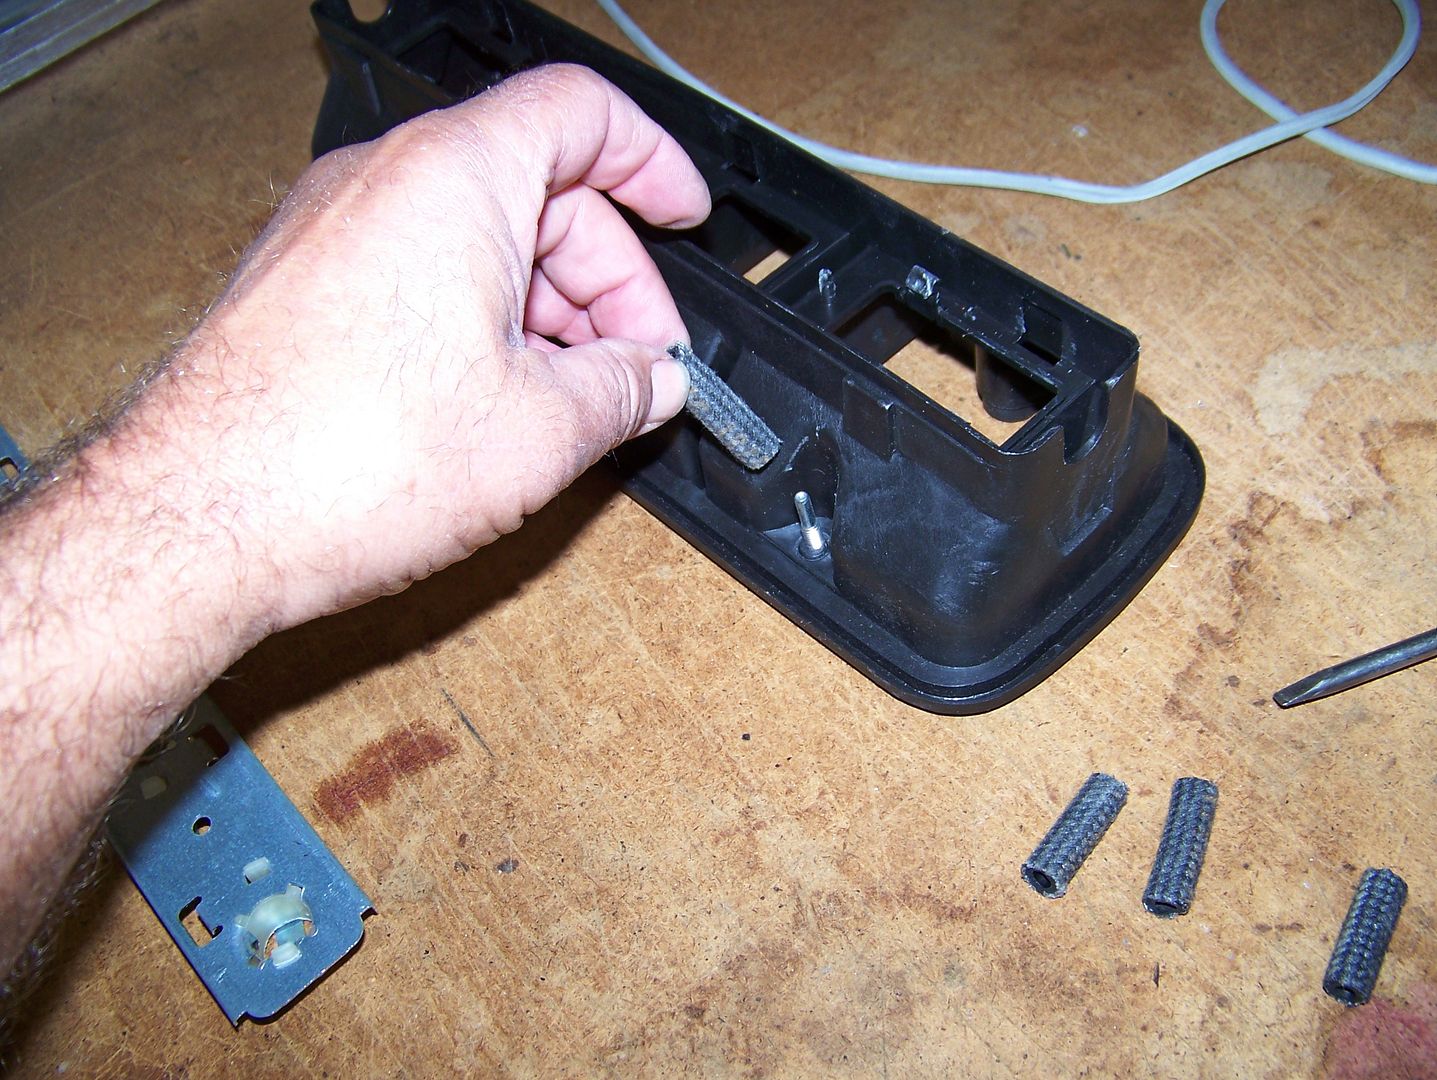
Stuck little hoses on the studs so they wouldn't get mucked with paint:
Painted housings AND painted headlamp rings why not?
Little Lionel brat sure looks excited at these freshly silver-painted housings:
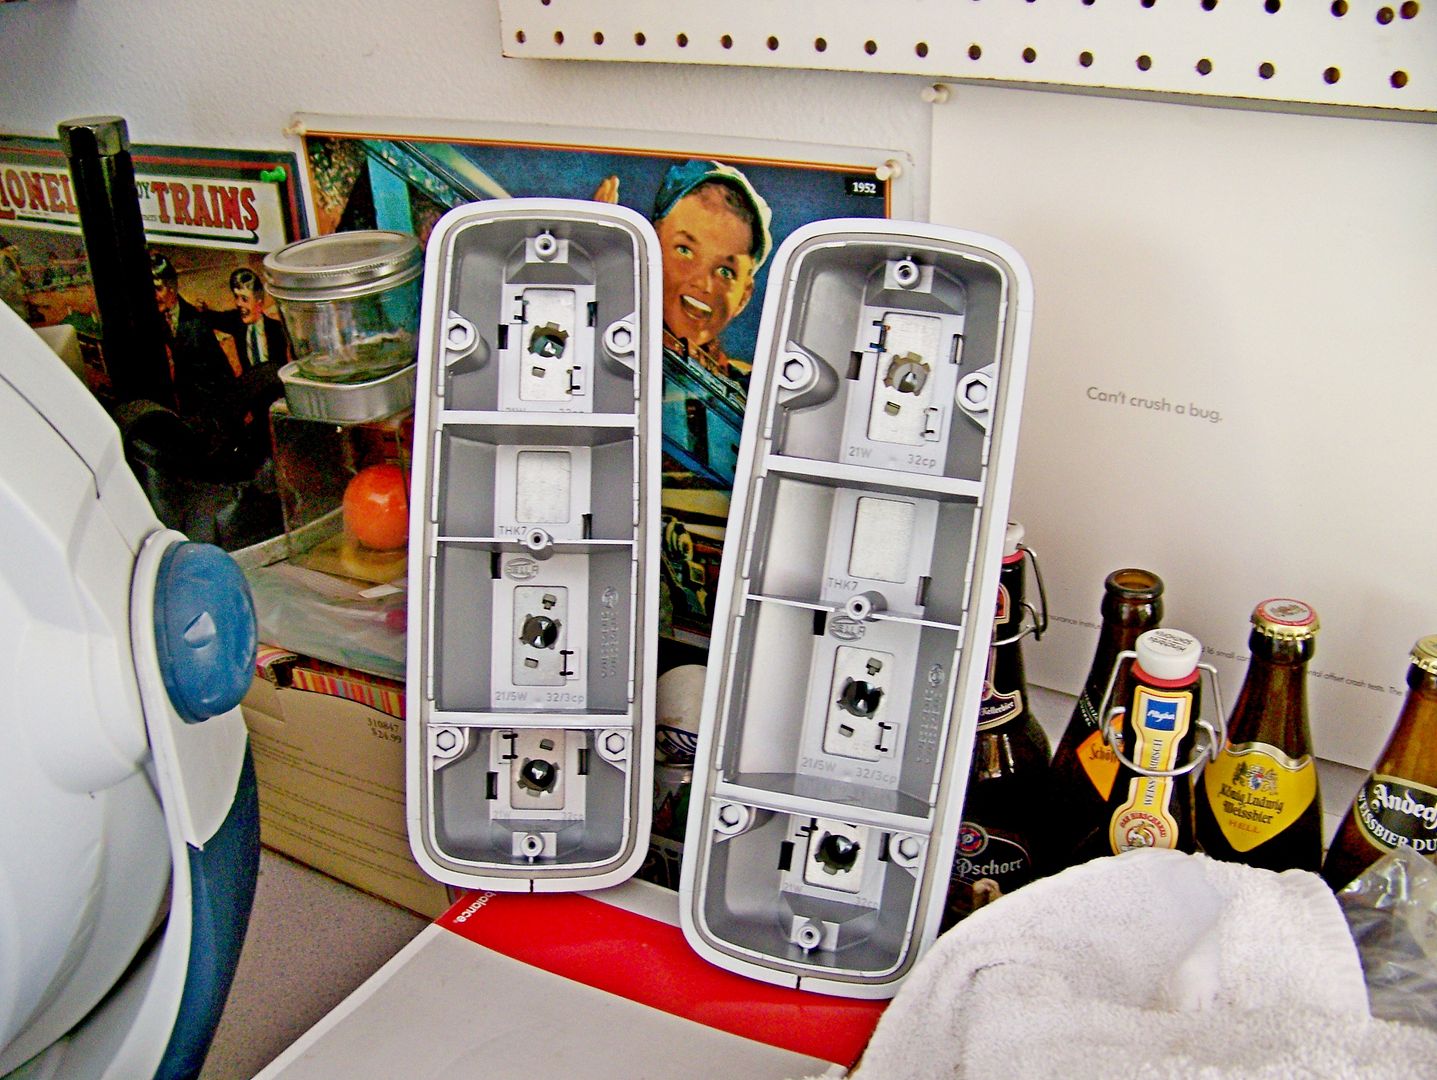
Then I "reflectorized" each light compartment with HVAC tape:
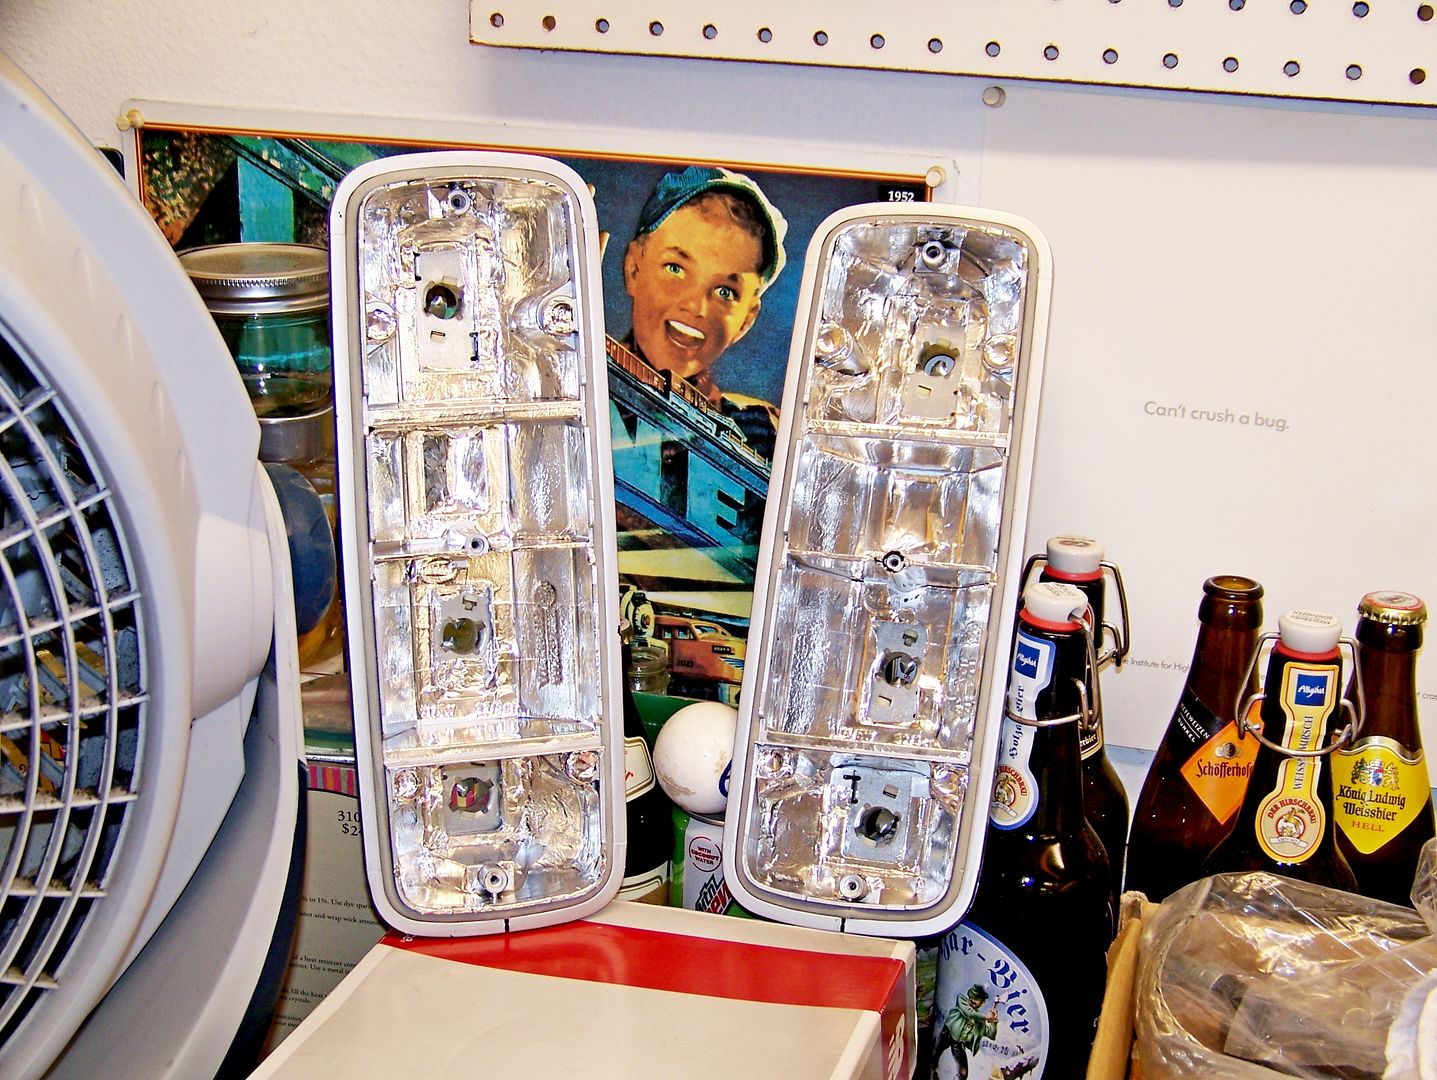
See how much more luminescent they are?
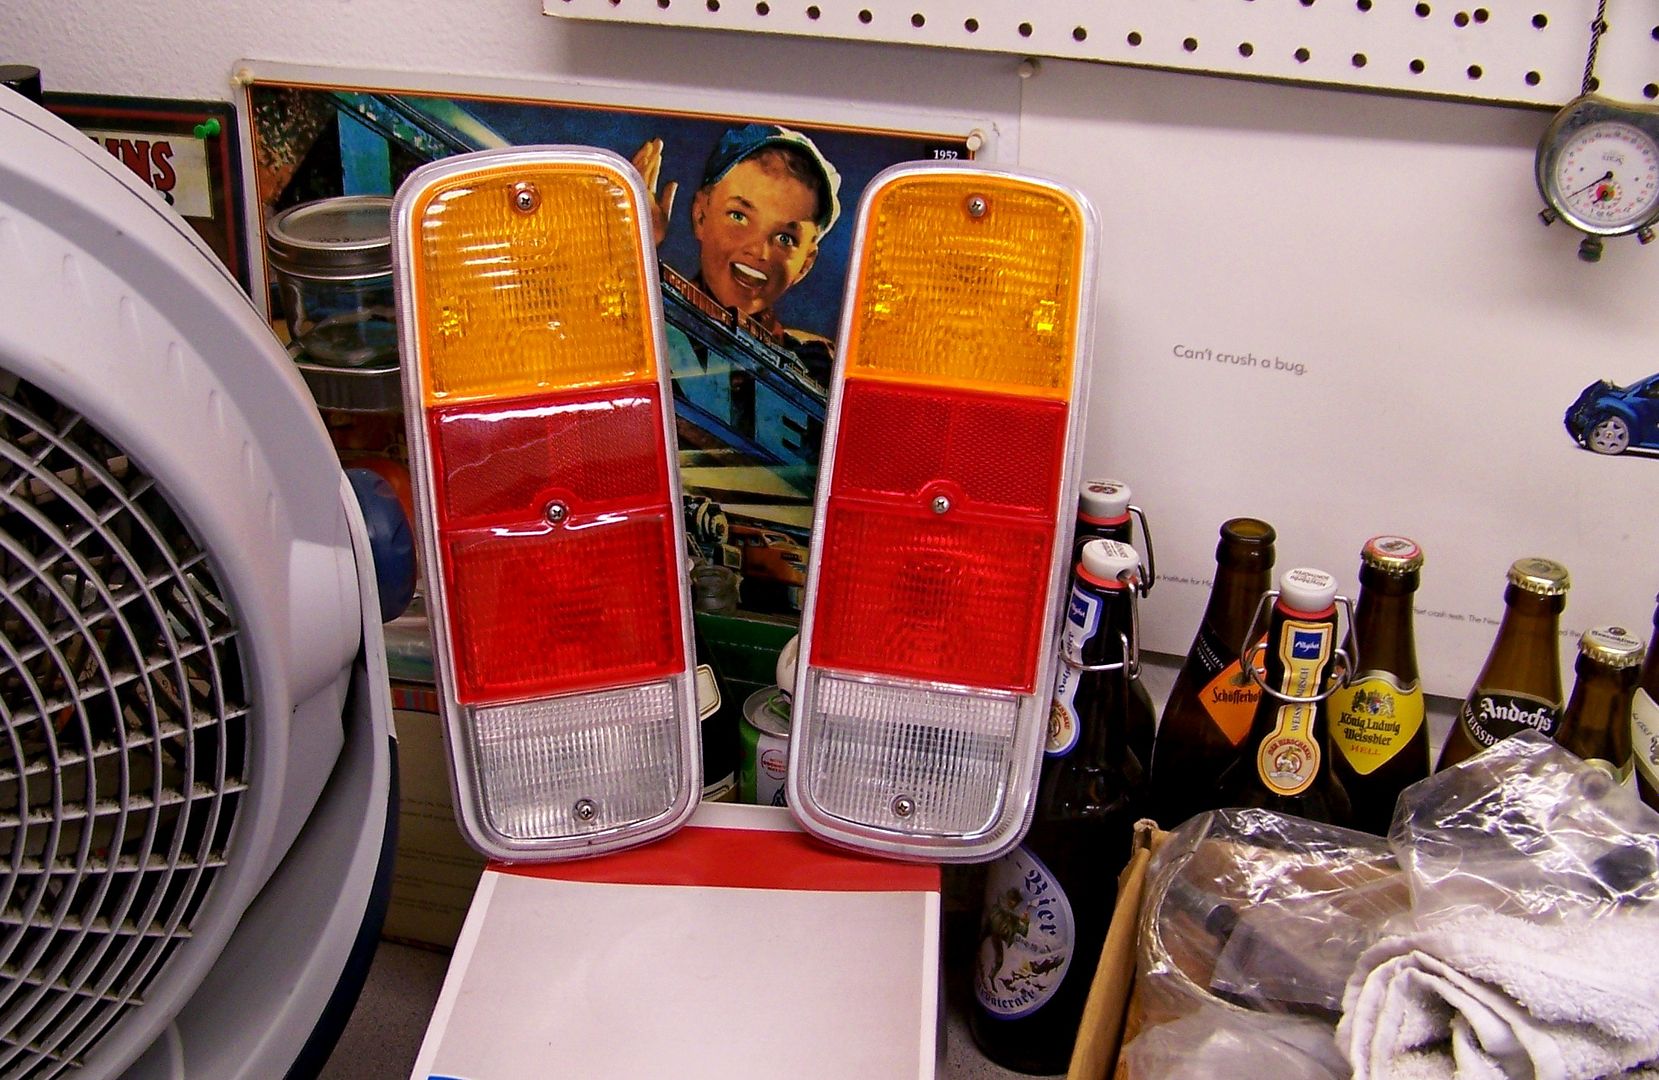
I made it only this far. Which is to say, I installed them fully wired up, even got the caps on the taillight housings:
Tested them. They throw out light pretty good. So why did it take another ENTIRE day to finish the job?
Because there was a gap, that's why. My happiness was destroyed. Plus the lenses would not sit flush against the housing. My hope, extinguished once more. I knew there was trouble. The housings fought going into the openings with a bzzzzt of the studs ripping their threads against the holes on the body, and I smartly rapped them into position, the lenses fought going onto the housings and the screws made dangerous squeaking noises as I tried to snug them to the housings. I will NOT have this. I drive in dusty conditions. I need the taillamps to keep dust out of the engine compartment, and I need the lenses to seat on the housings so the reflectors do not get dusted up or wet. This is a Law of mine. I have a Squareback with utterly fresh clean shiny reflectors and absolutely no corrosion on the bulbs/contacts, I have the BobD which has driven more miles than NaranjaWesty and it's lenses and reflectors are beautiful inside! NaranjaWesty must meet these standards. It can't be that difficult to make housings meet the body with a dust-tight seal and lenses meet the housings with a dust-tight seal! Yeah, but it is, in today's indifferent world. I had to disassemble both sides all the way down. I had to whittle the housings at the upper radius. I had to press out the mounting studs and plane down the flanges where the studs had displaced plastic. I had to whittle the index flanges for the lenses all the way around the housings (like how the early AMC heads were too big for the factory valve covers), I had to whittle the lenses themselves at each screw hole because you know why? I'll tell you why! I mean, I'll write you why! I had to whittle the screw holes in the Hella VW Audi Mexican lenses because the Hella black-now-silver housings had a different distance between each screw hole, and the edges of the screws were not going into the countersink holes. That is Crack The Damn Lens City! AND I had to drill out the holes in the left side opening to let the housing studs go in without a ripping bizz sound. We don't do bizz:
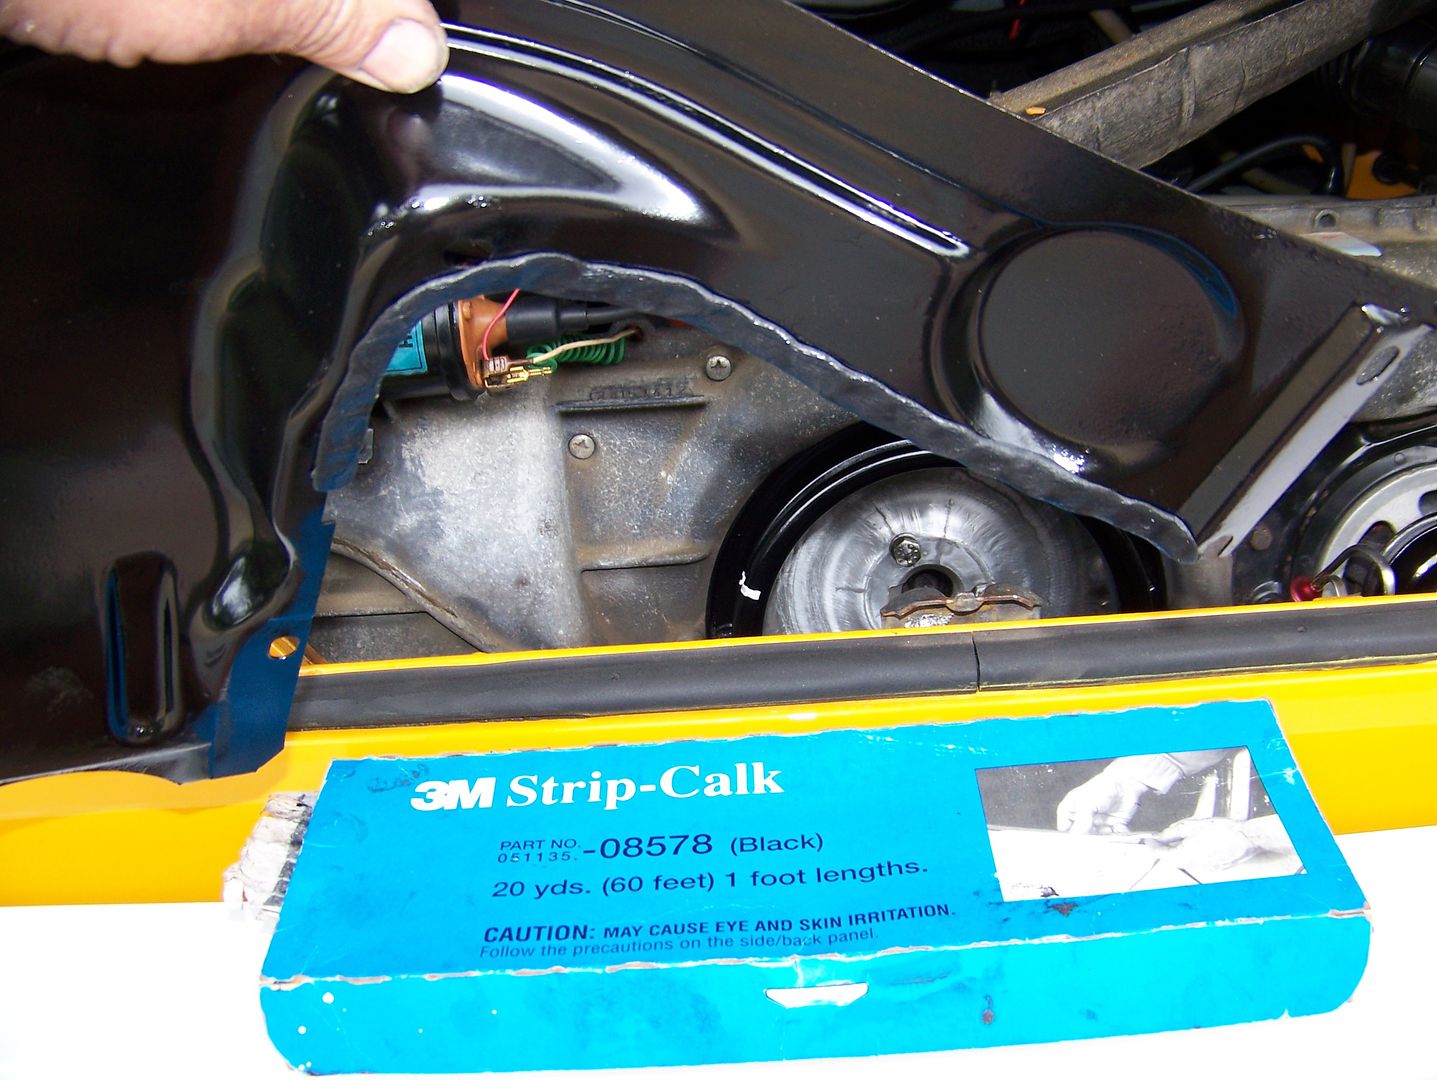
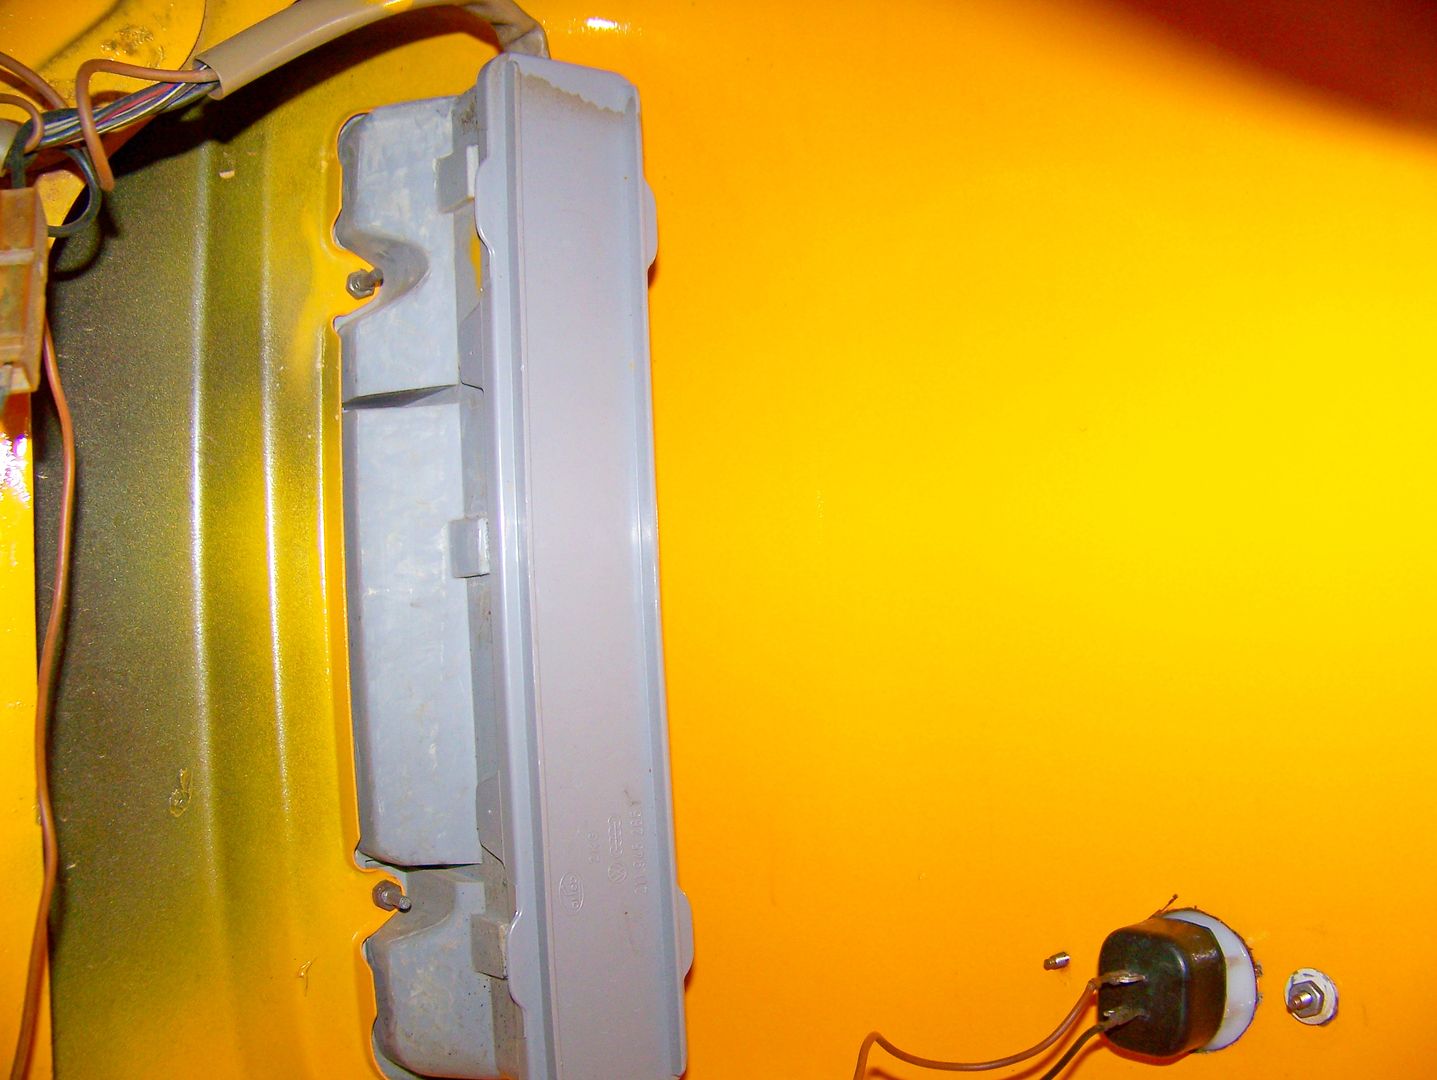
See the gaping hole in the grommet for the side marker wires? That is completely typical of all late model VW buses since August 1971. Why do they seal everything then put in a grommet with a dust sucking huge gaping hole? Am I sounding testy? Well, am I?
A little NAPA butyl caulk sealed the lower grommets:
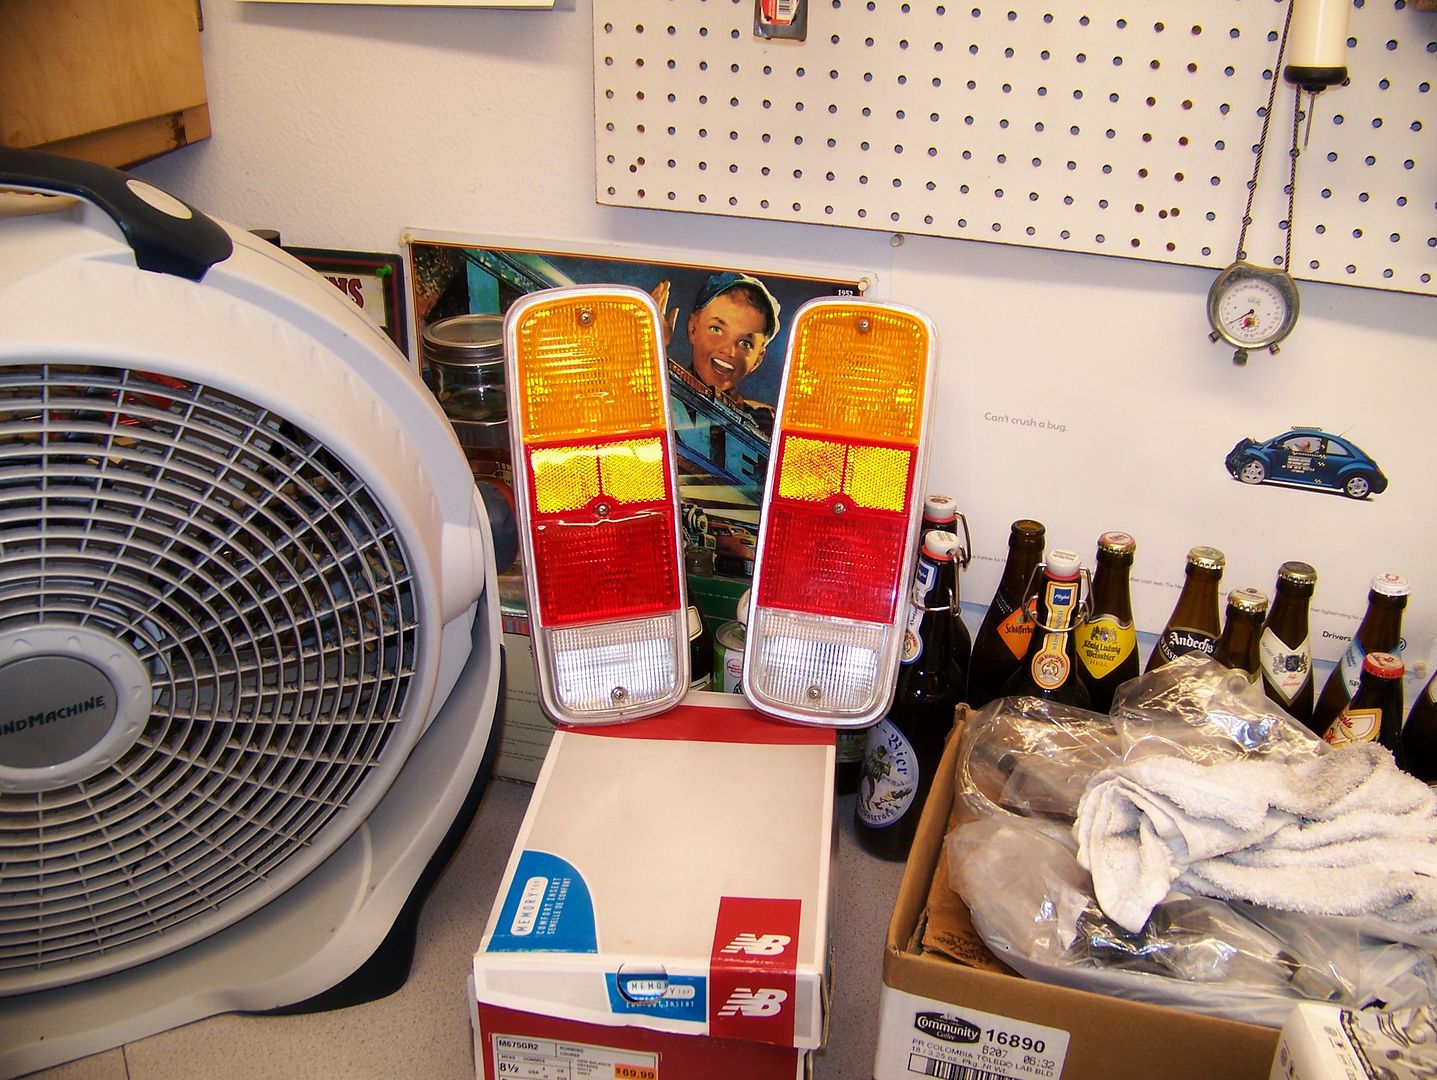
You think this is OCD? Well, trying being the caretaker of a bus that has it all correct just feet away from the torment of sloppy indifference. It took TWO hateful days, a whole repainting of the housings, touching up the drilled-out screw holes in the quarter panel, agog stares from the neighbors who think it took me two days to change out a lousy light bulb in my taillight, to get this.:

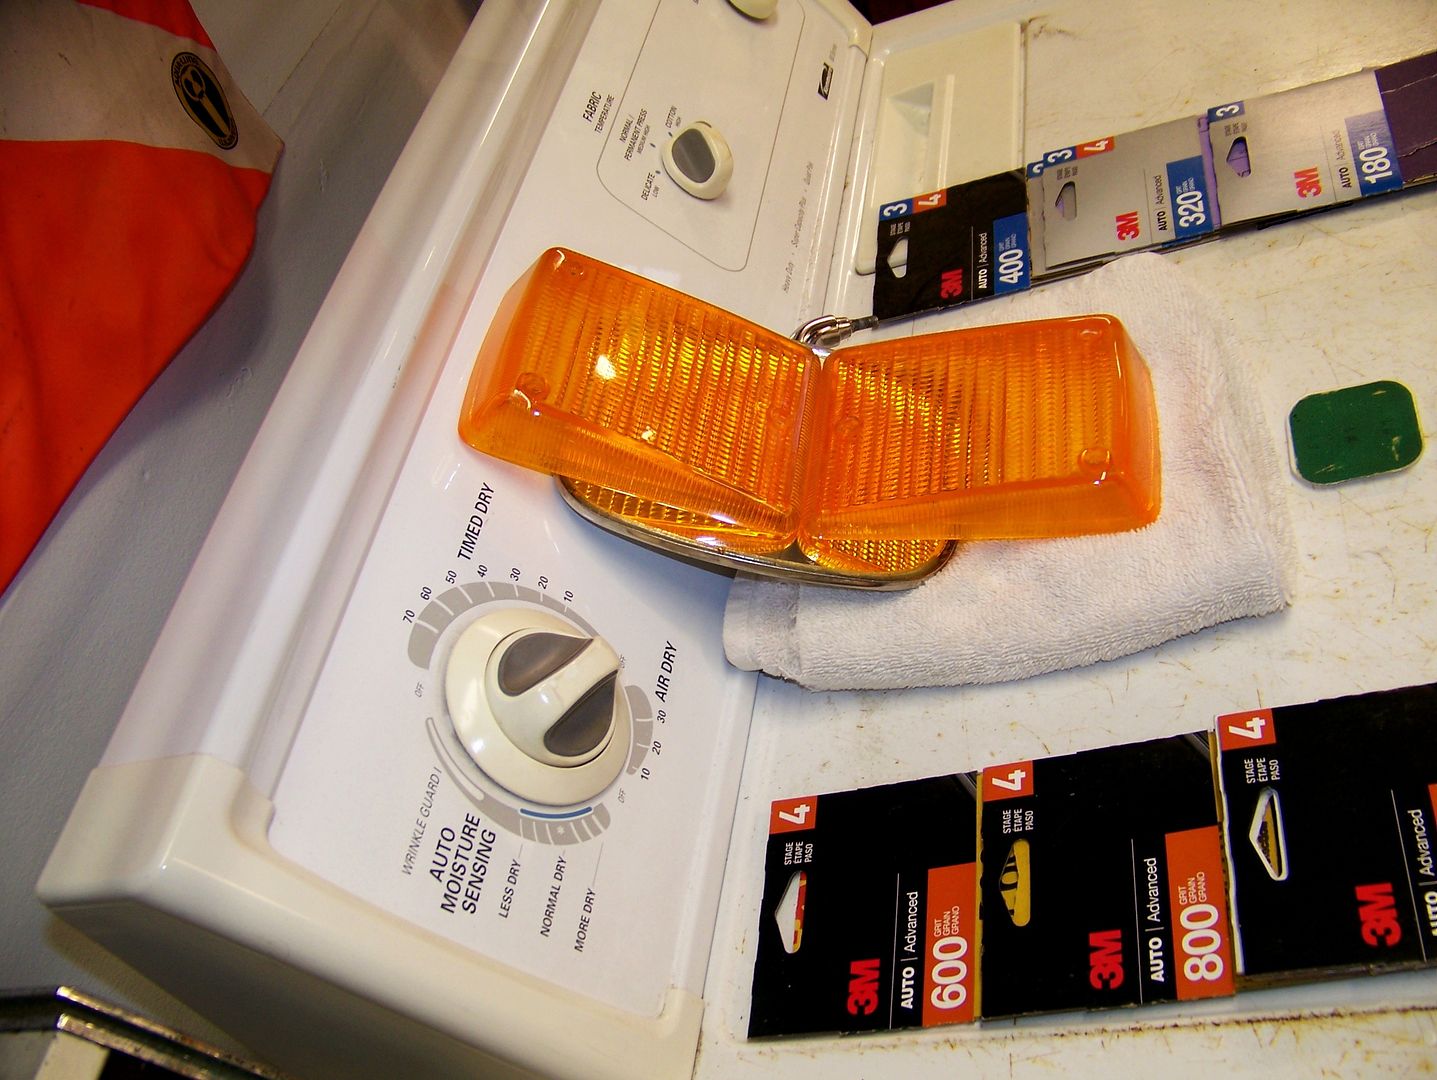
Then I attacked the NaranjaWesty Original Fred The Oversprayer® Hella Turn Signal Lenses
which had been swapped out with BobD's original lenses while the BobD got the brand new original Hella NOS turn signals lenses bought two years ago off theSamba. Now then,
NaranjaWesty Original Fred The Oversprayer® Hella Turn Signal Lenses were perfect except for a lot of yellow paint and a few hits from a grinder and some hideously deep scratches and two inadvertent pours of fiberglass resin. BobD's original lenses had crazed cracking from that hit in Death Valley by that knucklehead who had to pass me on the gravel road to get to the stop sign before me.
I sanded the hell out of the lenses, 220 grit! Blasted through the scratches and the resin. They looked utterly opaque and destroyed. Then I went through the entire sandpaper collection and sanded those lenses in soapy water 320/400/600/800/1000/1500 avoiding the Hella logo and the Made In Germany because I am nothing if not vain and designer logo-conscious. Then I attacked the lenses with the 4 step headlamp clarifying kit. Then wax. Voila!
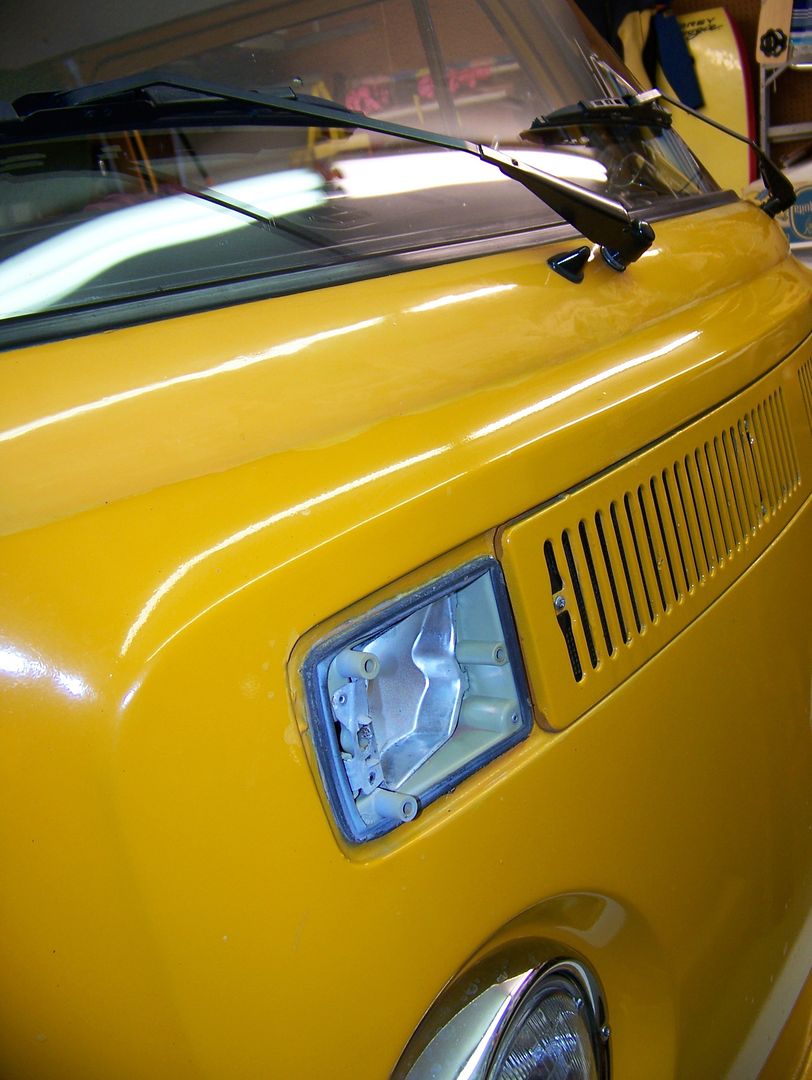
Pre-Reflectorizing Process:
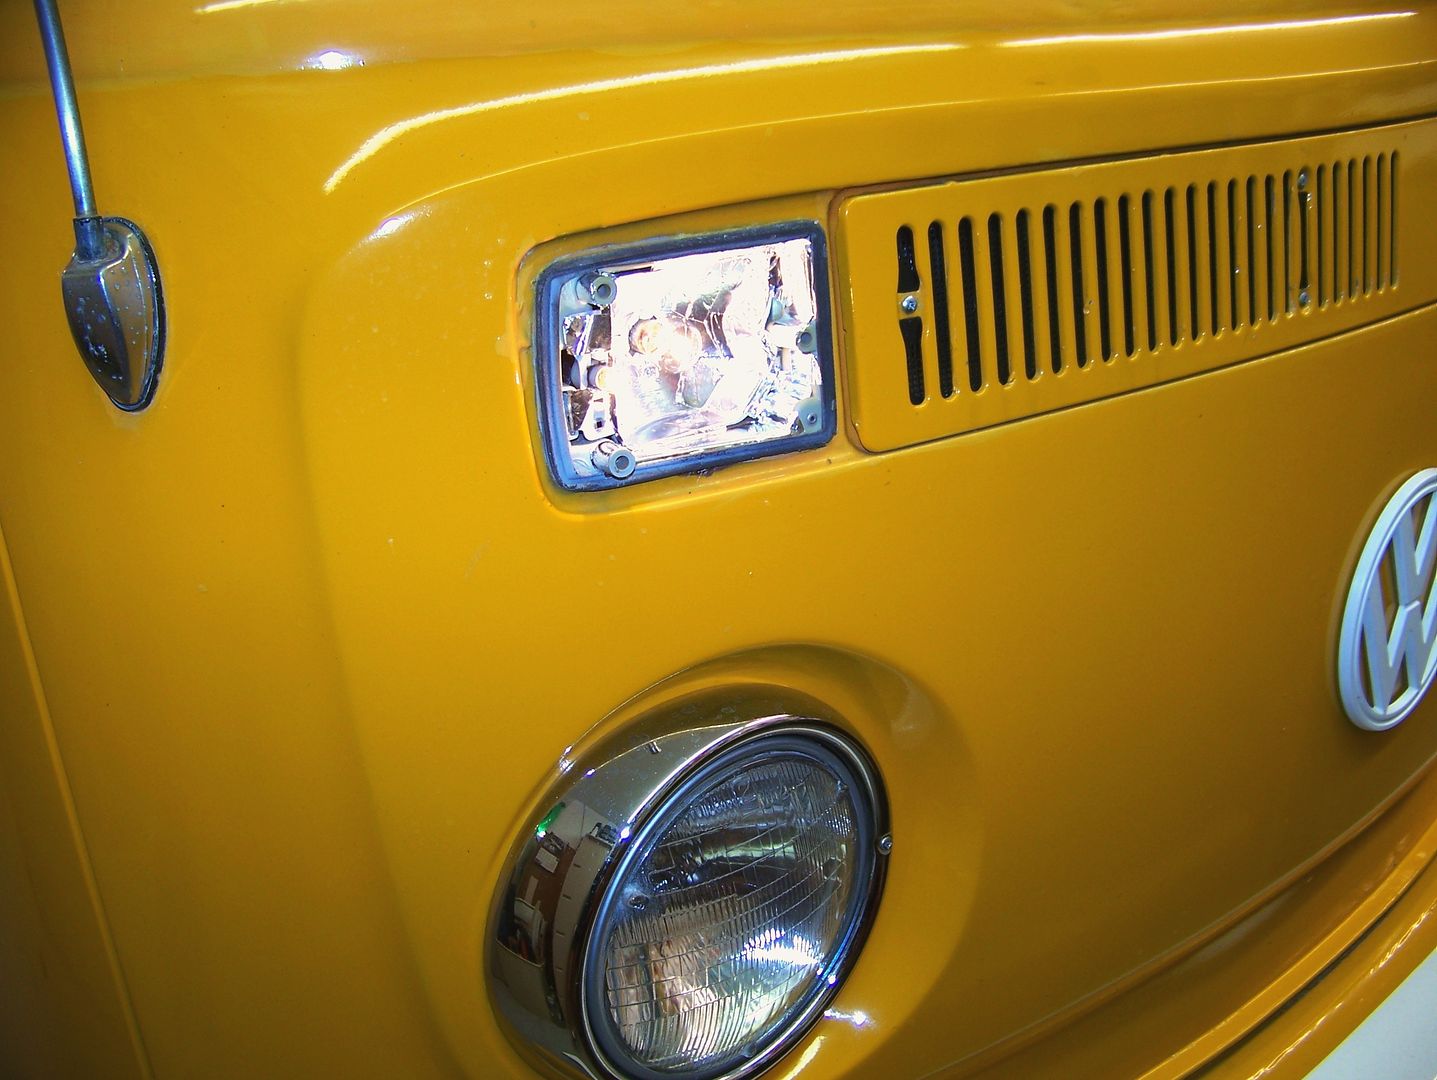
Post-Reflectorizing Process:
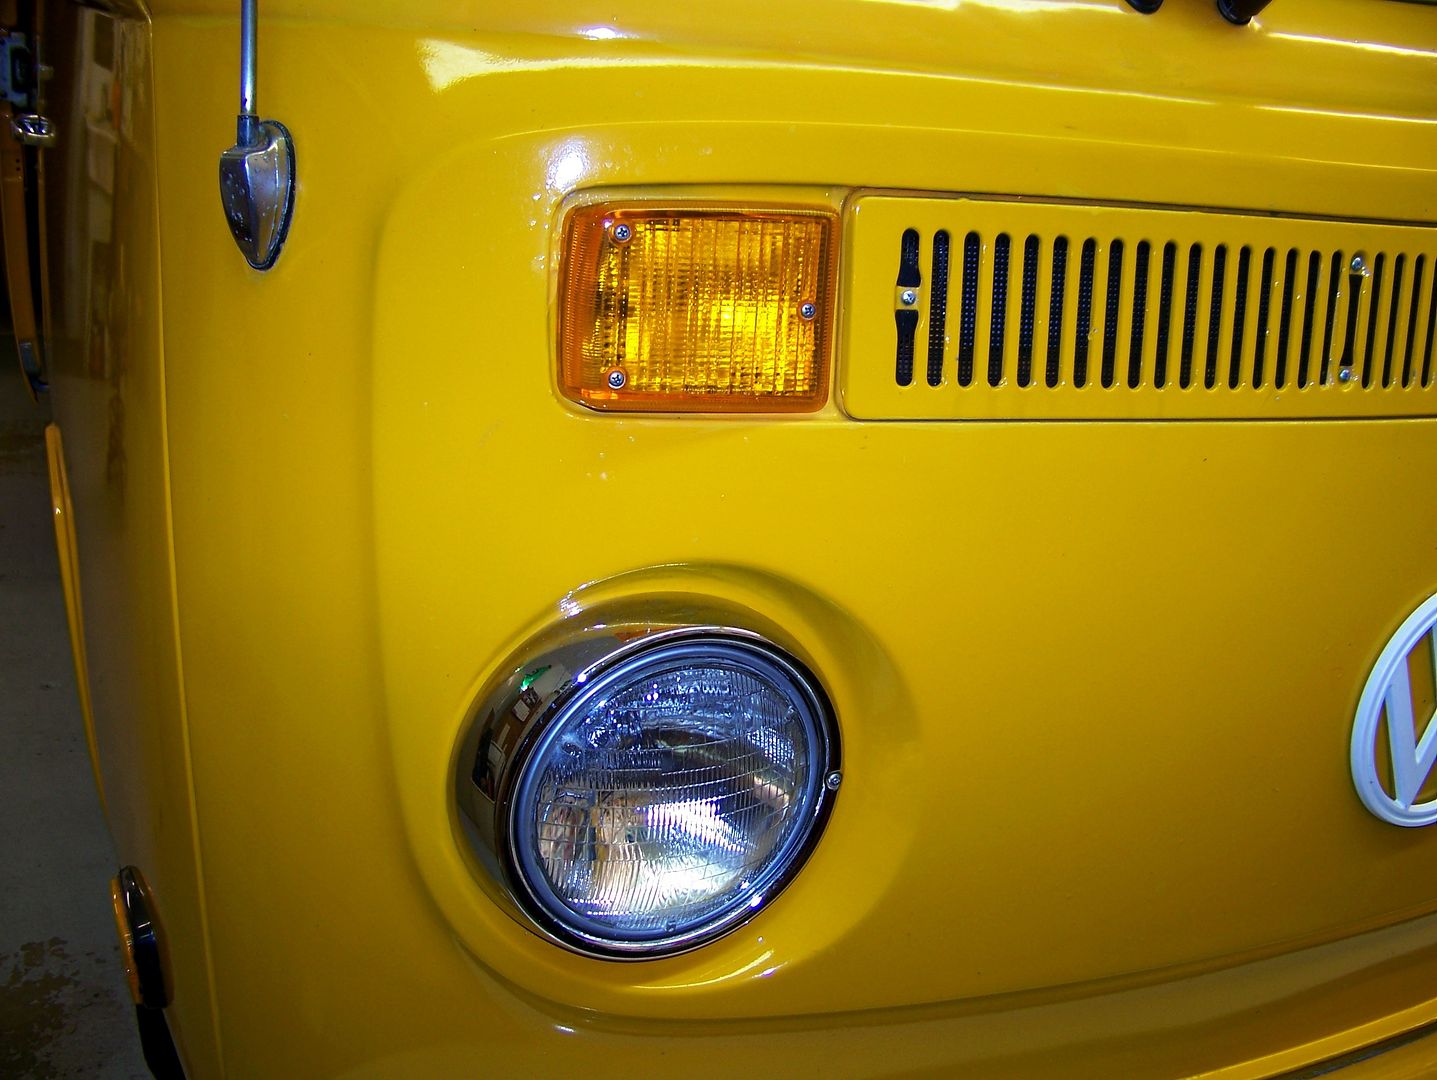
NaranjaWesty Original Fred The Oversprayer® Hella Turn Signal Lenses at home once more:
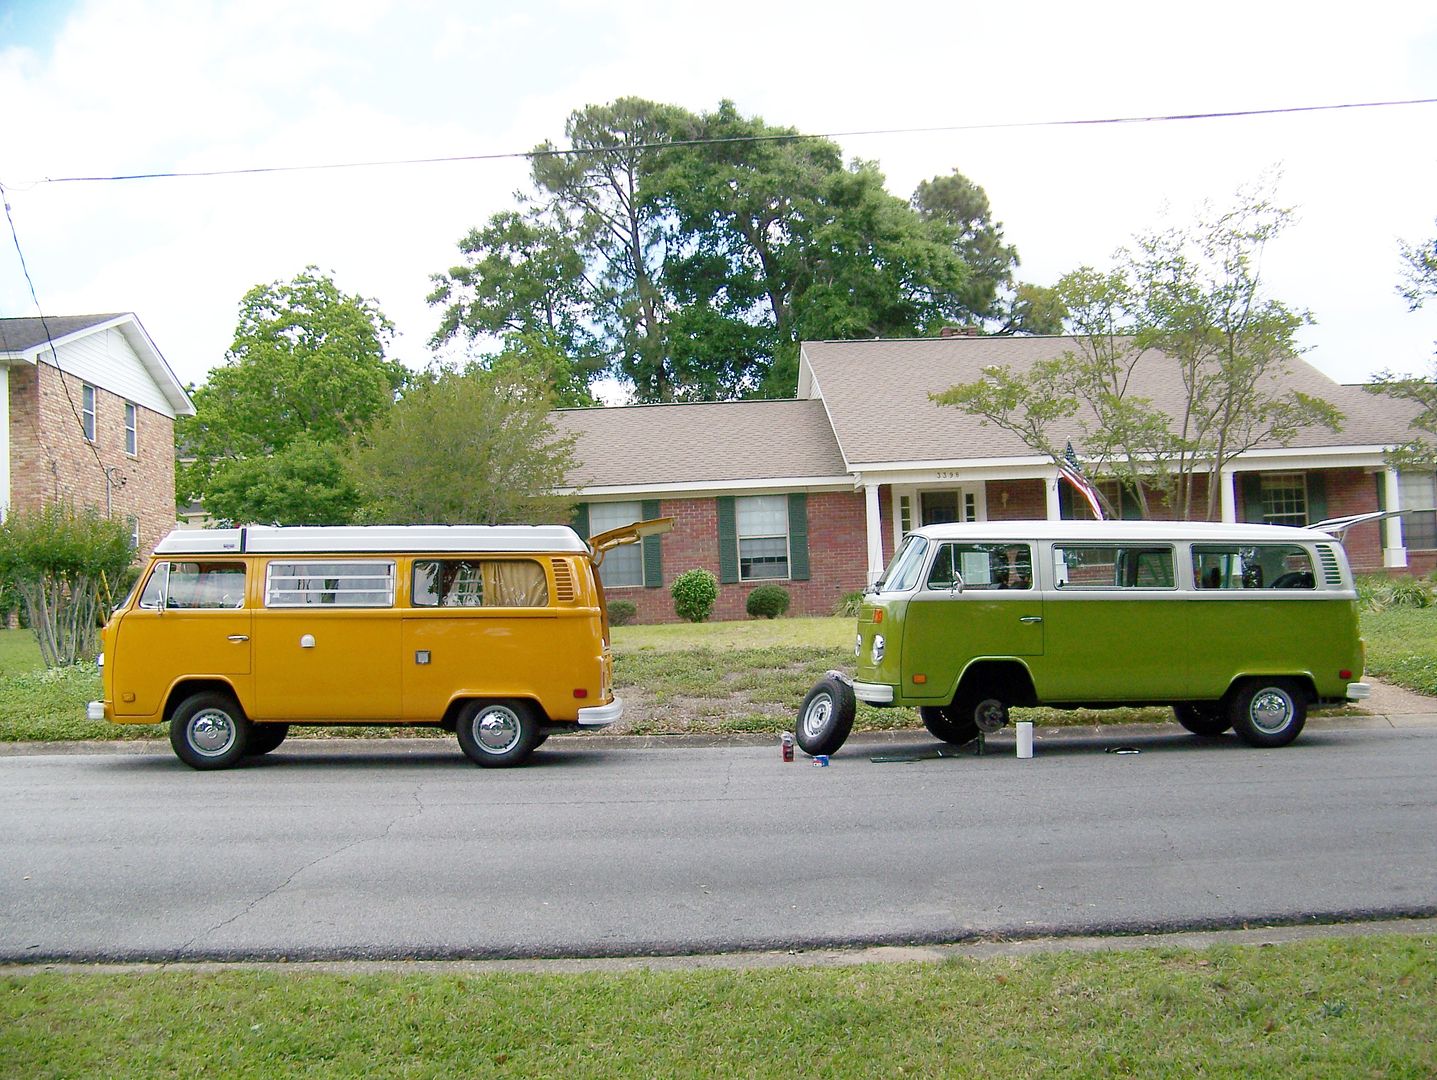
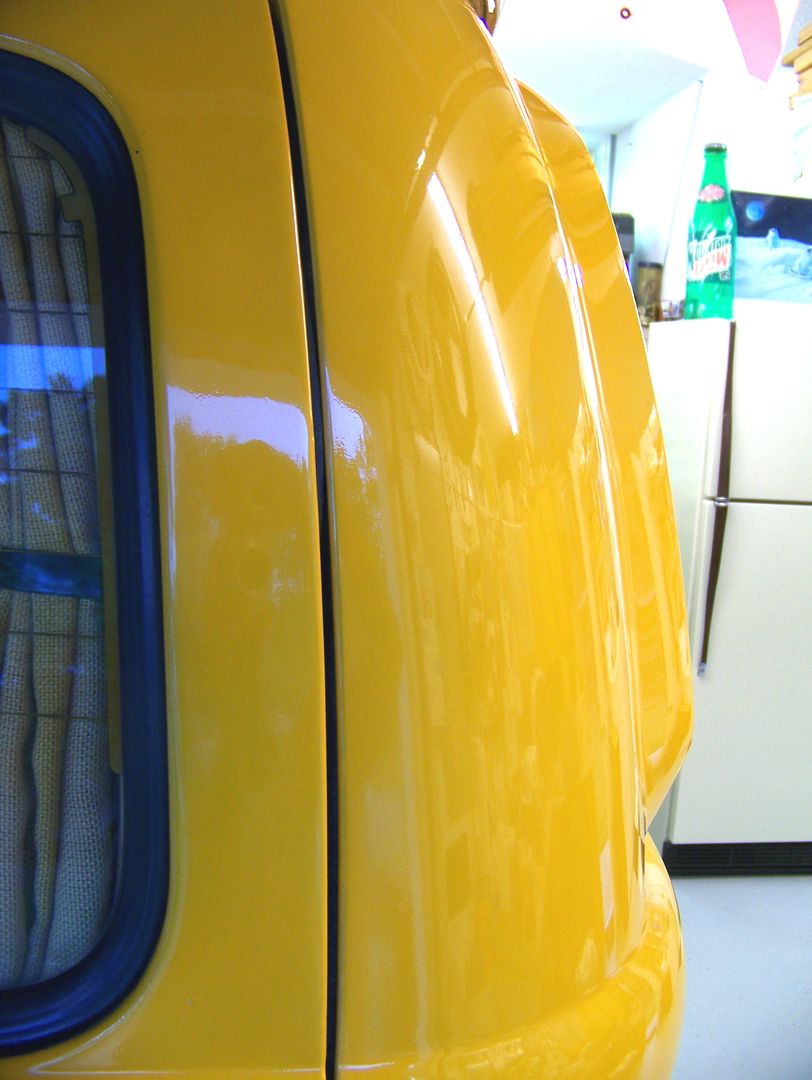
Now, bad news for me. You know the BobD looks spiffy with that original paint just ridiculously reflective. NaranjaWesty's Fred The Oversprayer paint job is close to awful. I stupidly experimented to great effect The left scoop was painted as a consequence of the crash in Los Alamos. The shop couldn't help themselves. They buffed to a BobD gloss. Now look at the tailgate paint. It is so orange peely that it actually looks like the surface of an orange, a slightly dehydrated orange:
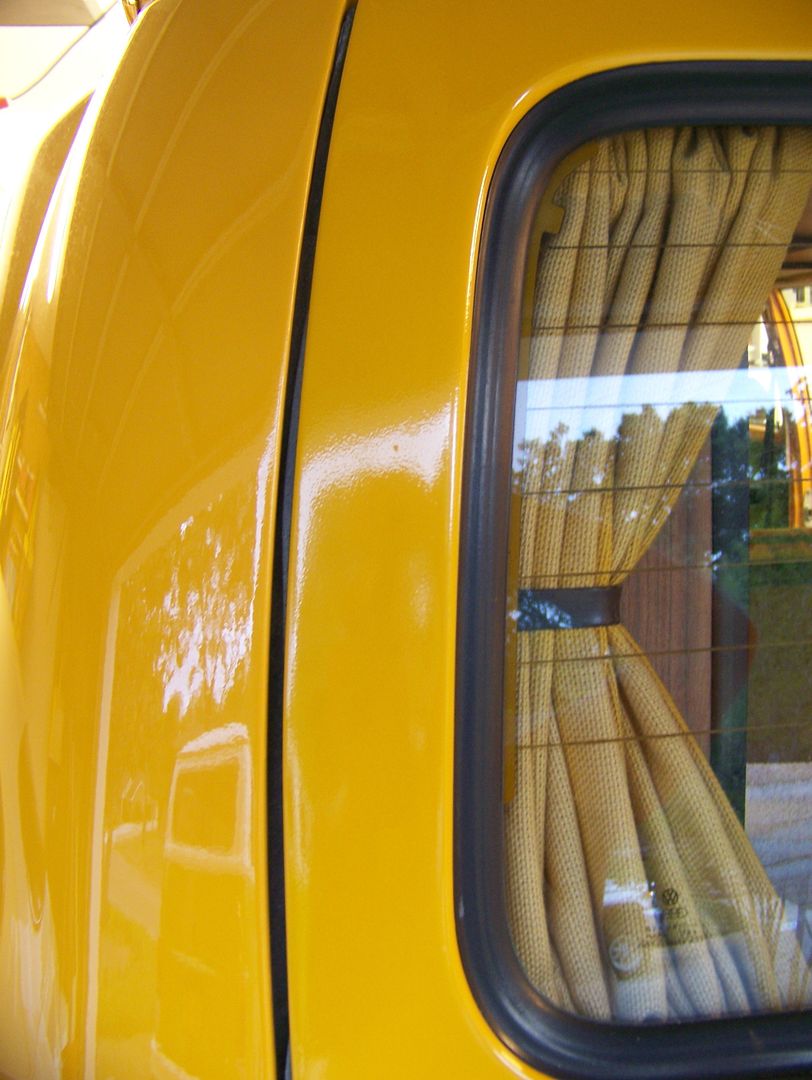
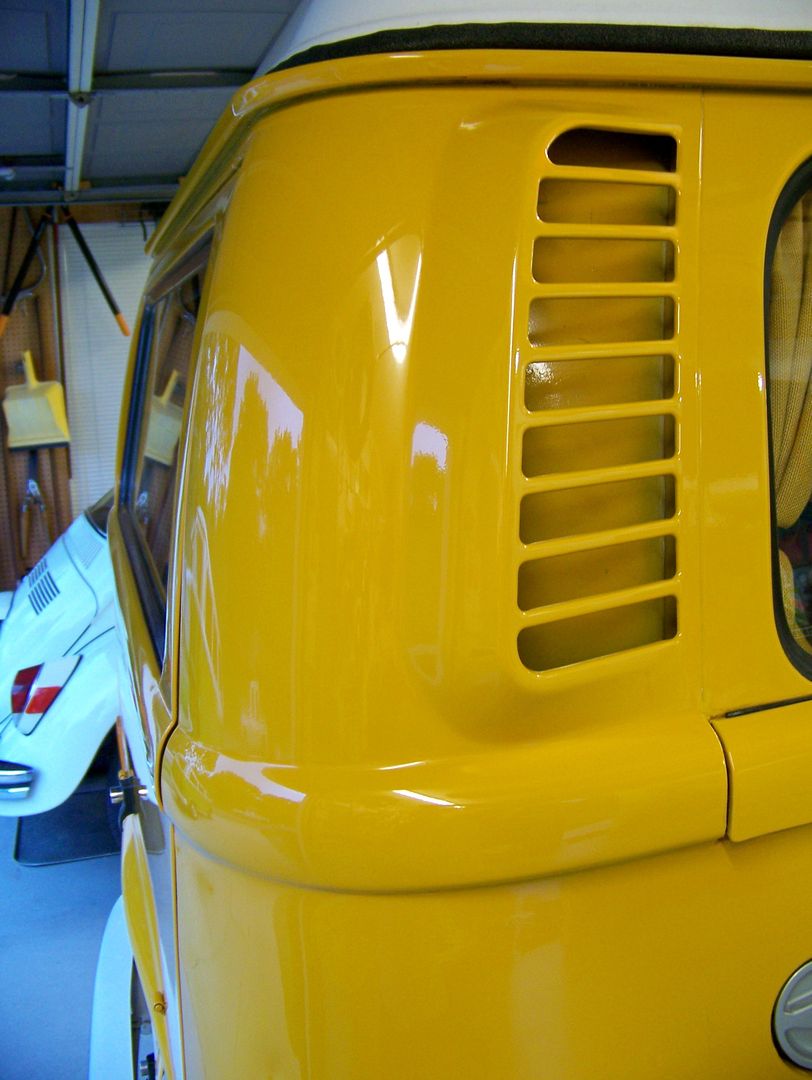
So did this side. But Mr. Lens Restorer hit this side with some soapy 1000 grit and polishing compound:
Now I have to do the whole car:
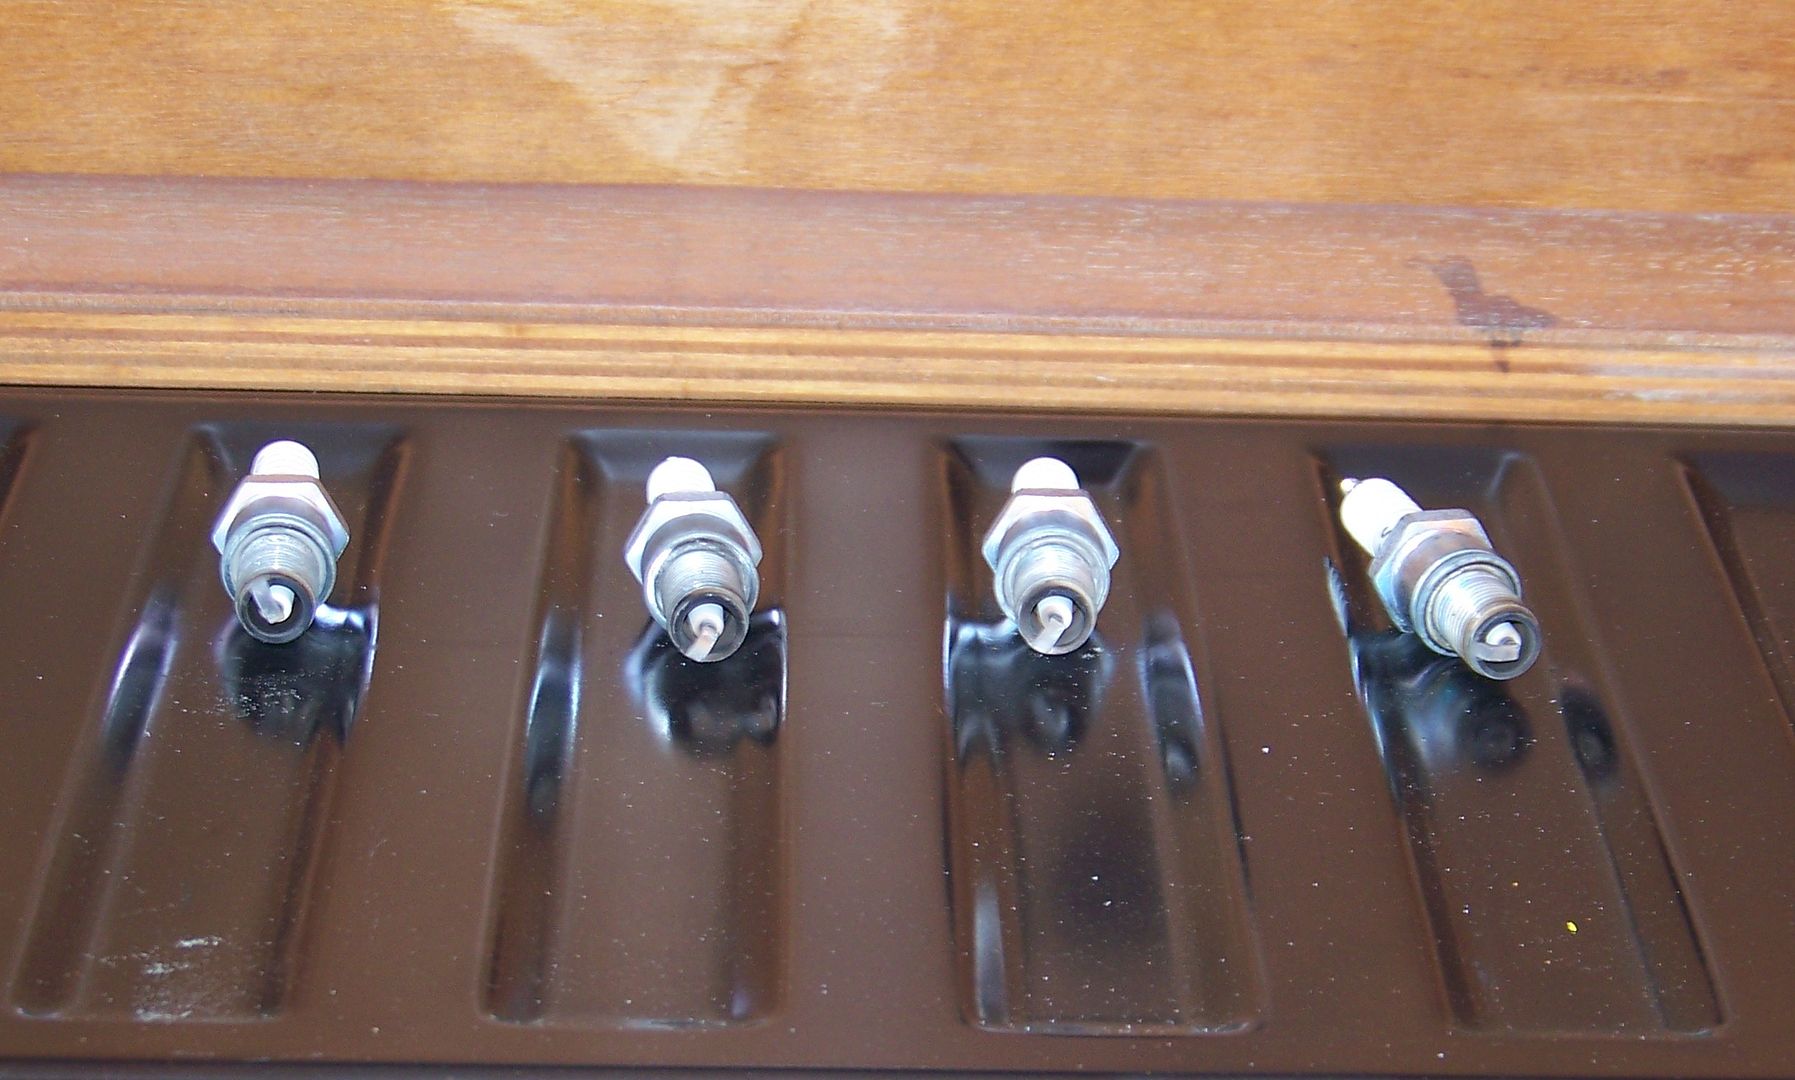
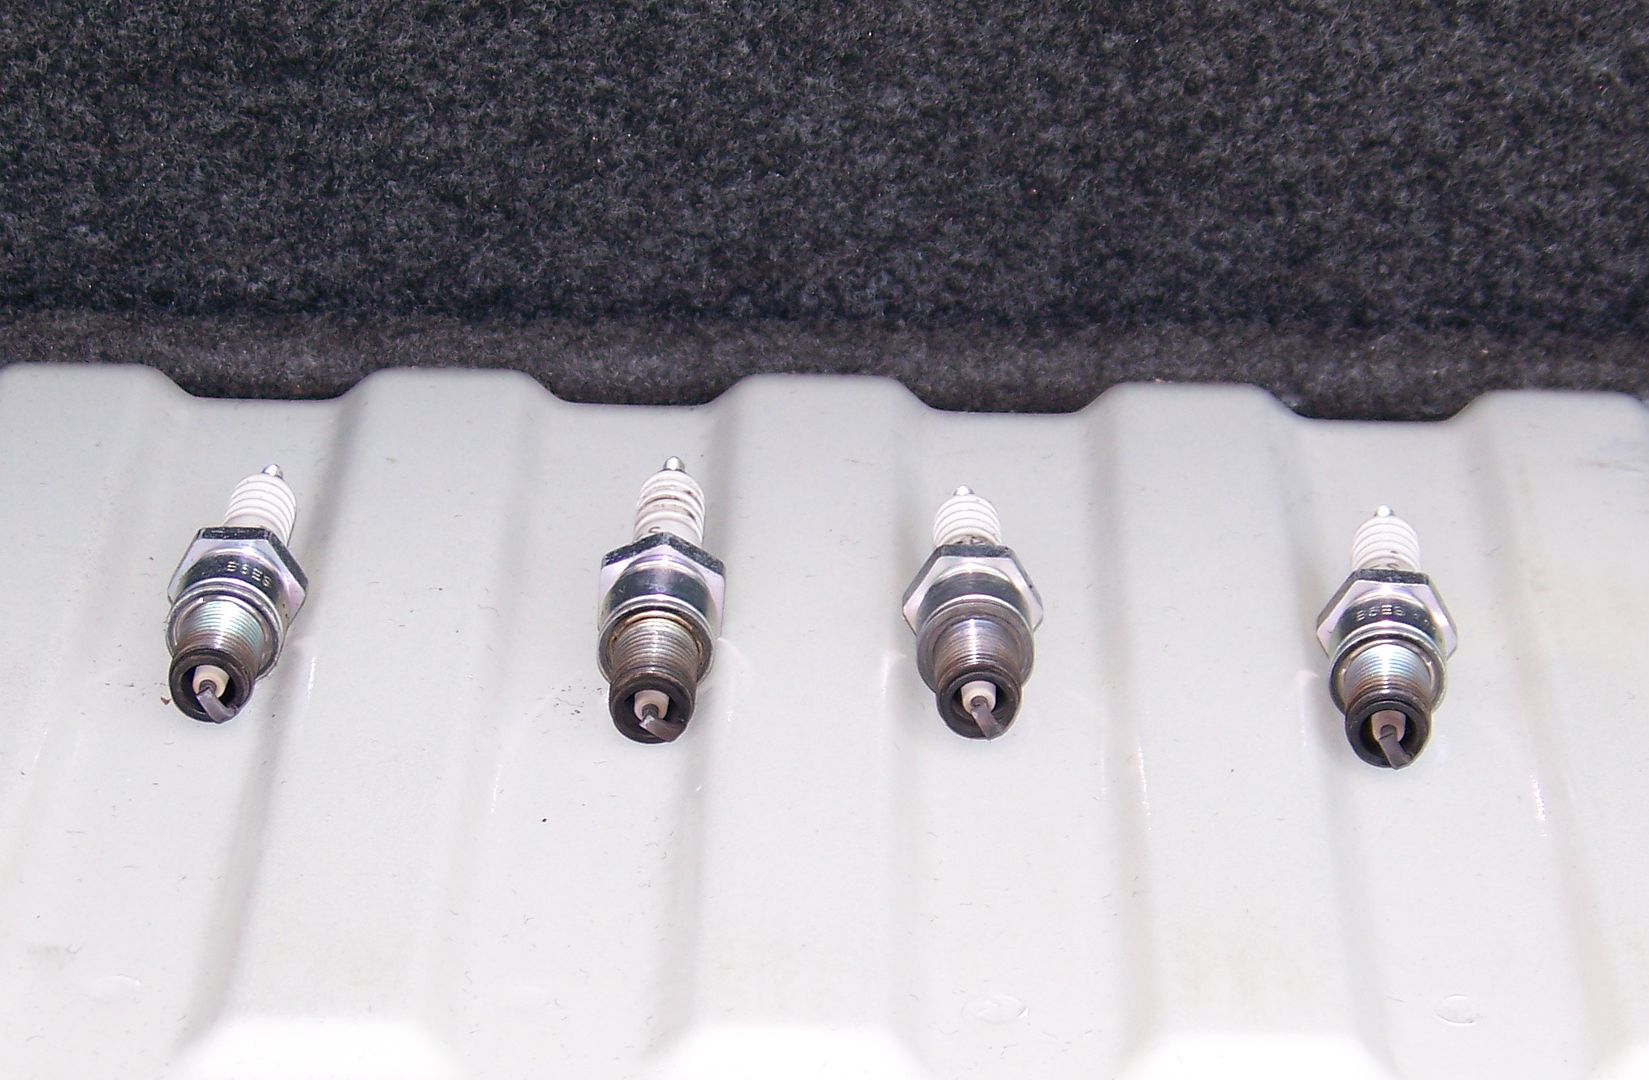
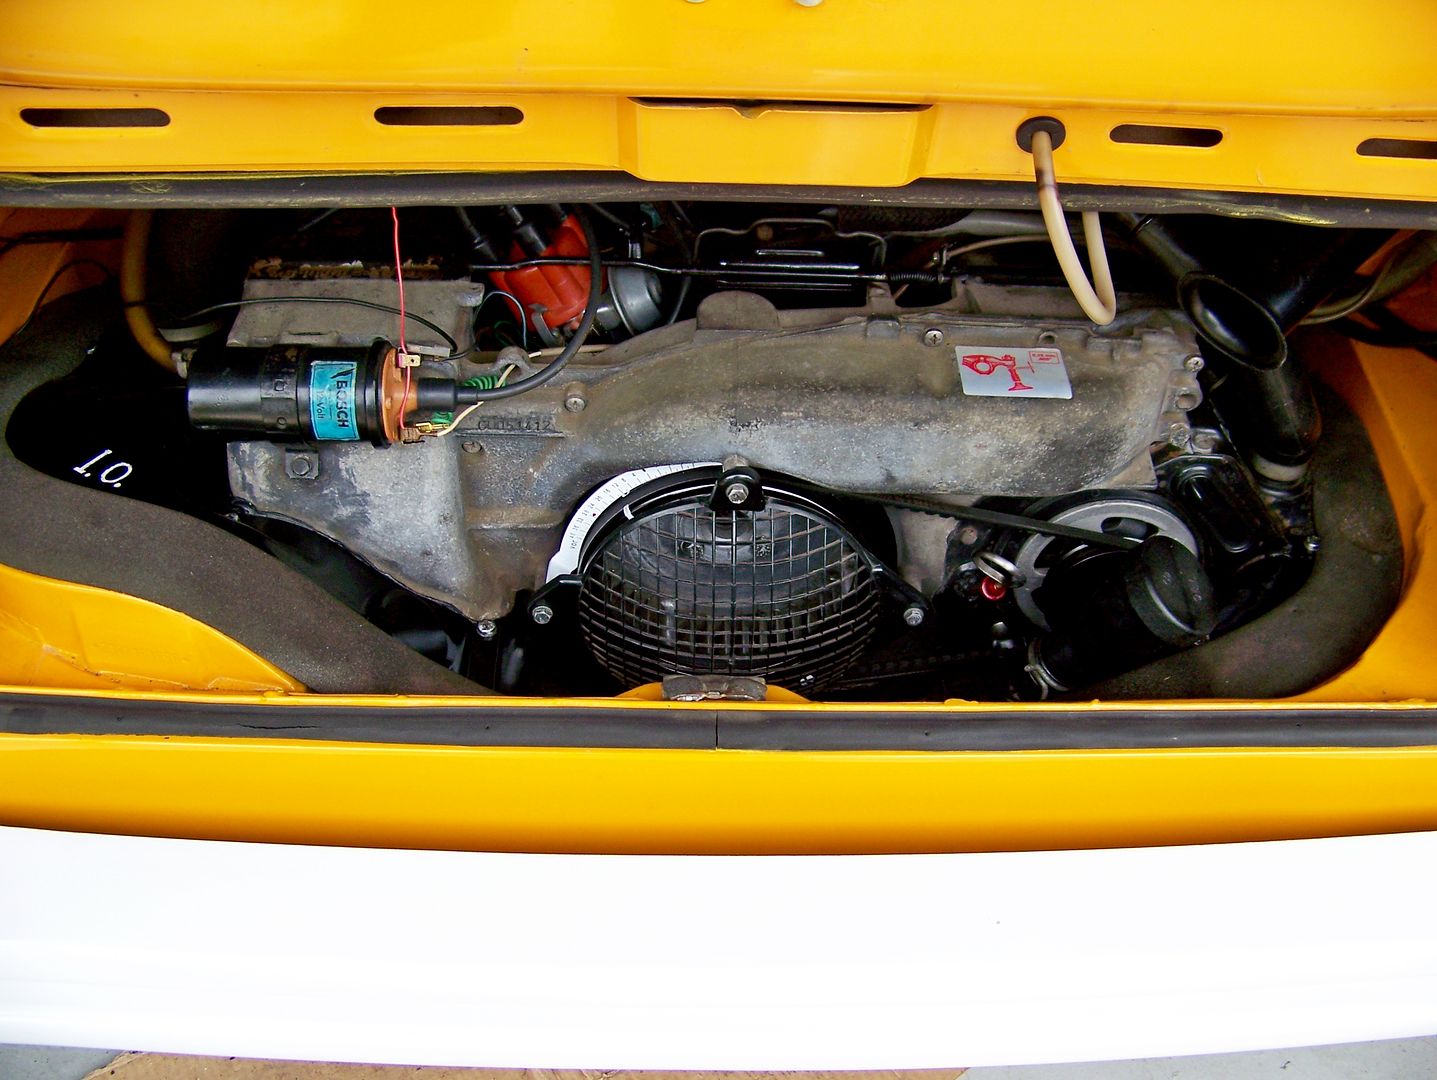
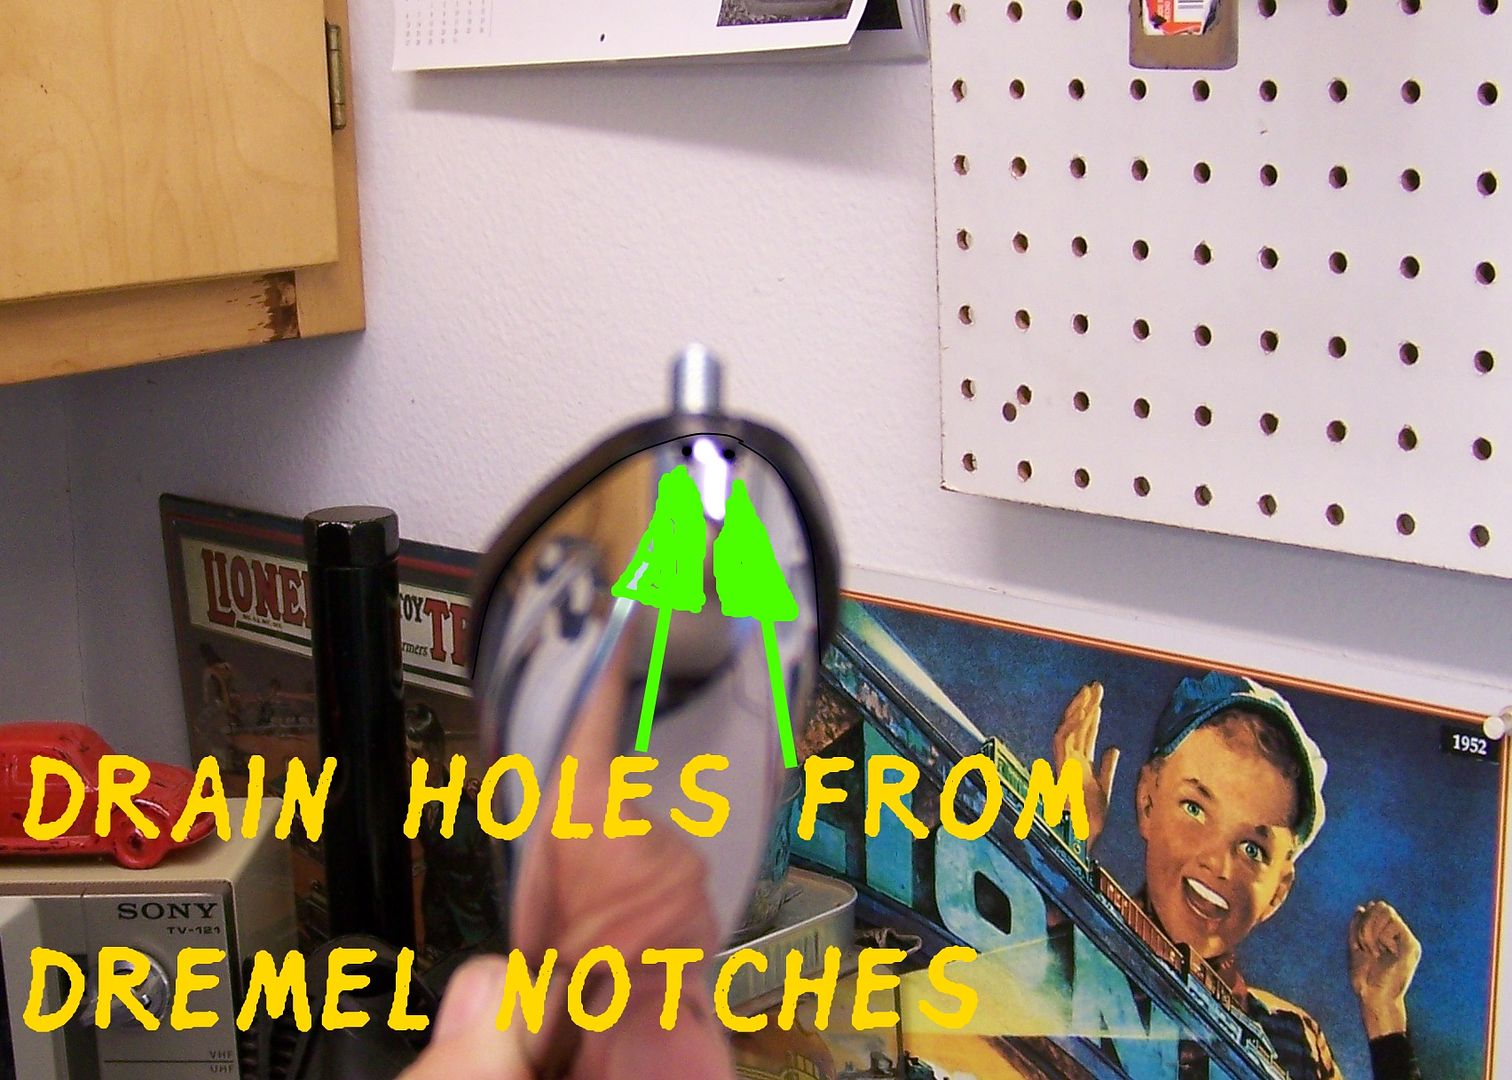
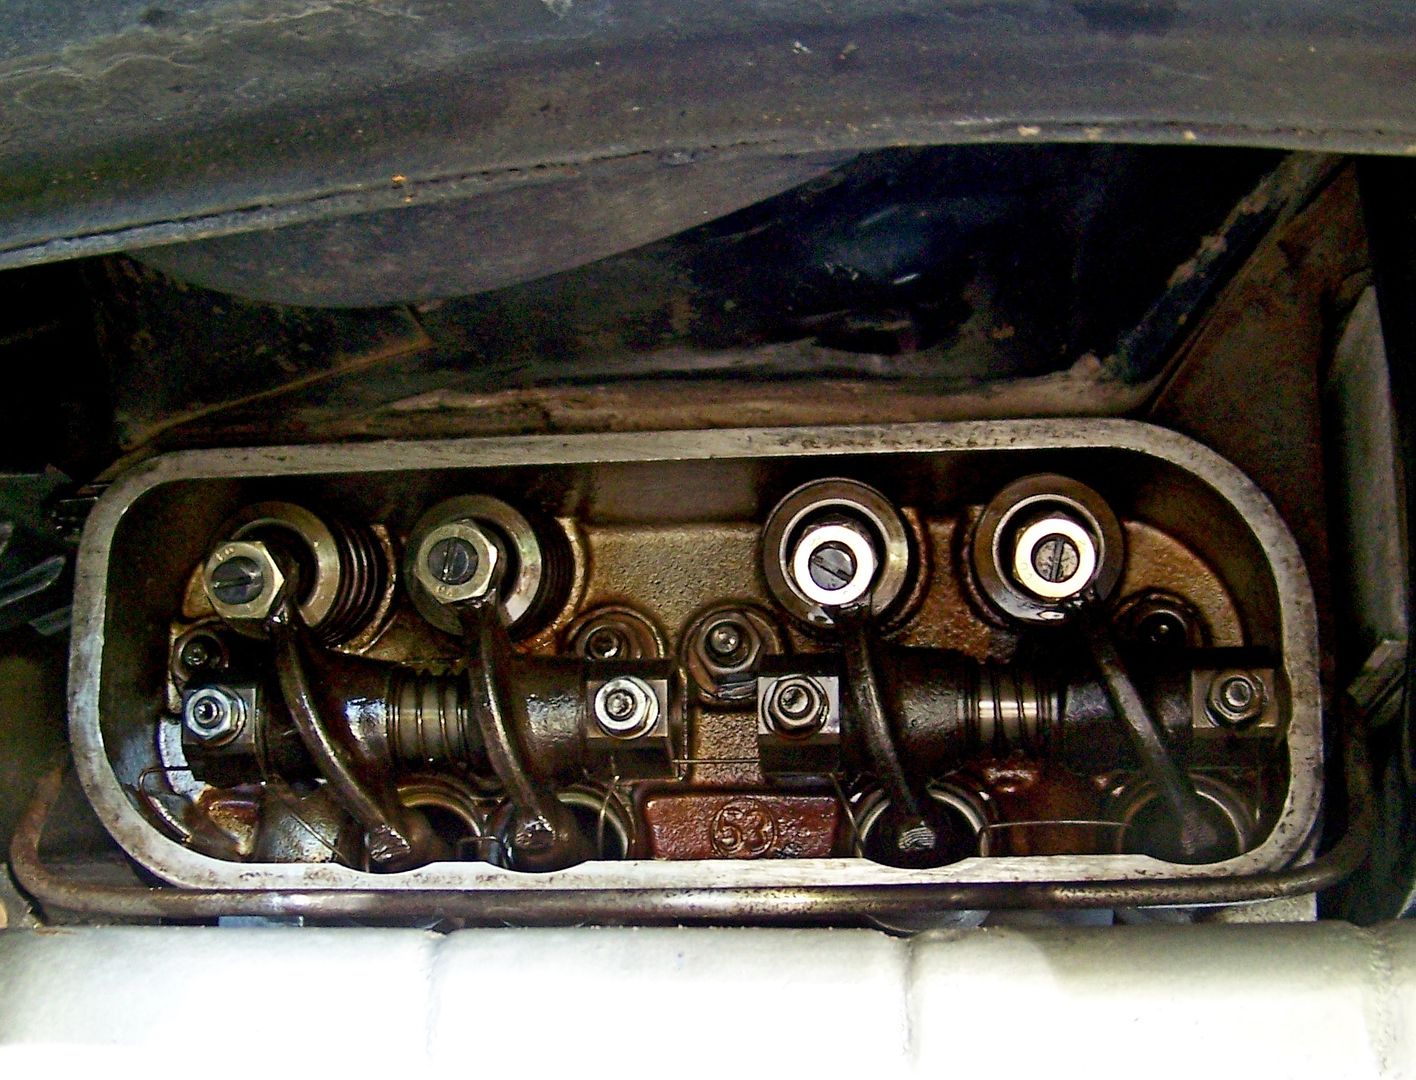
Stuck on some new Big Boy 17mm valve adjusting screws from Bus Depot. They are worthy and recommended for all you who hate the 14mm nuts that always get rounded off. For reference, this is NaranjaWesty's left bank :
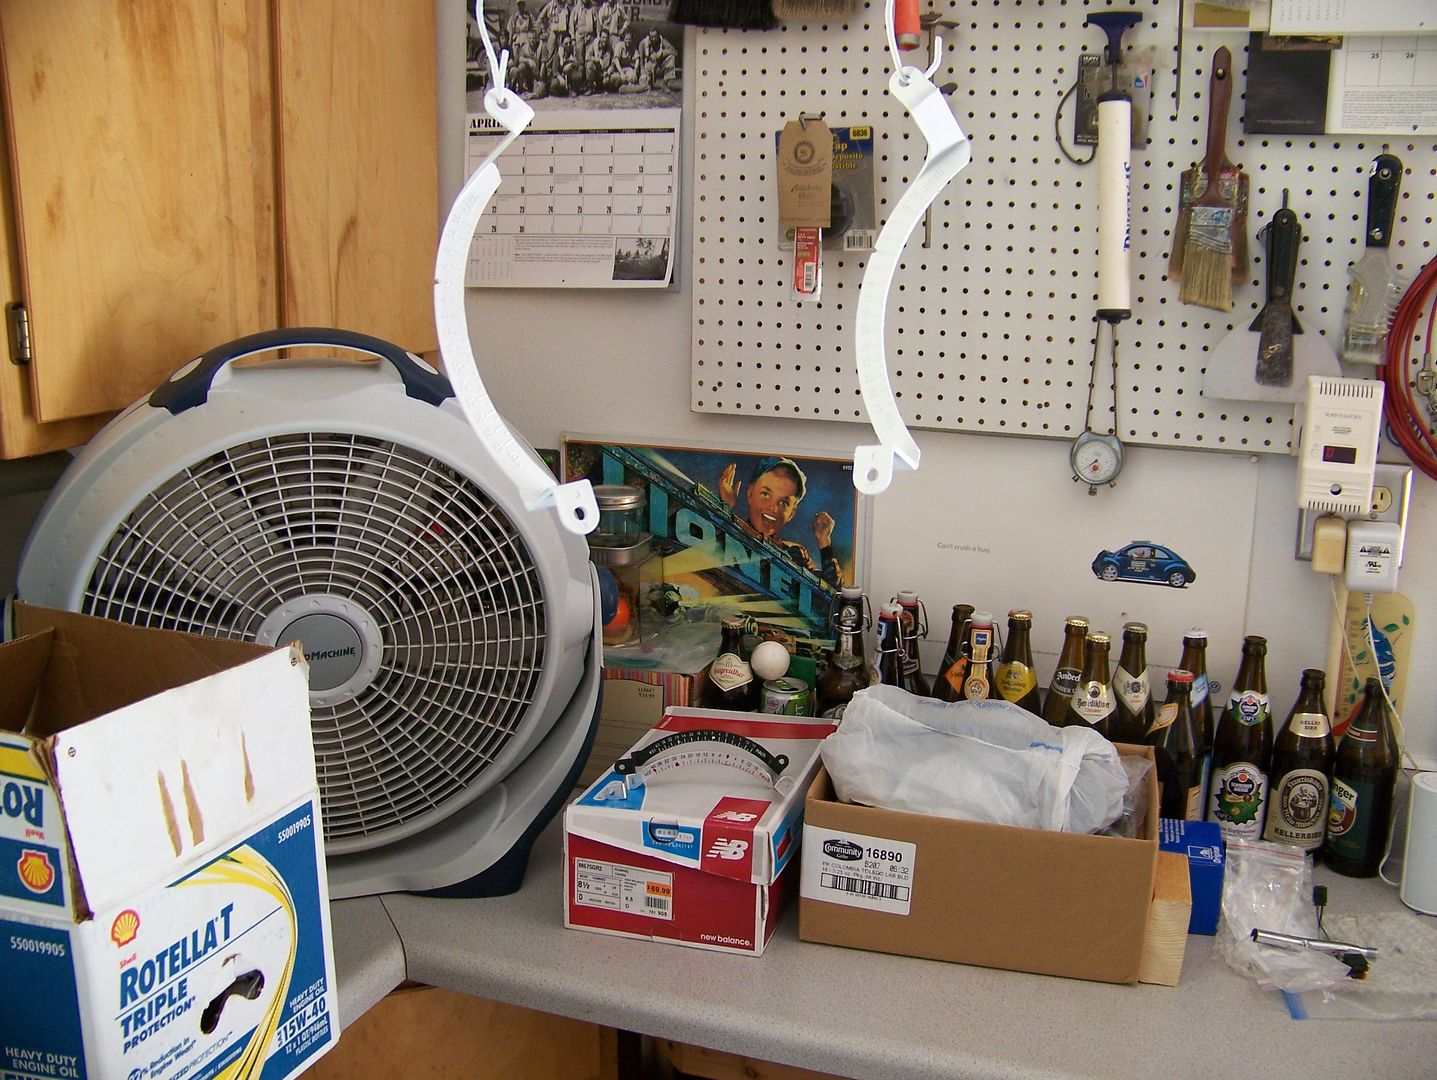
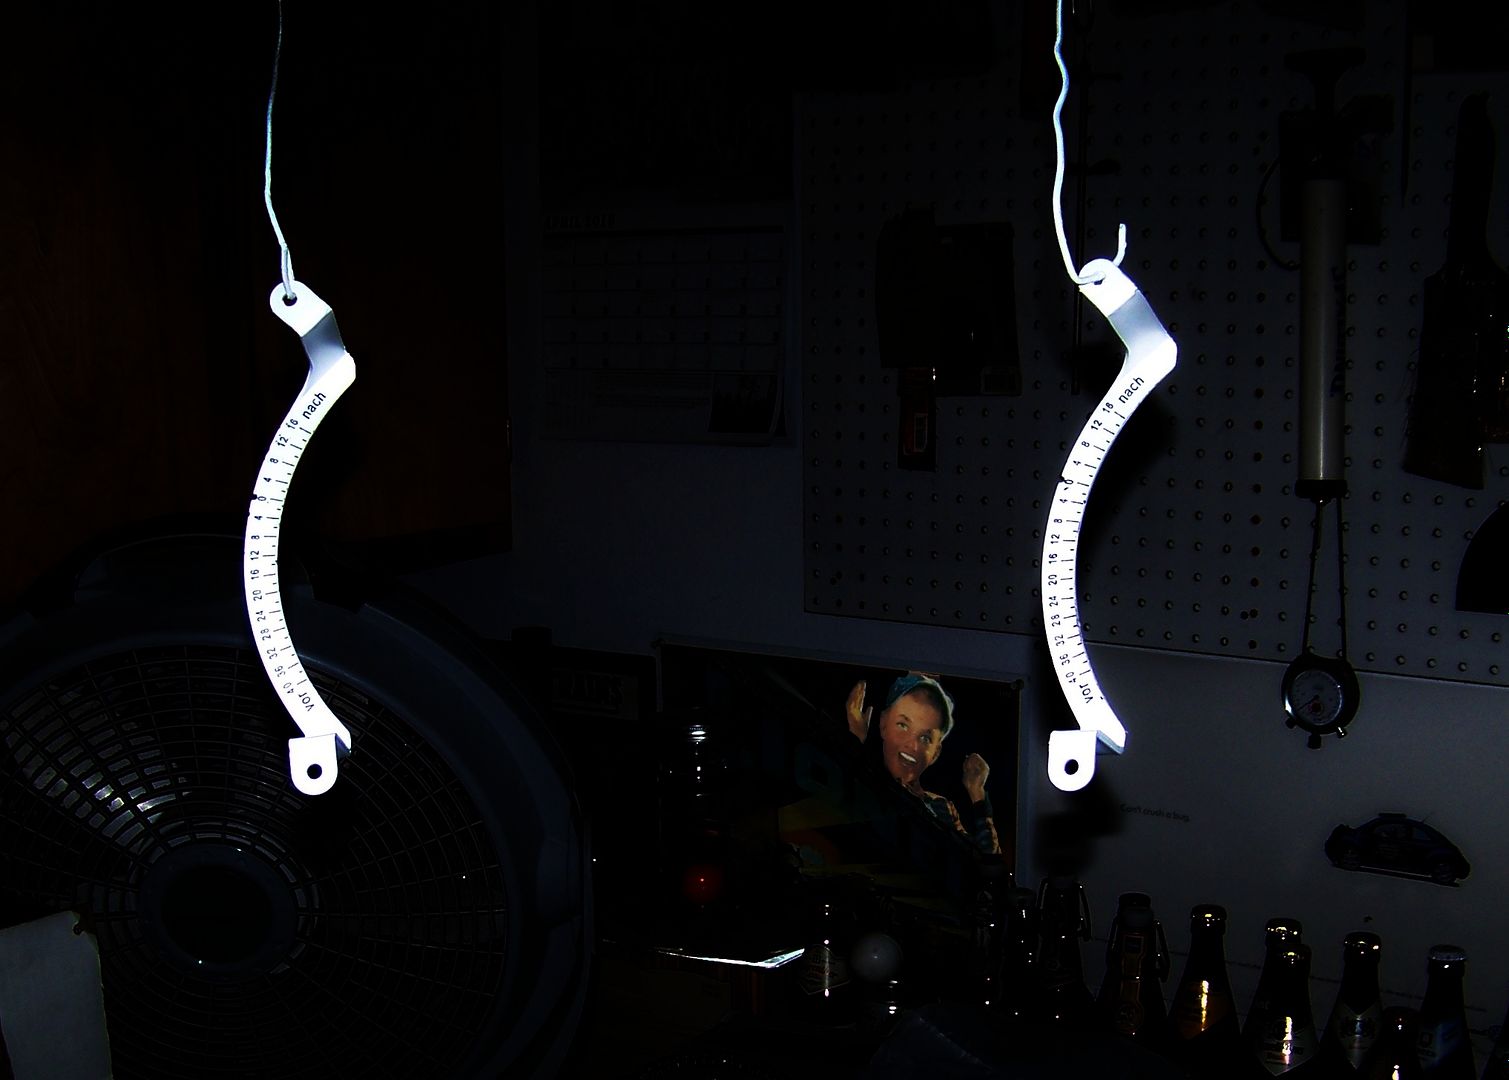
While I was cursing out my taillight replacement procedure, I started painting the five additional timing scales I ordered from Bus Depot. Here are the initially-black scales made white for pre-1976 buses:
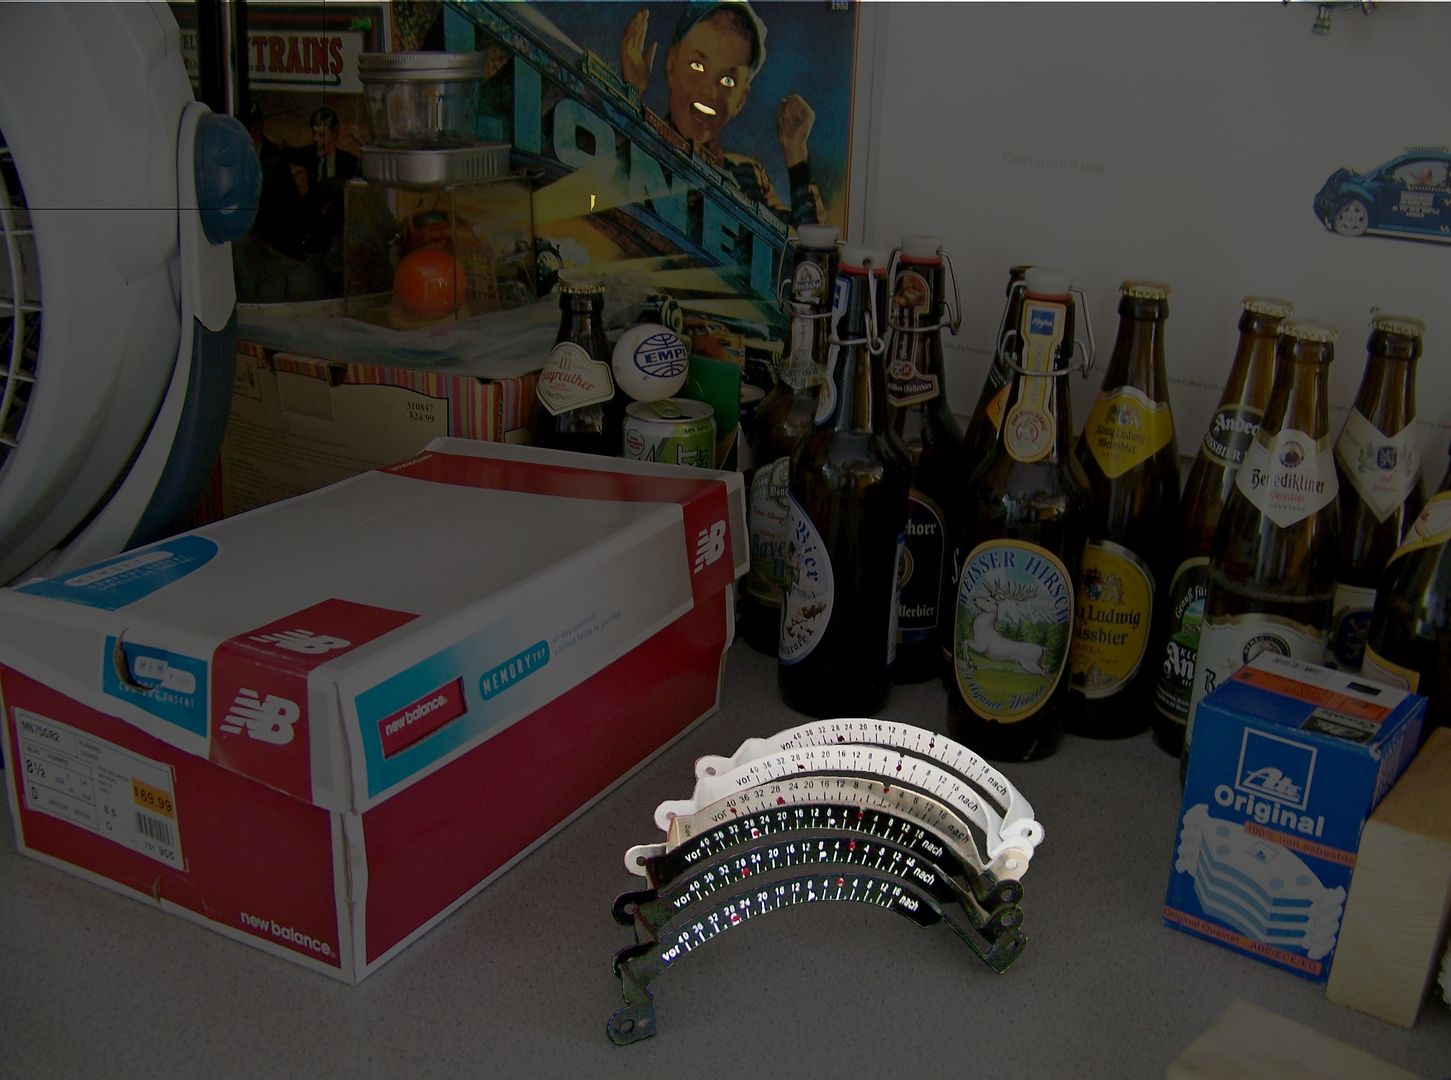
Now with numbers laboriously brought up:
Now with the red highlights. I shall sell the lot of them over the summer.
Let's start with the usual happy contented marveling with which I greet every sunny morning. Why do I even bother to wake up happy? But I did. I washed the most beautiful Rodney The Pilot's 1970 VW Beetle in the world. Note that the below photograph is *before* the wash, that is why the pavement is "dry" (not yet wet with my tears):
Took a moment to appreciate the incredibly honest and unique lines of the Beetle, the only shape in the automotive universe that transitions so beautifully from one plane to the next:
Noted a rare thing in this car that I have to give to Rodney The Pilot. The integrity of this car's appearance and function. It is not a slap-together shiny "restoration". Everything works and the doors close with solidity, the brakes are light and tight, the clutch has correct free play, the engine works as intended, the car steers exactly like a proper young Beetle, light, precise, tight. Now look at this interior:
The magnificence of that sparkling speedometer is due to me, I accept your accolades:
viewtopic.php?f=76&t=13276&start=90 (see: P 7 ) 9331
Here is my first repair using the box of original spade terminals with the weird swage tool:
Decided to run Rodney The Pilot's 1970 VW Beetle to the gas station since it was on reserve and nobody ever listens to me as to the importance of keeping the fuel tank topped up until they hotly declare that it makes the interior smell like gas to which I of course reply well why don't you fix the cause? The saucy functional look of the Beetle just make all the other cars around it look grotesque and stupidly zingablingy.
Yeah, so the interior sure did smell like gas after I topped the tank . . . . do you see how the universe tries so hard to destroy my happiness? With my ears burning, with a blush of humiliation, I emptied out the trunk and the perfect trunk carpeting and eventually discovered a loose hose clamp on the filler hose. Drove around again to air out the interior and practice my newfound haughty speech about "why don't you fix the cause?" . . .
Parked Rodney The Pilot's 1970 Beetle at about 11 AM. What a nice car. I love air-cooled Volkswagens . . . .
"Let's install the new taillamp assemblies into NaranjaWesty," I happily exclaimed to myself. After all, the left taillamp lens had a chip in it from the accident in Los Alamos on September 11, 2016. The insurance company had grudgingly sprung for one "OEM quality" lens. I demanded two VW Audi Mexican lenses (the color of the replacement won't match the original, so we need two), and new "Hella" housings. The housings are black. You can't do that, it steals luminosity.
See? :
Stuck little hoses on the studs so they wouldn't get mucked with paint:
Painted housings AND painted headlamp rings why not?
Little Lionel brat sure looks excited at these freshly silver-painted housings:
Then I "reflectorized" each light compartment with HVAC tape:
See how much more luminescent they are?
I made it only this far. Which is to say, I installed them fully wired up, even got the caps on the taillight housings:
Tested them. They throw out light pretty good. So why did it take another ENTIRE day to finish the job?
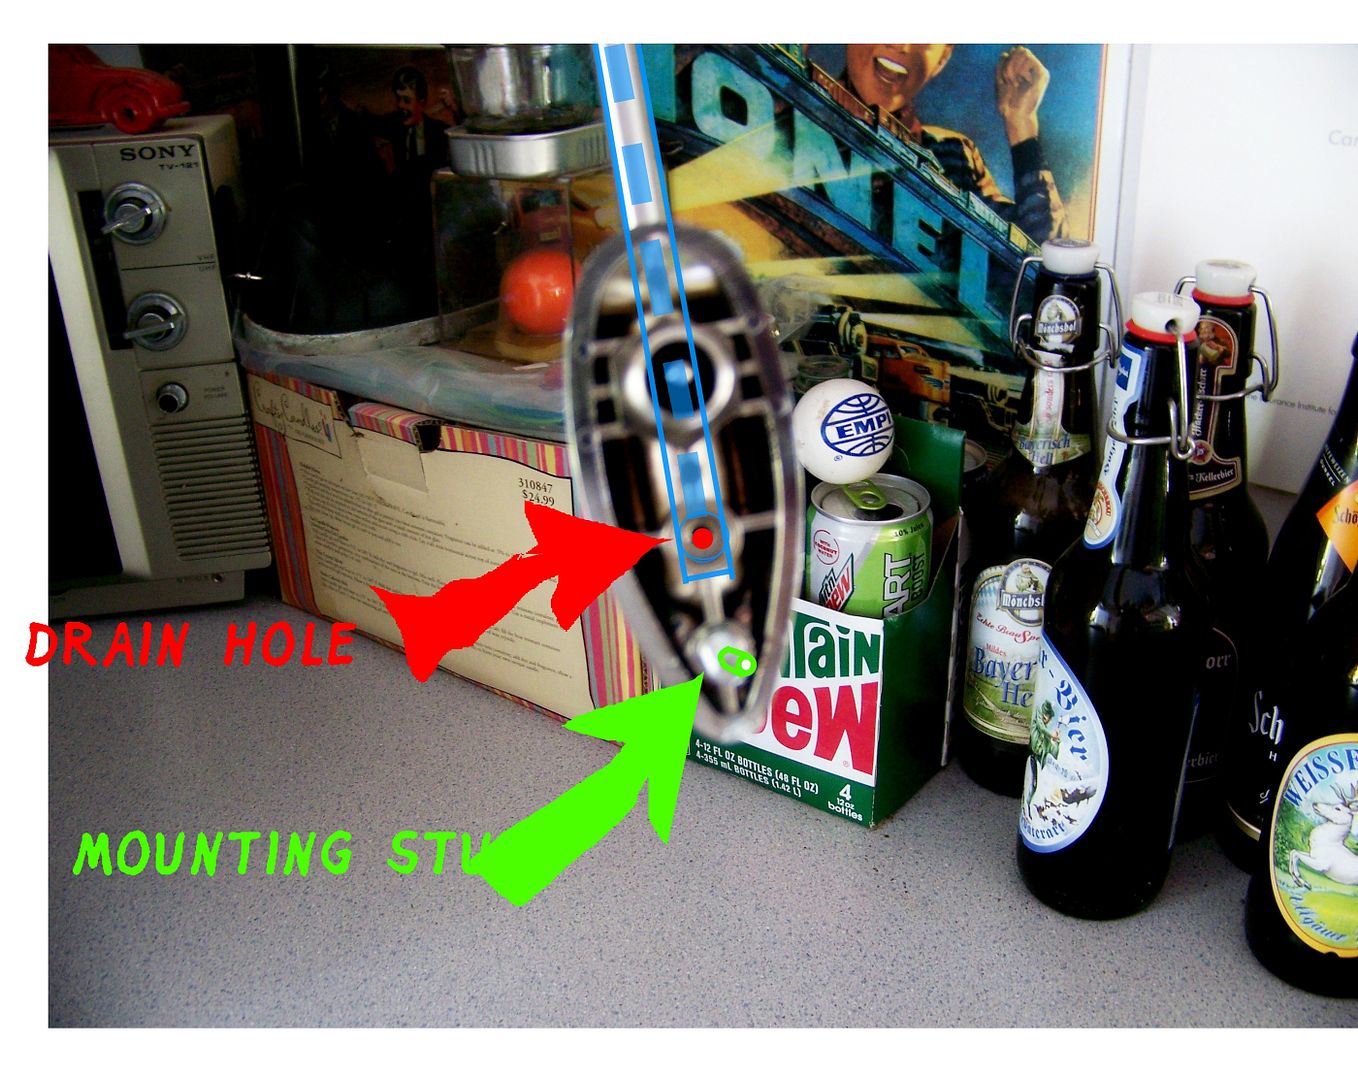
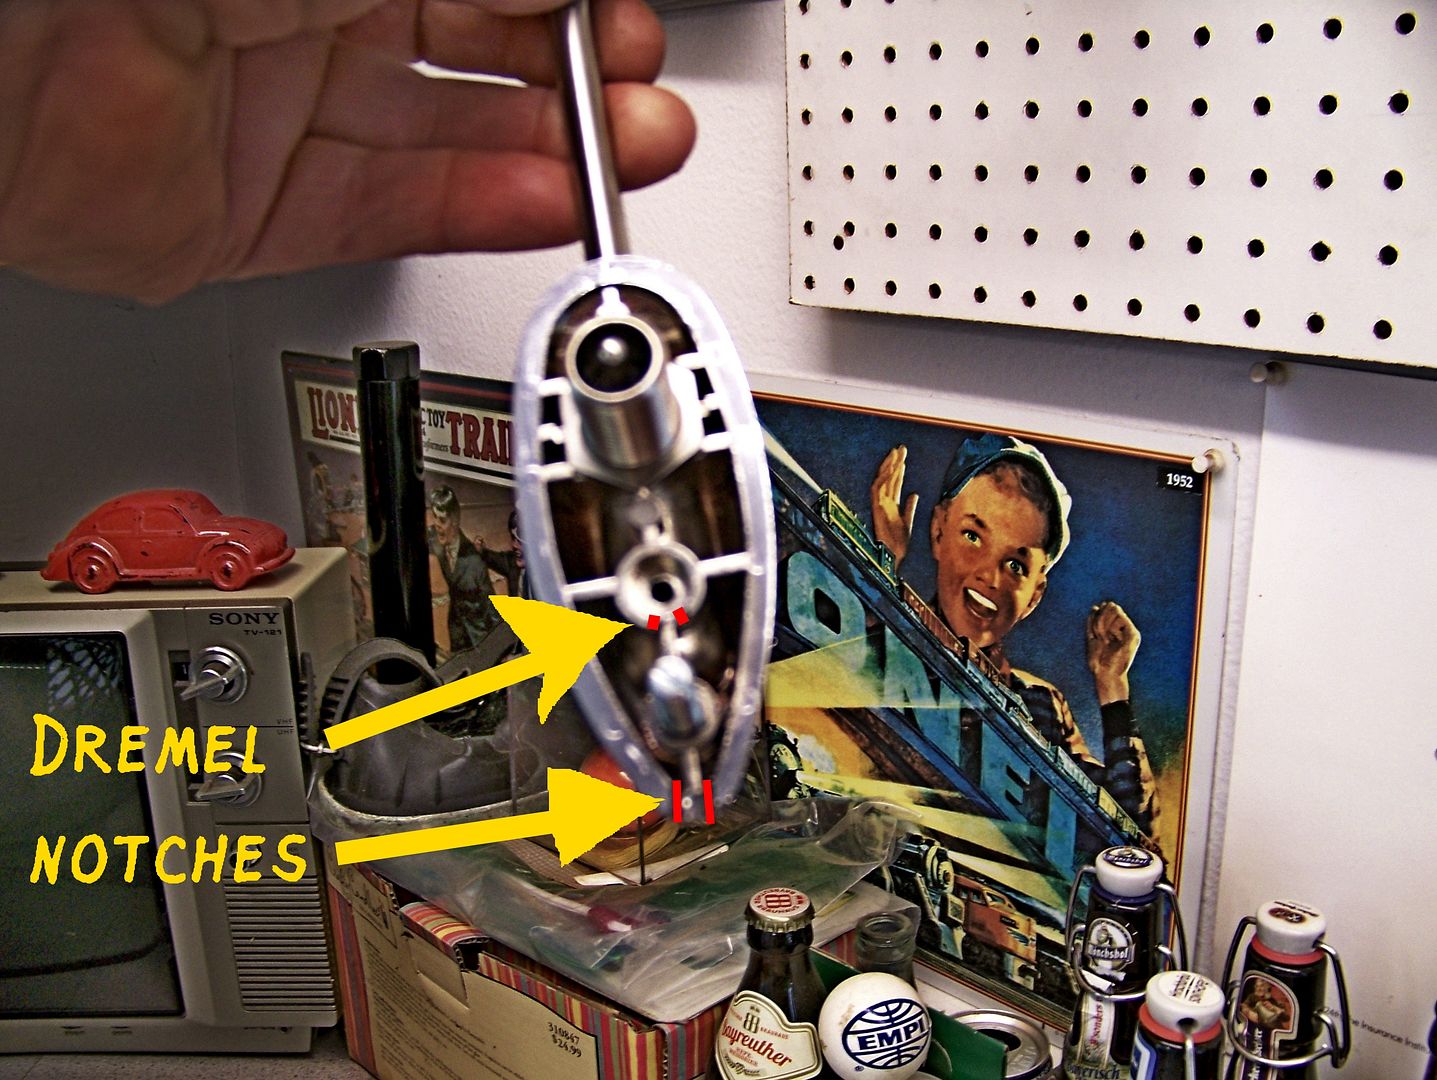
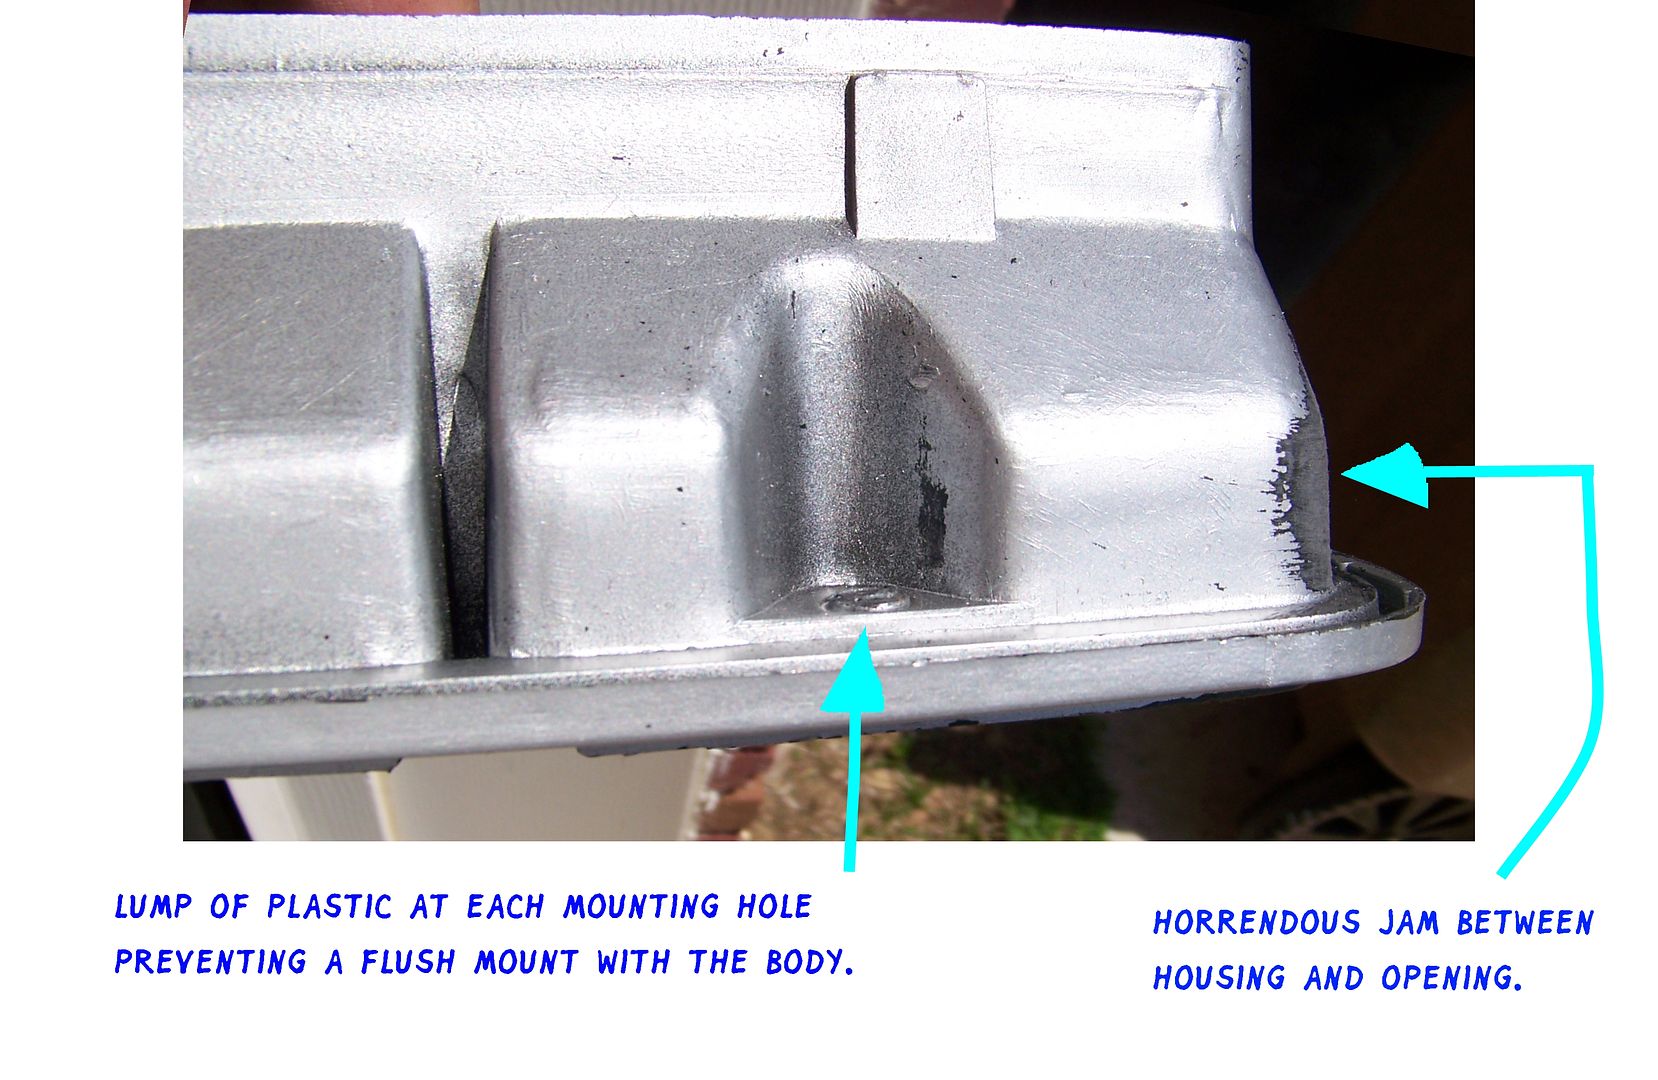
Because there was a gap, that's why. My happiness was destroyed. Plus the lenses would not sit flush against the housing. My hope, extinguished once more. I knew there was trouble. The housings fought going into the openings with a bzzzzt of the studs ripping their threads against the holes on the body, and I smartly rapped them into position, the lenses fought going onto the housings and the screws made dangerous squeaking noises as I tried to snug them to the housings. I will NOT have this. I drive in dusty conditions. I need the taillamps to keep dust out of the engine compartment, and I need the lenses to seat on the housings so the reflectors do not get dusted up or wet. This is a Law of mine. I have a Squareback with utterly fresh clean shiny reflectors and absolutely no corrosion on the bulbs/contacts, I have the BobD which has driven more miles than NaranjaWesty and it's lenses and reflectors are beautiful inside! NaranjaWesty must meet these standards. It can't be that difficult to make housings meet the body with a dust-tight seal and lenses meet the housings with a dust-tight seal! Yeah, but it is, in today's indifferent world. I had to disassemble both sides all the way down. I had to whittle the housings at the upper radius. I had to press out the mounting studs and plane down the flanges where the studs had displaced plastic. I had to whittle the index flanges for the lenses all the way around the housings (like how the early AMC heads were too big for the factory valve covers), I had to whittle the lenses themselves at each screw hole because you know why? I'll tell you why! I mean, I'll write you why! I had to whittle the screw holes in the Hella VW Audi Mexican lenses because the Hella black-now-silver housings had a different distance between each screw hole, and the edges of the screws were not going into the countersink holes. That is Crack The Damn Lens City! AND I had to drill out the holes in the left side opening to let the housing studs go in without a ripping bizz sound. We don't do bizz:
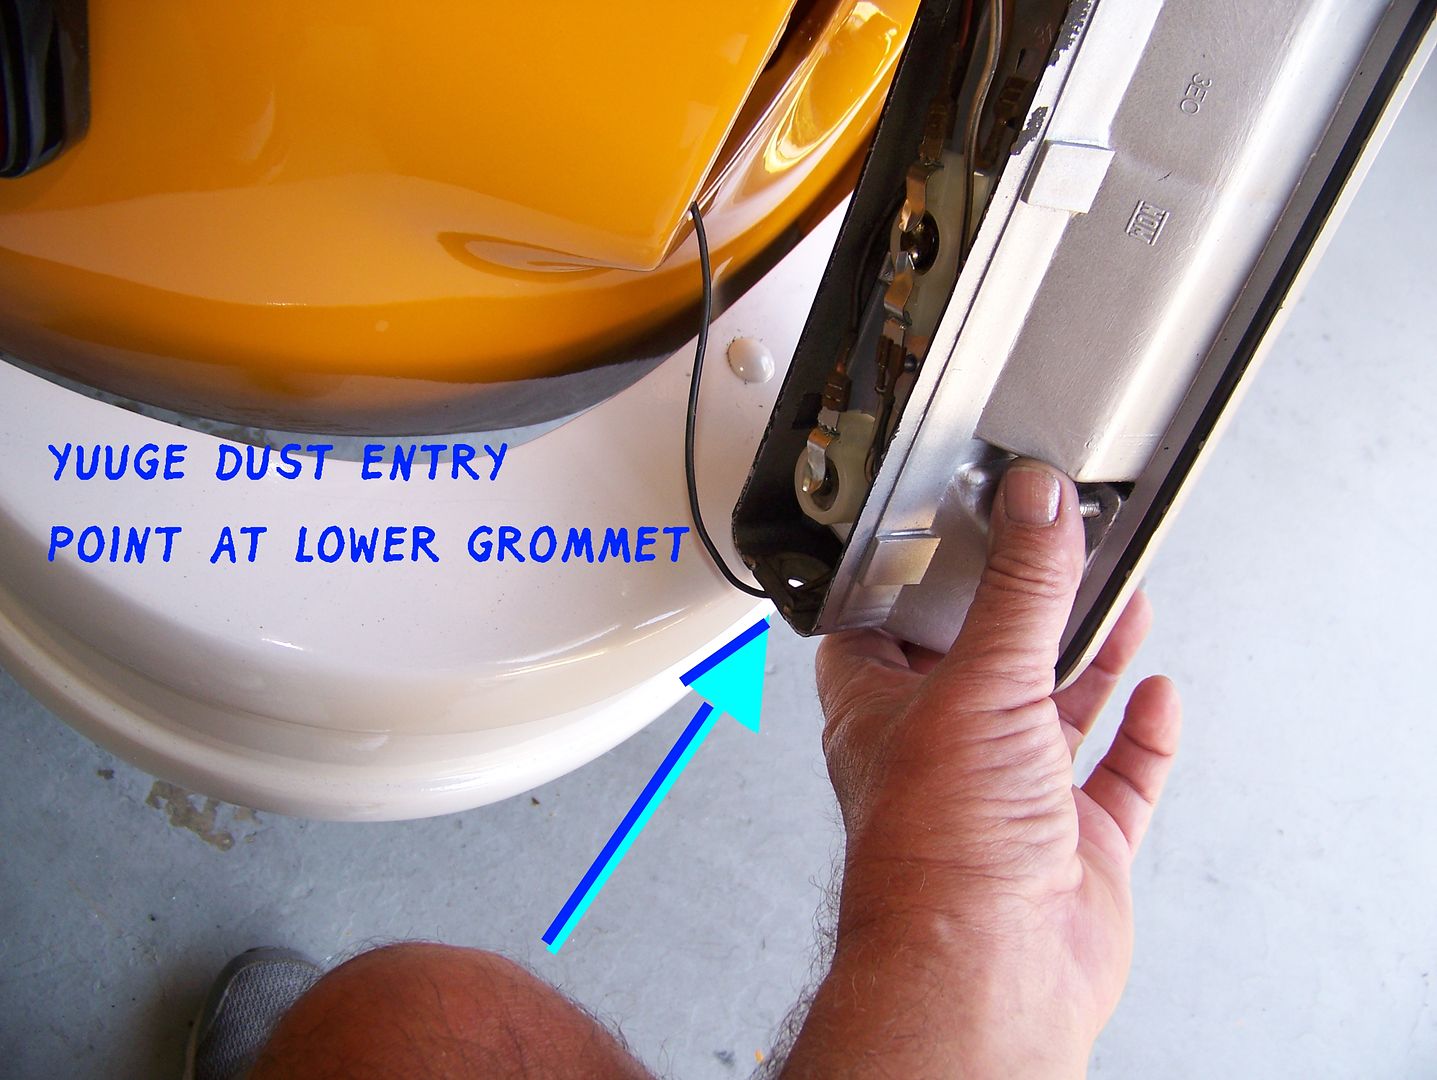
See the gaping hole in the grommet for the side marker wires? That is completely typical of all late model VW buses since August 1971. Why do they seal everything then put in a grommet with a dust sucking huge gaping hole? Am I sounding testy? Well, am I?
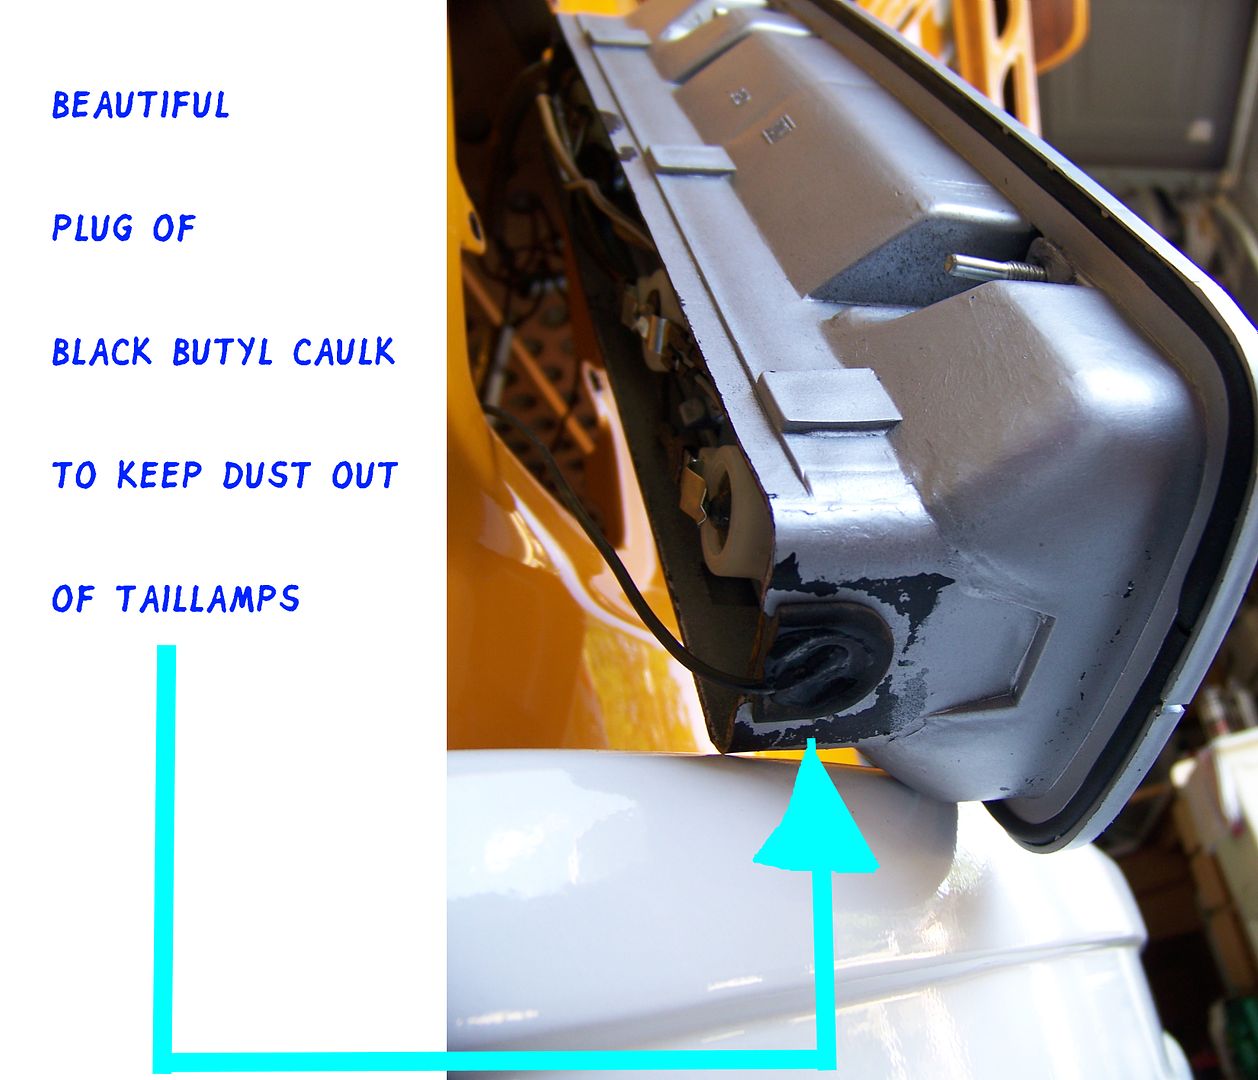
A little NAPA butyl caulk sealed the lower grommets:
You think this is OCD? Well, trying being the caretaker of a bus that has it all correct just feet away from the torment of sloppy indifference. It took TWO hateful days, a whole repainting of the housings, touching up the drilled-out screw holes in the quarter panel, agog stares from the neighbors who think it took me two days to change out a lousy light bulb in my taillight, to get this.:
Then I attacked the NaranjaWesty Original Fred The Oversprayer® Hella Turn Signal Lenses
which had been swapped out with BobD's original lenses while the BobD got the brand new original Hella NOS turn signals lenses bought two years ago off theSamba. Now then,
NaranjaWesty Original Fred The Oversprayer® Hella Turn Signal Lenses were perfect except for a lot of yellow paint and a few hits from a grinder and some hideously deep scratches and two inadvertent pours of fiberglass resin. BobD's original lenses had crazed cracking from that hit in Death Valley by that knucklehead who had to pass me on the gravel road to get to the stop sign before me.
I sanded the hell out of the lenses, 220 grit! Blasted through the scratches and the resin. They looked utterly opaque and destroyed. Then I went through the entire sandpaper collection and sanded those lenses in soapy water 320/400/600/800/1000/1500 avoiding the Hella logo and the Made In Germany because I am nothing if not vain and designer logo-conscious. Then I attacked the lenses with the 4 step headlamp clarifying kit. Then wax. Voila!
Pre-Reflectorizing Process:
Post-Reflectorizing Process:
NaranjaWesty Original Fred The Oversprayer® Hella Turn Signal Lenses at home once more:
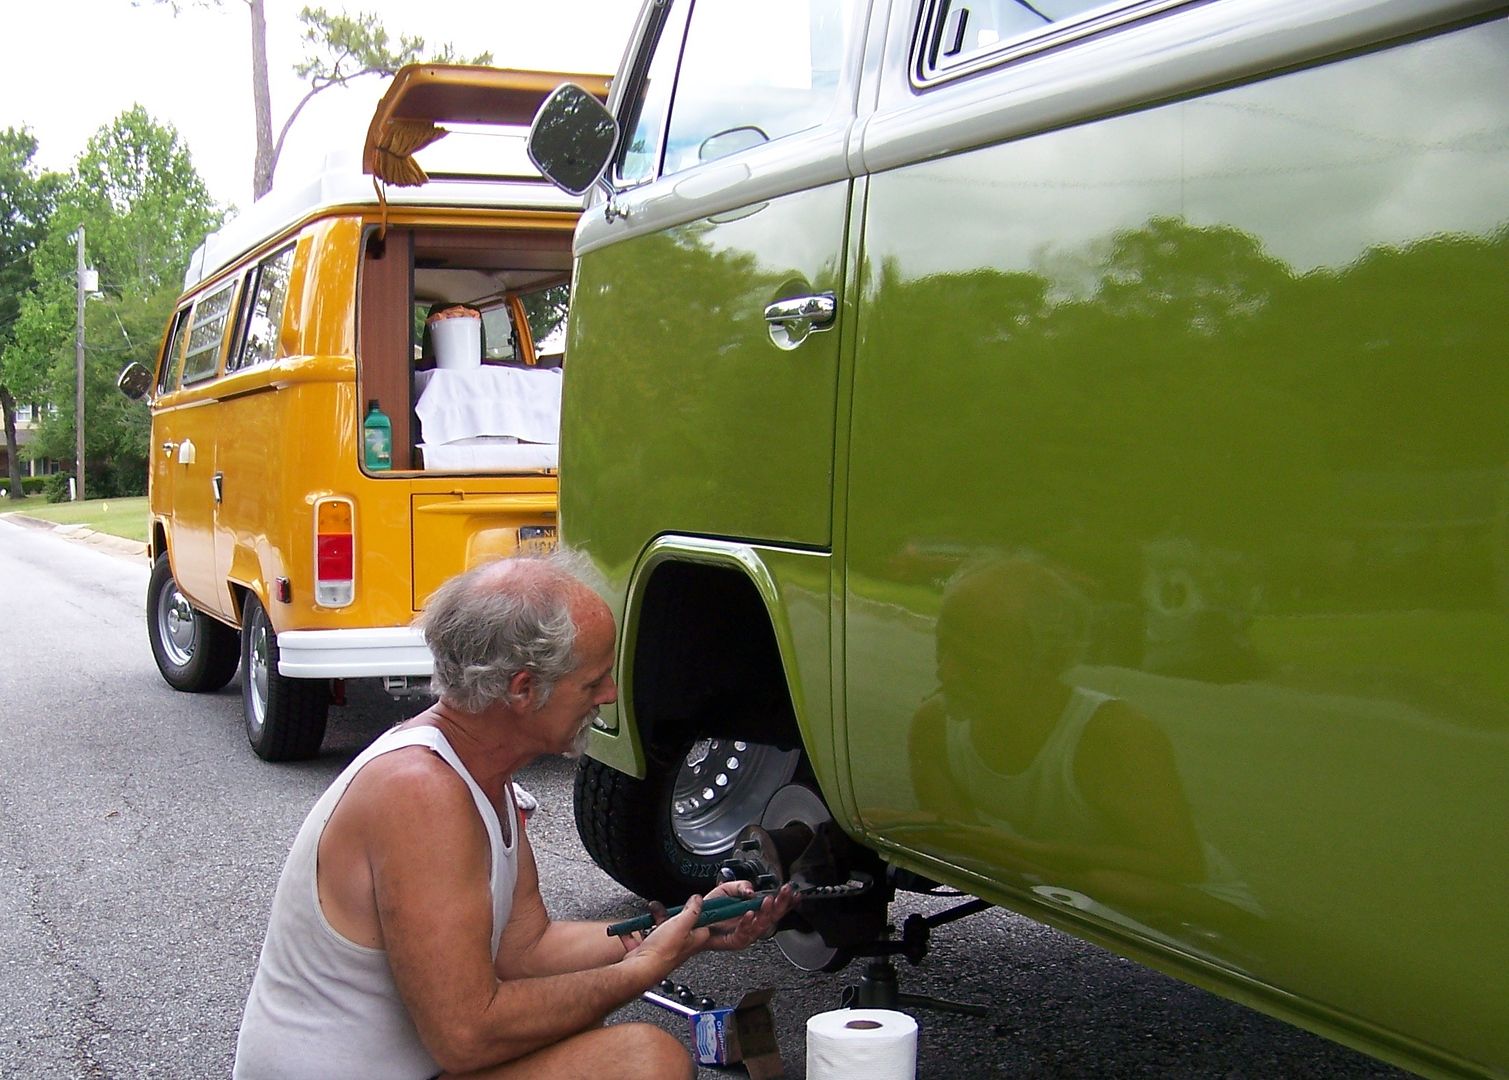
Now, bad news for me. You know the BobD looks spiffy with that original paint just ridiculously reflective. NaranjaWesty's Fred The Oversprayer paint job is close to awful. I stupidly experimented to great effect The left scoop was painted as a consequence of the crash in Los Alamos. The shop couldn't help themselves. They buffed to a BobD gloss. Now look at the tailgate paint. It is so orange peely that it actually looks like the surface of an orange, a slightly dehydrated orange:
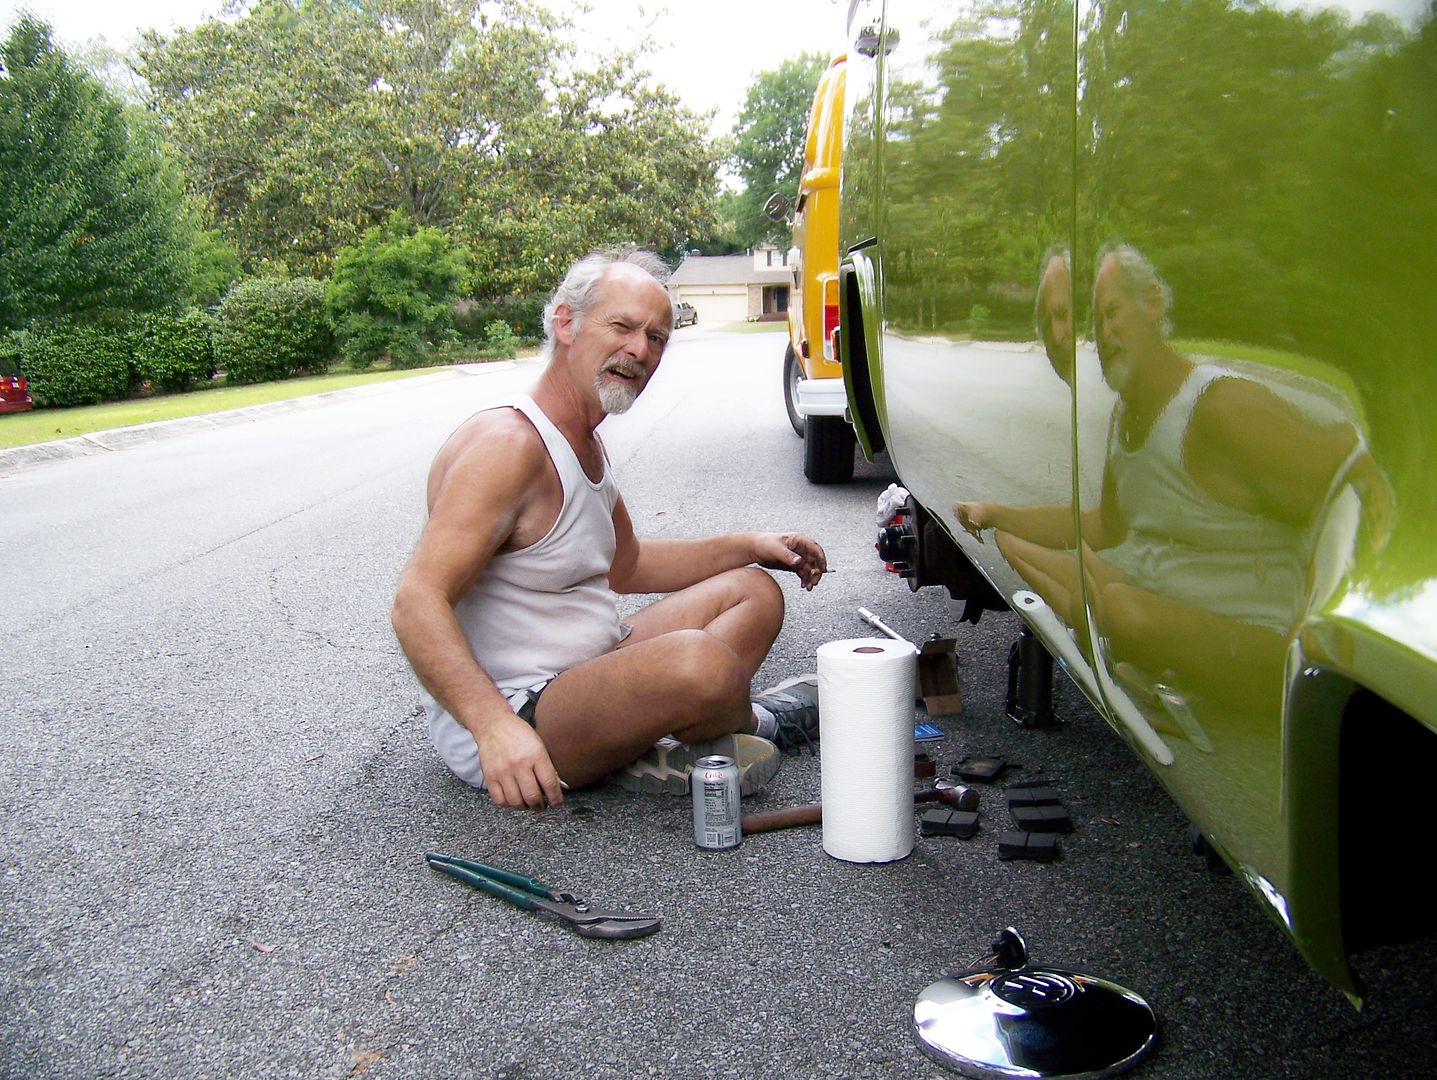
So did this side. But Mr. Lens Restorer hit this side with some soapy 1000 grit and polishing compound:
Now I have to do the whole car:
Stuck on some new Big Boy 17mm valve adjusting screws from Bus Depot. They are worthy and recommended for all you who hate the 14mm nuts that always get rounded off. For reference, this is NaranjaWesty's left bank :
While I was cursing out my taillight replacement procedure, I started painting the five additional timing scales I ordered from Bus Depot. Here are the initially-black scales made white for pre-1976 buses:
Now with numbers laboriously brought up:
Now with the red highlights. I shall sell the lot of them over the summer.