Non-Itinerant Greetings From Valdosta
Posted: Mon Oct 29, 2012 6:46 pm
also known as "Rebuilding Your Leaky Cheap Master Cylinder Behind A Closed Belks Store".
Yes, I have been empathetically wincing with the poor denizens of the East Coast who have been enduring the Big Storm. Down here in Valdosta, we have been suffering through "breezes" from that very storm. I got slammed with a howling 10 mph puff that picked up the edge of my towel.
So, yeah, all summer my cheap chinese master cylinder has been developing a leak along the trailing edge of the belly pan. Every month, I have had to add brake fluid. Today, I sez, "let's overhaul this sucker." Now, as you know, I cannot afford to screw this up. Brakeless and homeless is a recipe for ending up in a local jail. Went to NAPA.
"I need a 1000 grit sheet of wet-or-dry sandpaper."
"Why do you need wet-or-dry sandpaper? Wet-sandin"?"
"Sort of. I plan to hone my master cylinder."
"I don't think you can do that."
"I don't think so either."
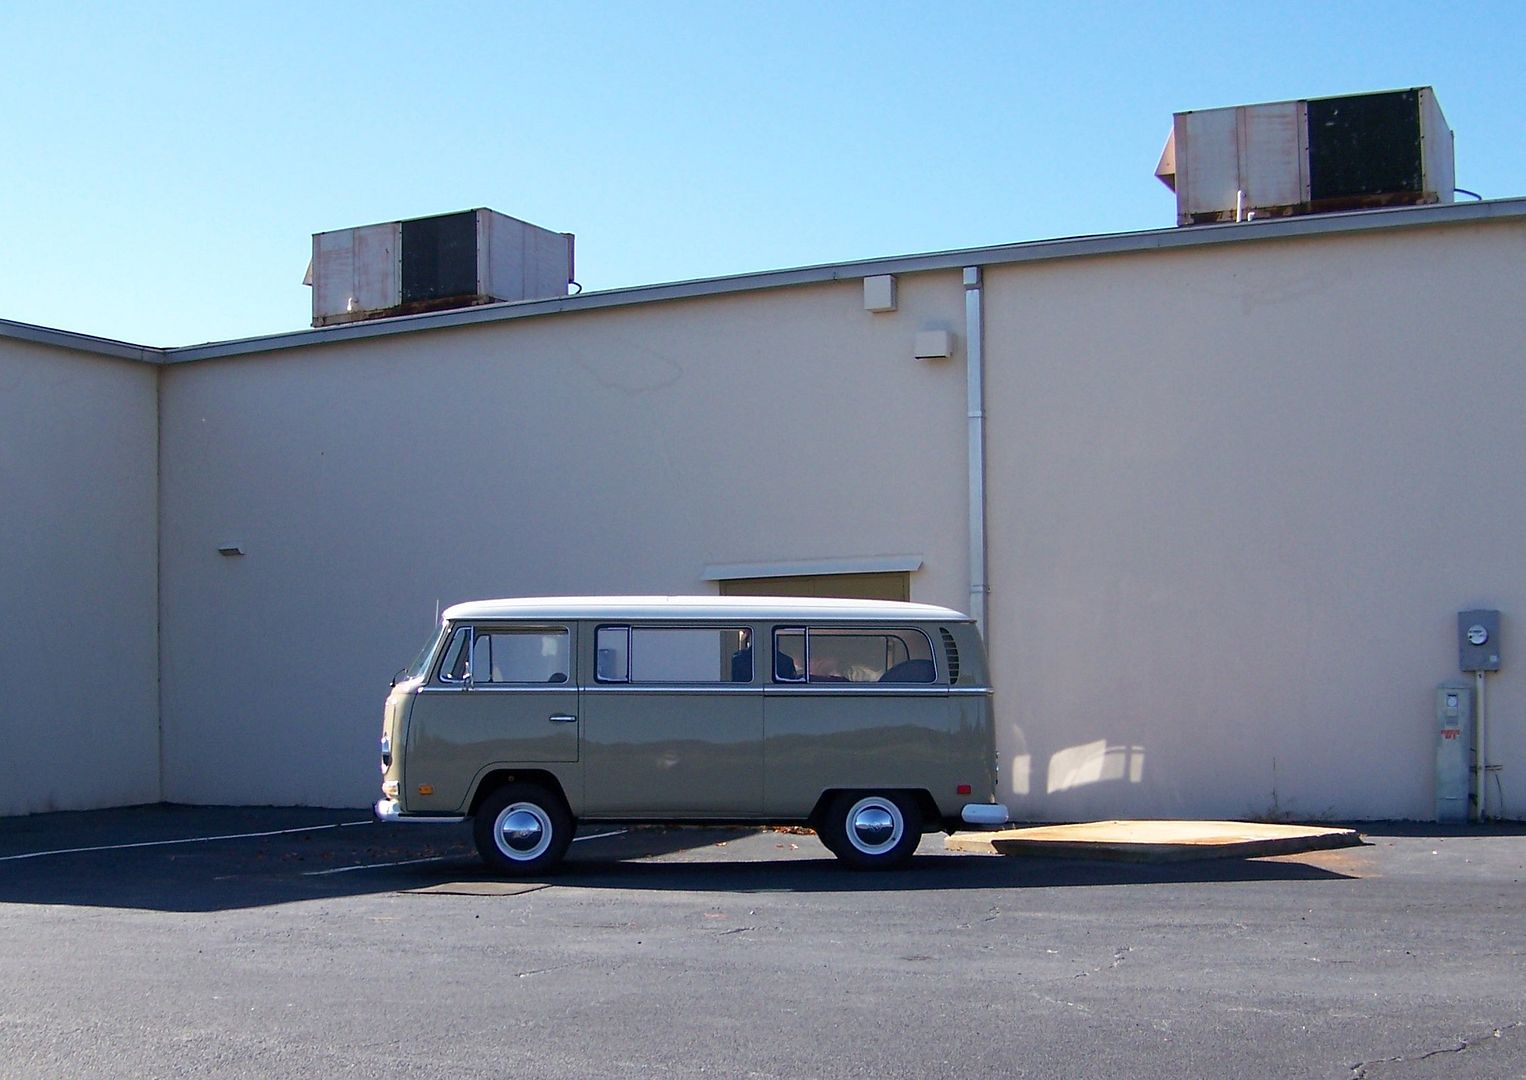
Found a carefully chosen spot behind a big half-dead shopping center with sight lines for brakeless kinetic energy dissipation (should my overhaul FAIL), and I needed a windbreak from the above-mentioned 10 mph howling gale in the 66* sunshine.
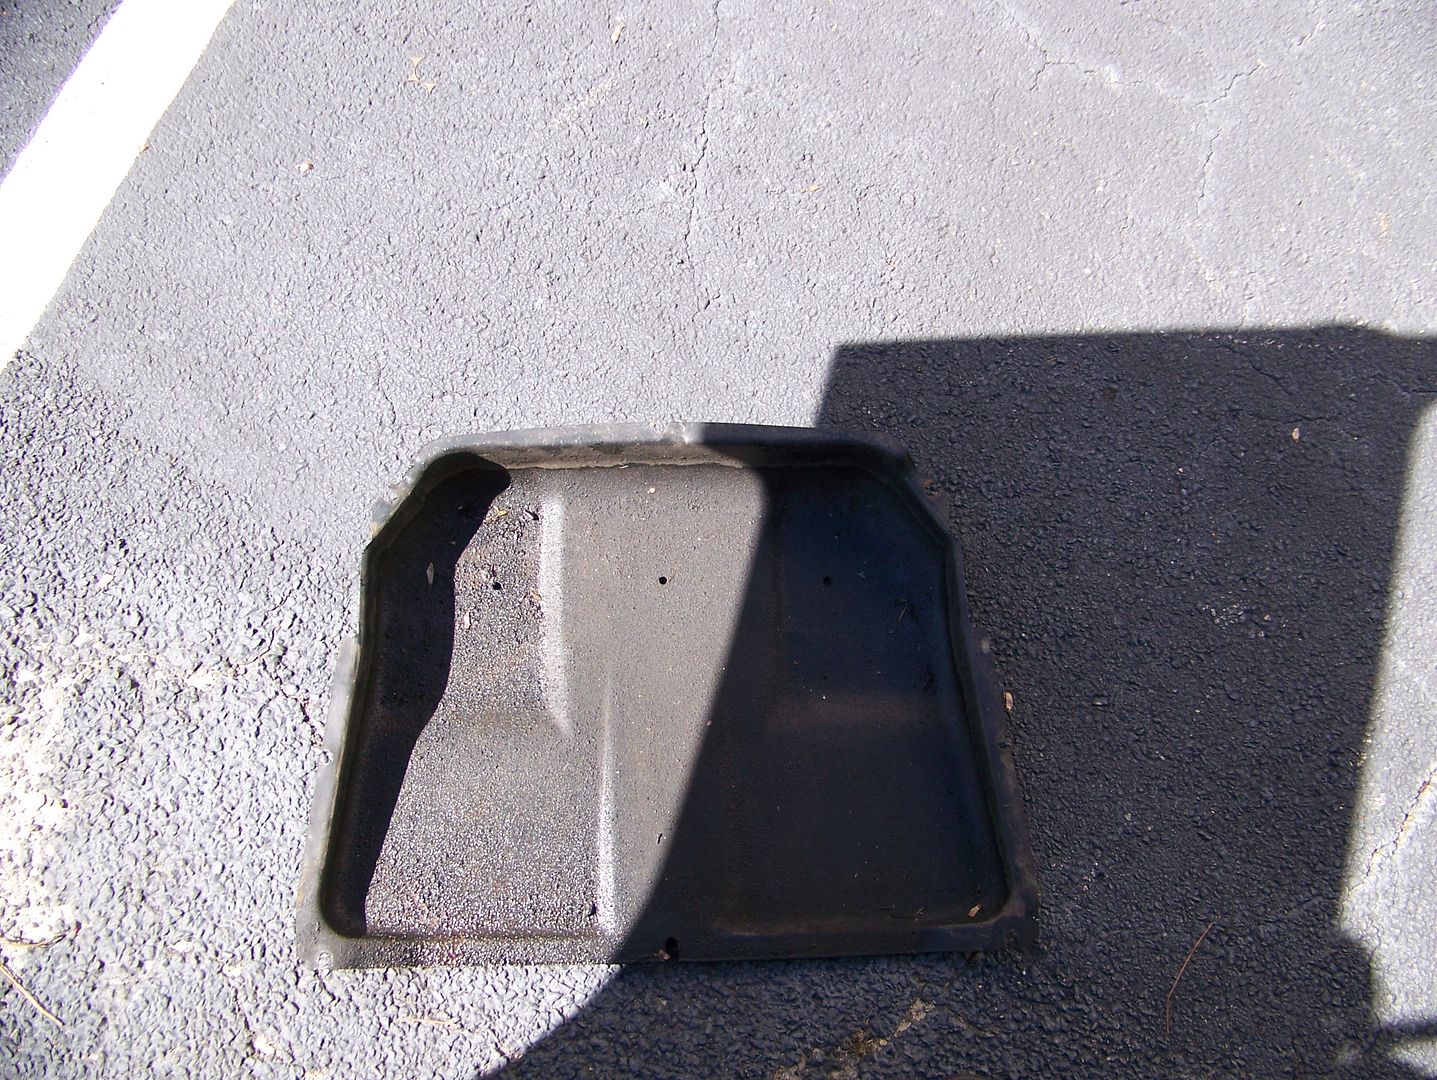
Jacked the front end and dropped the brake fluid soaked belly pan:
Because I learn from my prior painful moments of sheer stupidity, I had a whole container of fresh unopened brake fluid!
(see: viewtopic.php?f=44&t=9102 )
Cracked loose the 11mm brake lines and snatched the bleeder boots from the rear wheel cylinders to use as brake line end protection. I used the fuel line clamp to squeeze off the blue supply hose from the upper brake fluid reservoir.
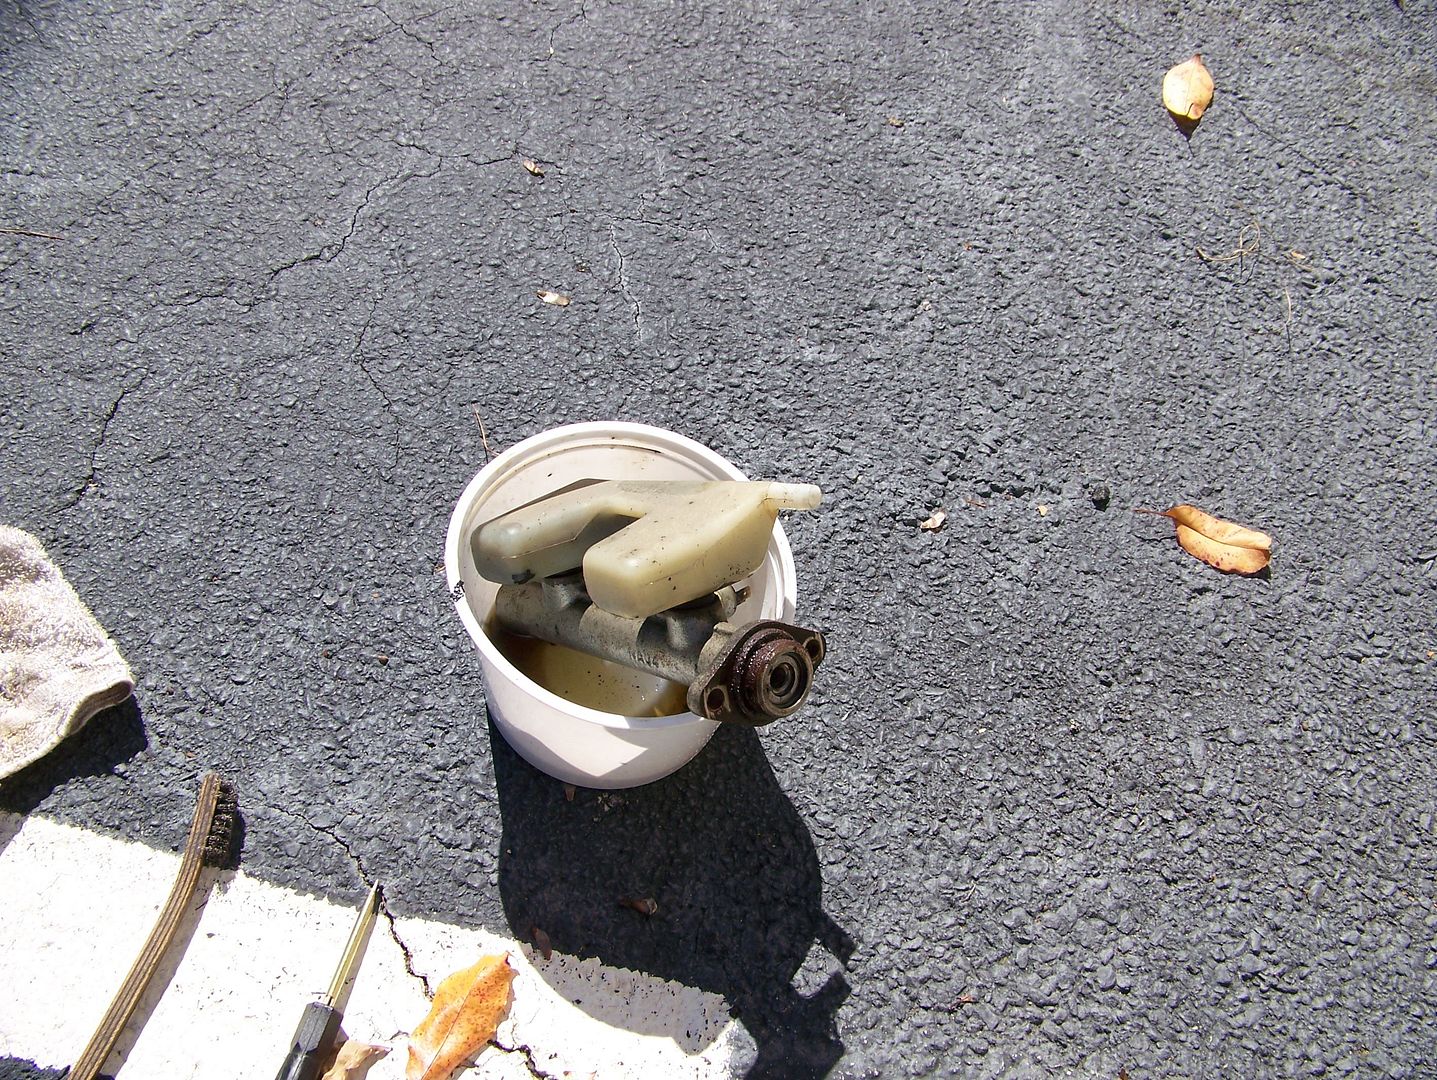
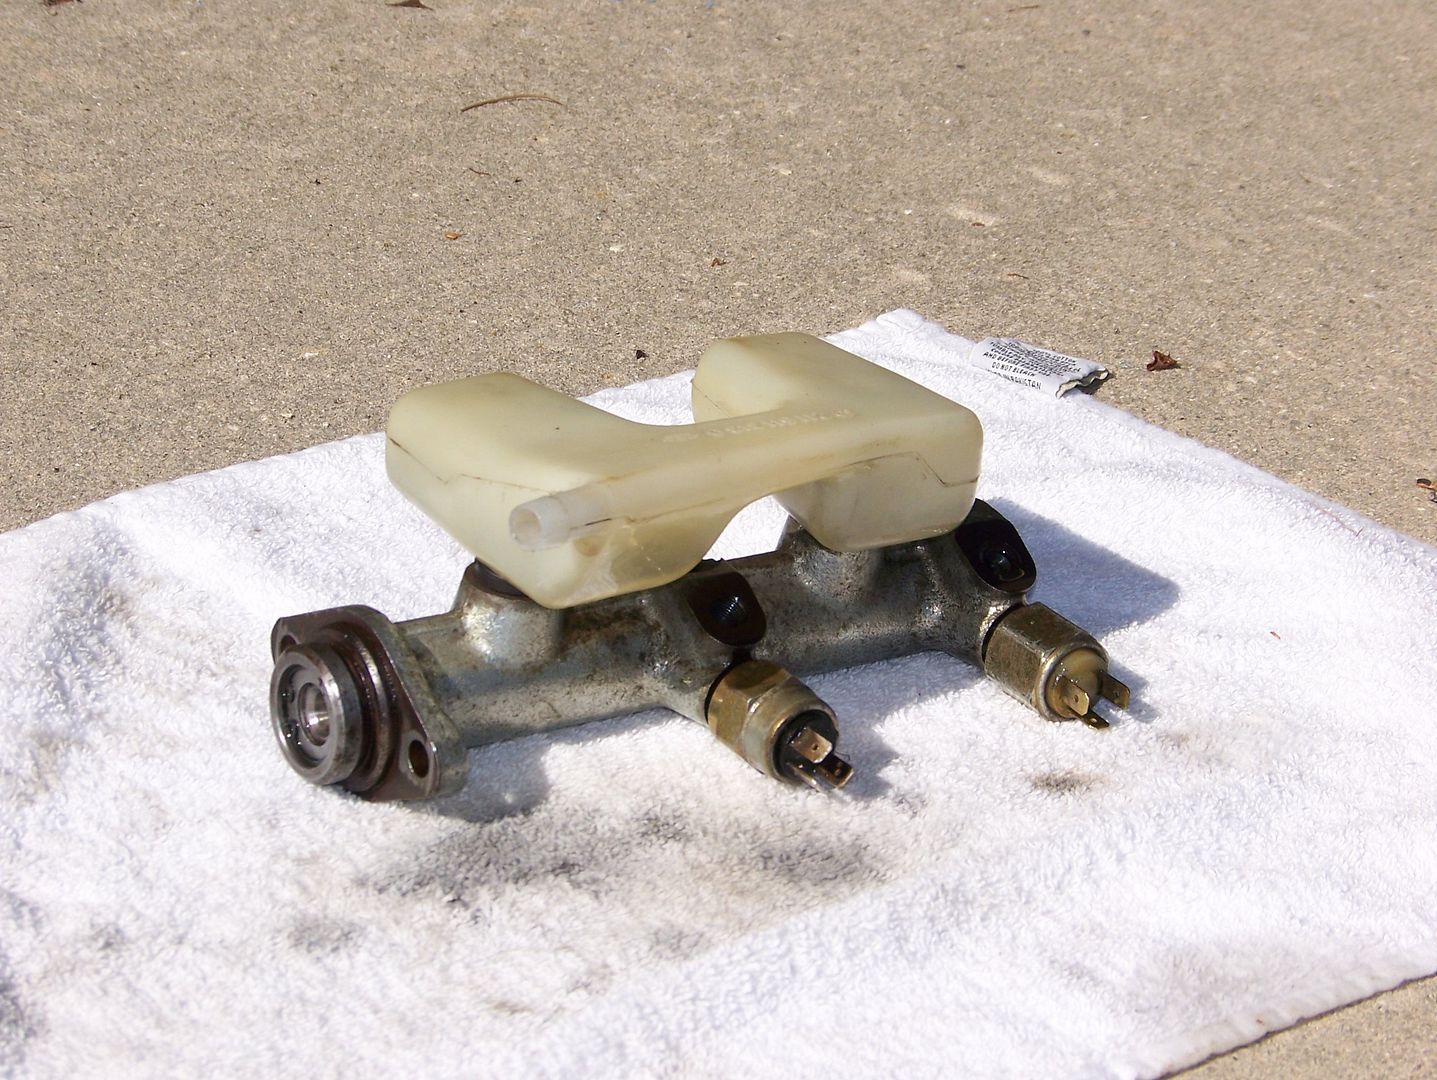
Pulled the supply hose from the priceless reservoir on top of the master cylinder, yanked the brake light switches, and removed the master cylinder. Threw the piece of critically necessary crap inna bucket.
"HEY!"
"Hey what?"
"You can't just park here!"
"Oh, I am not parked. I am disabled."
"What do you mean you are disabled?"
"I mean the car is disabled, I have no brakes."
"You can't just have no brakes."
"I really have no brakes at all, here is the master cylinder."
"Oh geeze. Look, I am the manager of this property, I can't just have you . . . disabled here. I am going to have to call a tow truck in. You're going to have to take it to a shop."
"That will not be necessary. I am going to rebuild it here in one hour flat and be on my way."
"What you have parts or something?"
"Just some sandpaper, 1000 grit, really, it is OK, we'll be OK, I just need an hour, can I get to work now?"
"Are you going to leave a mess?"
"Only if the brakes fail when I get to the stop sign."
He drove off with his smug power-braked Ford F-150. I pondered everything that could go wrong with this stupid master cylinder:
The plastic reservoir on the top could split when I pull it off.
The circlip could sproing into low Earth orbit.
The pistons could score the walls on their way out.
The cups could crack in half as I peel them off the pistons.
I could forget where all the parts go.
But I have a whole fresh container of brake fluid!
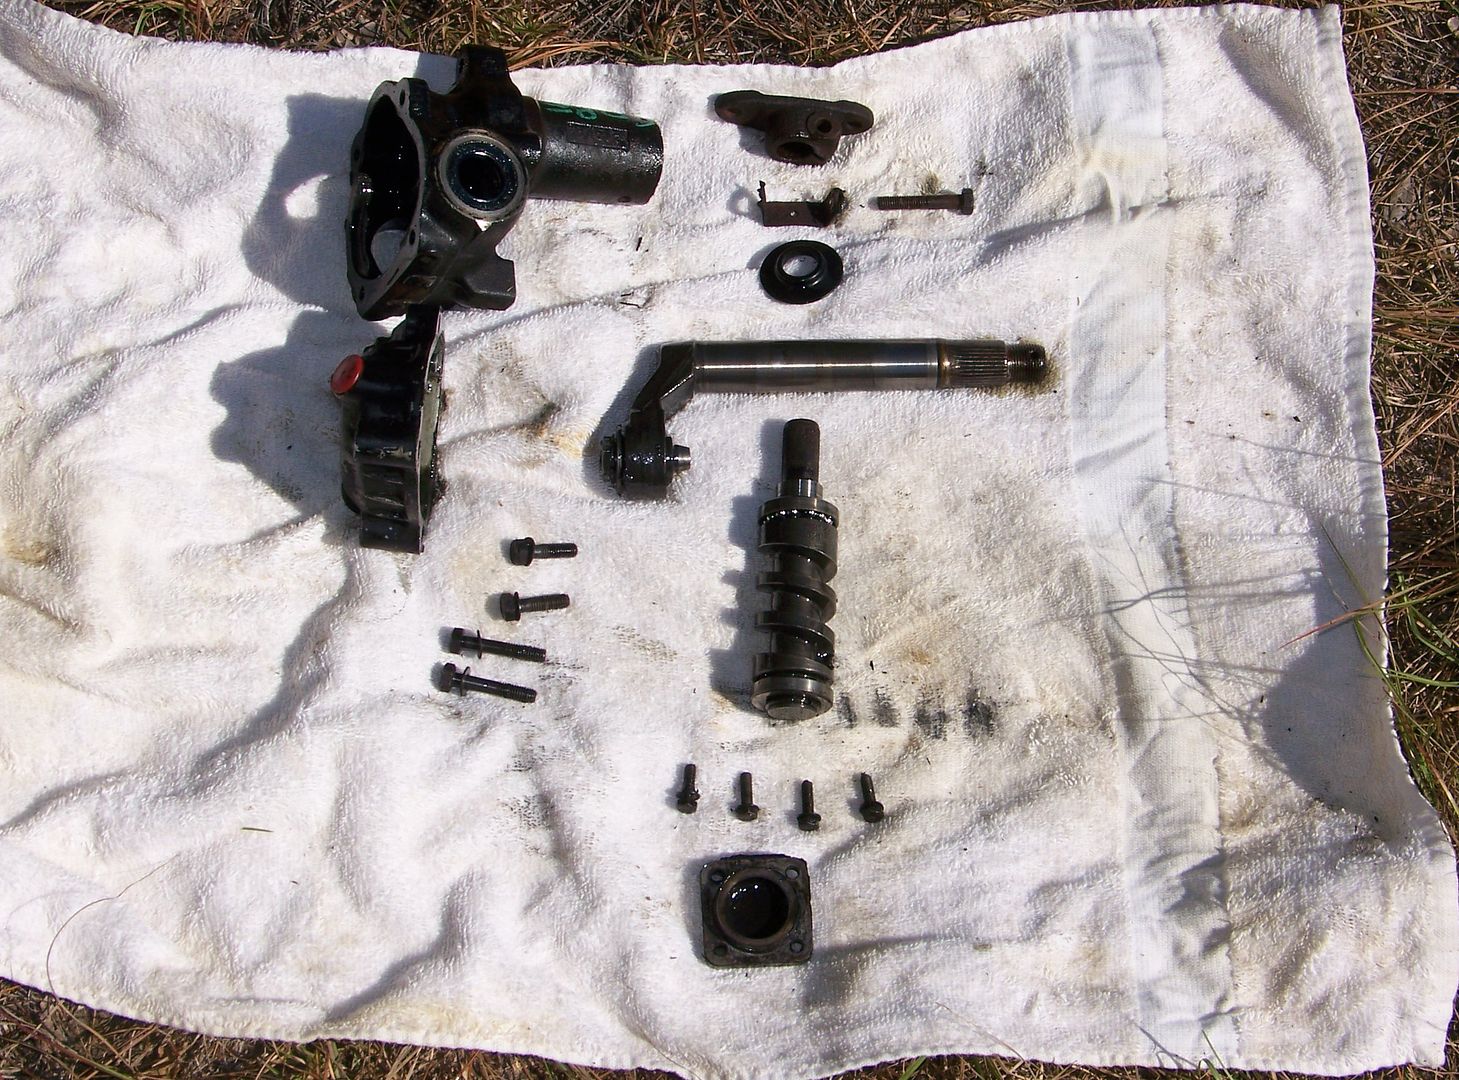
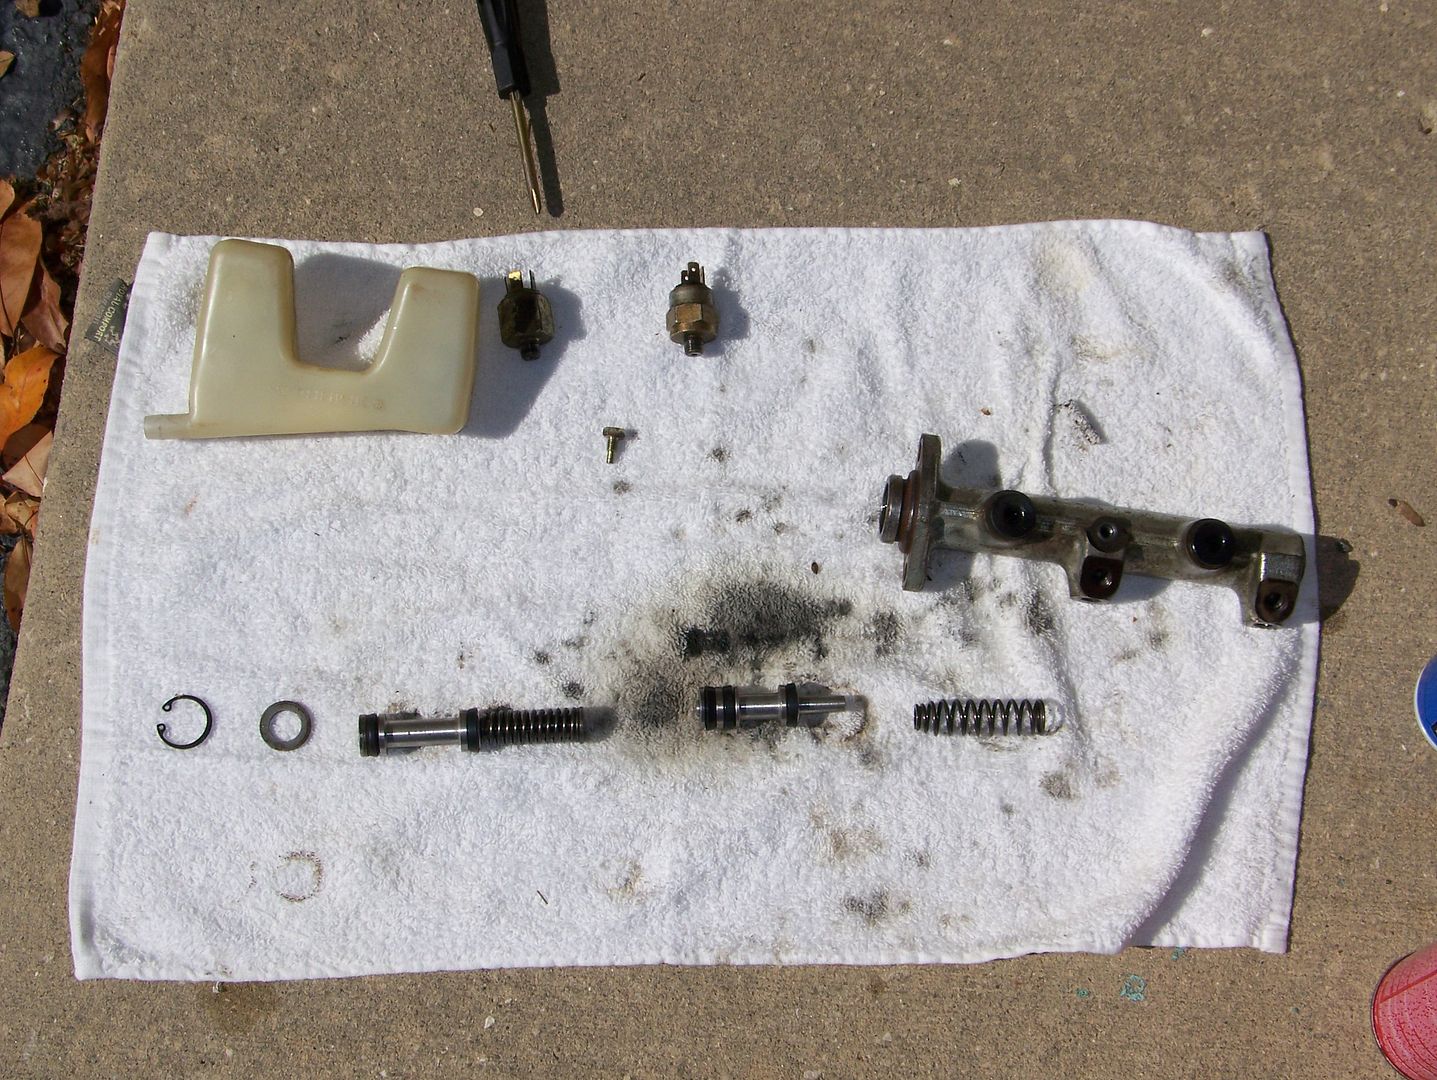
Primary disassembly.

Then I peeled the back cup off the piston sooooooooo carefullyyyyyyyyyyyy. Sanded the edges of the cup rubber sooooooooo carefullyyyyyyyyy. This was the maximum point of Yer An Idiot.
Secondary disassembly:
Nothing to lose now. Cleaned all the parts and rinsed out the reservoir with carb spray and a ball bearing for a distributor vacuum advance plate.
Fabrication of brake master cylinder hone:
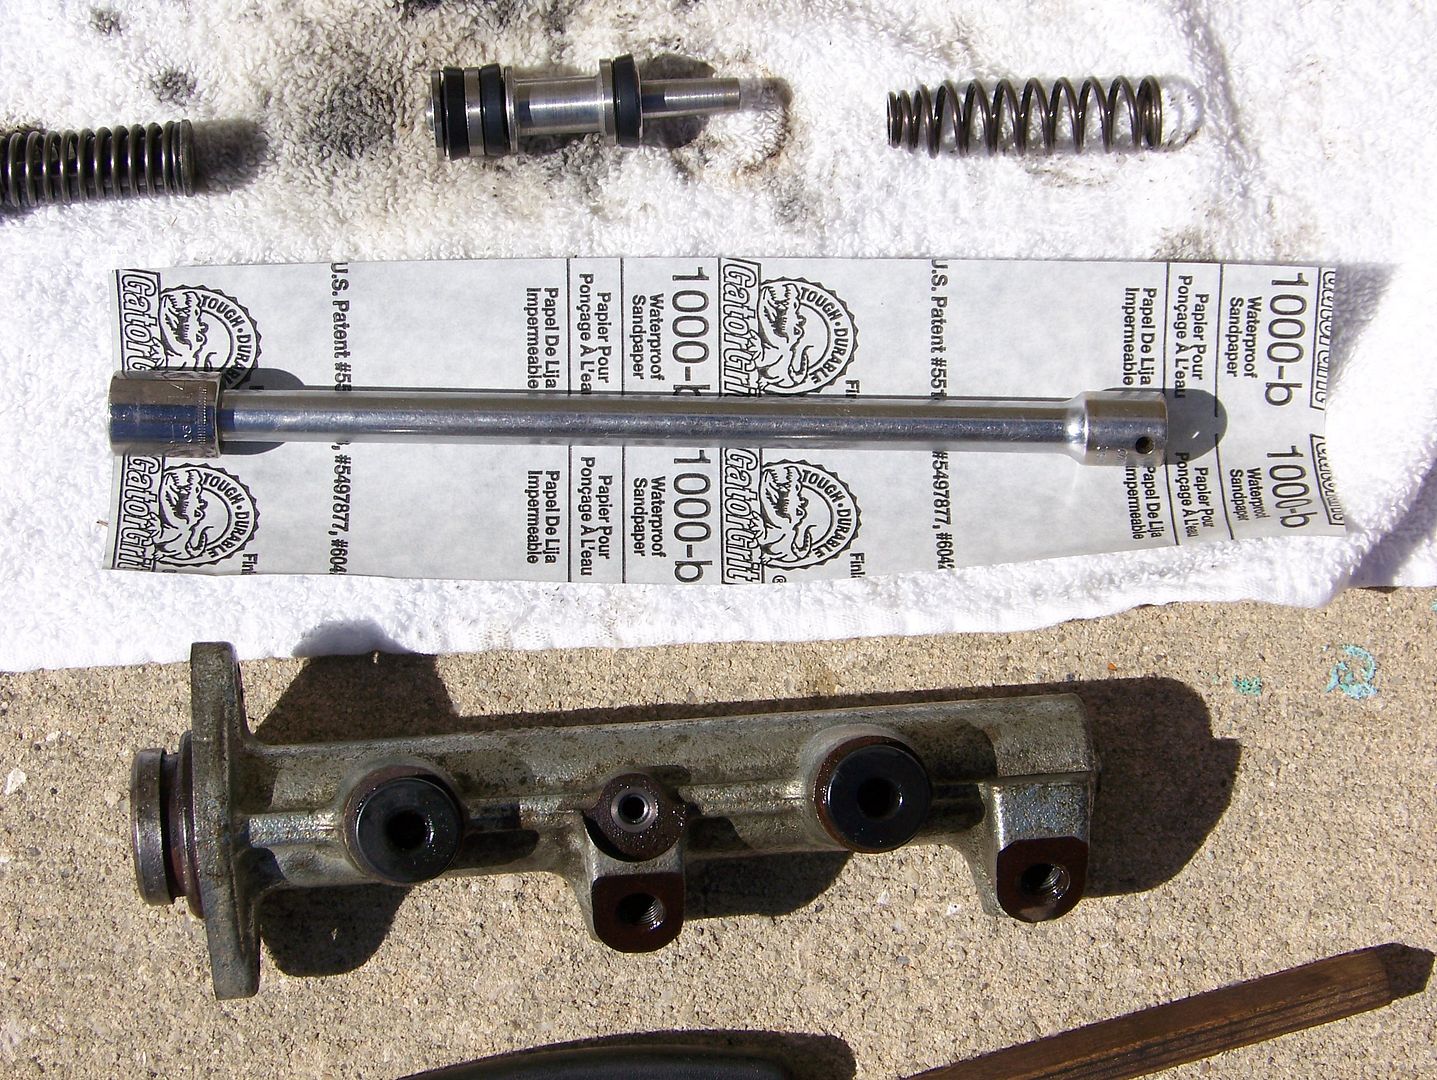
Honing involved rotating the master cylinder as I pushed the extension/14mm socket/1000gt sandpaper up and down slowly:
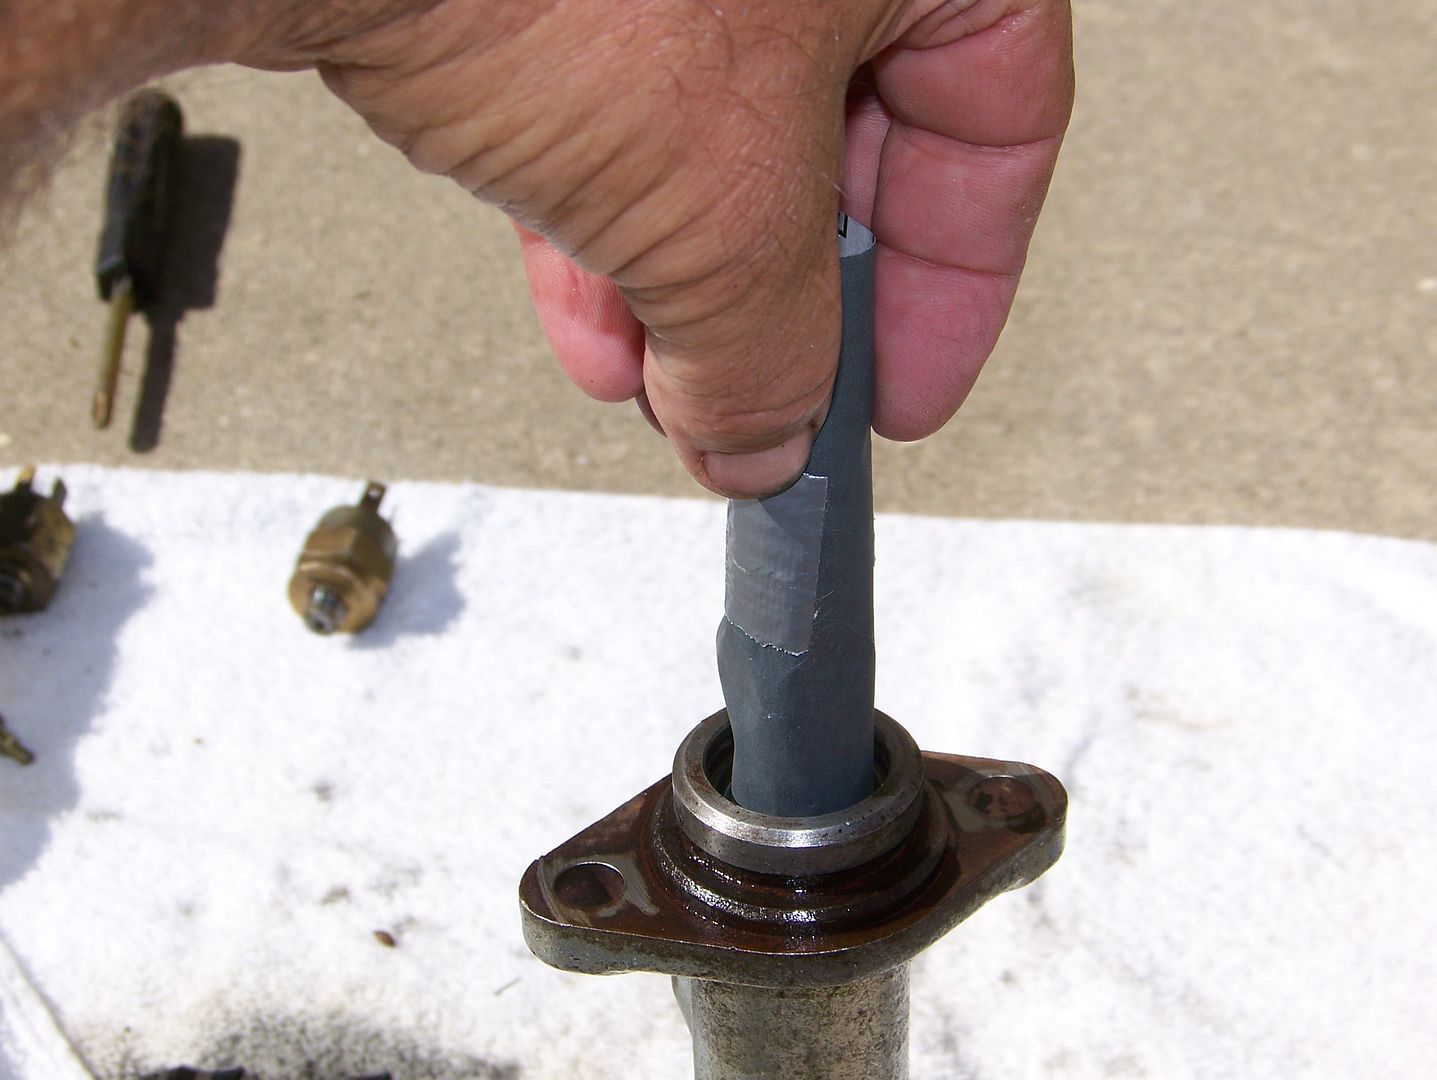
Rinsed with brake cleaner, dried off with paper towel. Here is the bore after a good five minutes of slow honing:
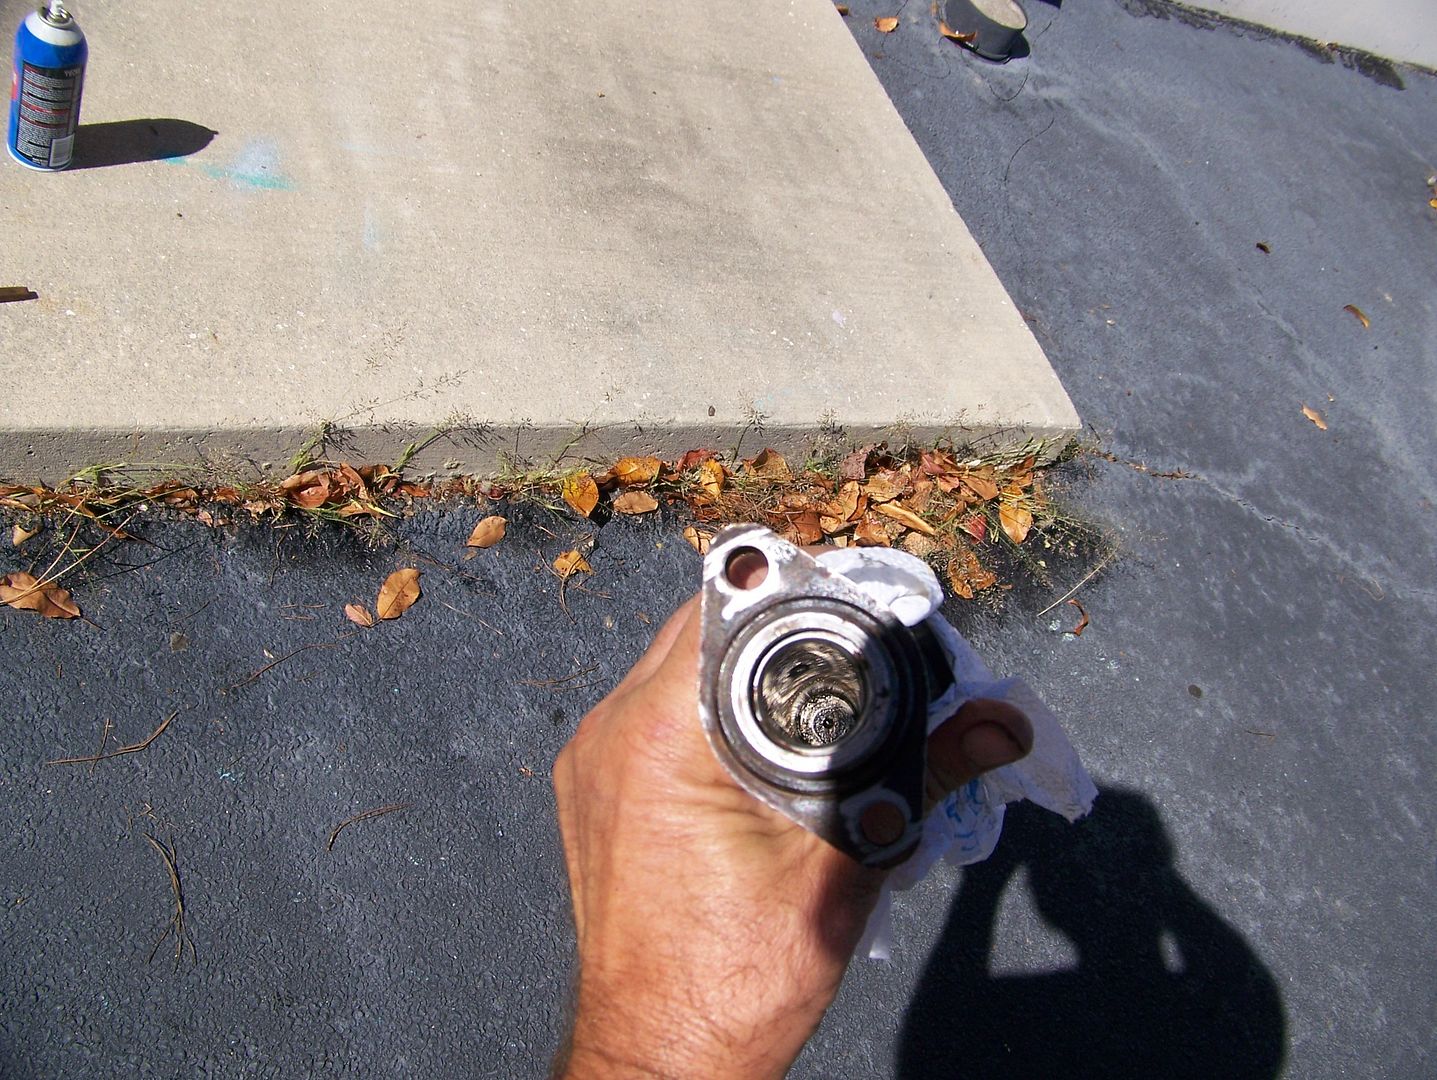
Installed the parts back into the master cylinder with a baptism of not very good tasting brake fluid. Here is the completed master cylinder at Minute 52:
And here it is after refitting the master cylinder to the car, loosely until the brake line fittings were threaded successfully, then snugged up. Bled the brake lines from under the car, front circuit first (deepest in the bore). Brake fluid does not taste good.

At Minute 75, the sun shadow enveloped my work space, and those who know will tell you, once I am chilly, I shut down like a lizard:
Fortunately, there was a pedal. No mess at the stop sign, no more leak at the belly pan. The manager was chatting with the security lady on the golf cart as I drove off to McDonalds, McDonalds for coffee on this bone-chilling now 53* evening. Because this quicky little repair actually worked, I can tell you I love these cars for their simple easy elegant design.
Colin
Yes, I have been empathetically wincing with the poor denizens of the East Coast who have been enduring the Big Storm. Down here in Valdosta, we have been suffering through "breezes" from that very storm. I got slammed with a howling 10 mph puff that picked up the edge of my towel.
So, yeah, all summer my cheap chinese master cylinder has been developing a leak along the trailing edge of the belly pan. Every month, I have had to add brake fluid. Today, I sez, "let's overhaul this sucker." Now, as you know, I cannot afford to screw this up. Brakeless and homeless is a recipe for ending up in a local jail. Went to NAPA.
"I need a 1000 grit sheet of wet-or-dry sandpaper."
"Why do you need wet-or-dry sandpaper? Wet-sandin"?"
"Sort of. I plan to hone my master cylinder."
"I don't think you can do that."
"I don't think so either."
Found a carefully chosen spot behind a big half-dead shopping center with sight lines for brakeless kinetic energy dissipation (should my overhaul FAIL), and I needed a windbreak from the above-mentioned 10 mph howling gale in the 66* sunshine.
Jacked the front end and dropped the brake fluid soaked belly pan:
Because I learn from my prior painful moments of sheer stupidity, I had a whole container of fresh unopened brake fluid!
(see: viewtopic.php?f=44&t=9102 )
Cracked loose the 11mm brake lines and snatched the bleeder boots from the rear wheel cylinders to use as brake line end protection. I used the fuel line clamp to squeeze off the blue supply hose from the upper brake fluid reservoir.
Pulled the supply hose from the priceless reservoir on top of the master cylinder, yanked the brake light switches, and removed the master cylinder. Threw the piece of critically necessary crap inna bucket.
"HEY!"
"Hey what?"
"You can't just park here!"
"Oh, I am not parked. I am disabled."
"What do you mean you are disabled?"
"I mean the car is disabled, I have no brakes."
"You can't just have no brakes."
"I really have no brakes at all, here is the master cylinder."
"Oh geeze. Look, I am the manager of this property, I can't just have you . . . disabled here. I am going to have to call a tow truck in. You're going to have to take it to a shop."
"That will not be necessary. I am going to rebuild it here in one hour flat and be on my way."
"What you have parts or something?"
"Just some sandpaper, 1000 grit, really, it is OK, we'll be OK, I just need an hour, can I get to work now?"
"Are you going to leave a mess?"
"Only if the brakes fail when I get to the stop sign."
He drove off with his smug power-braked Ford F-150. I pondered everything that could go wrong with this stupid master cylinder:
The plastic reservoir on the top could split when I pull it off.
The circlip could sproing into low Earth orbit.
The pistons could score the walls on their way out.
The cups could crack in half as I peel them off the pistons.
I could forget where all the parts go.
But I have a whole fresh container of brake fluid!
Primary disassembly.
Then I peeled the back cup off the piston sooooooooo carefullyyyyyyyyyyyy. Sanded the edges of the cup rubber sooooooooo carefullyyyyyyyyy. This was the maximum point of Yer An Idiot.
Secondary disassembly:
Nothing to lose now. Cleaned all the parts and rinsed out the reservoir with carb spray and a ball bearing for a distributor vacuum advance plate.
Fabrication of brake master cylinder hone:
Honing involved rotating the master cylinder as I pushed the extension/14mm socket/1000gt sandpaper up and down slowly:
Rinsed with brake cleaner, dried off with paper towel. Here is the bore after a good five minutes of slow honing:
Installed the parts back into the master cylinder with a baptism of not very good tasting brake fluid. Here is the completed master cylinder at Minute 52:
And here it is after refitting the master cylinder to the car, loosely until the brake line fittings were threaded successfully, then snugged up. Bled the brake lines from under the car, front circuit first (deepest in the bore). Brake fluid does not taste good.
At Minute 75, the sun shadow enveloped my work space, and those who know will tell you, once I am chilly, I shut down like a lizard:
Fortunately, there was a pedal. No mess at the stop sign, no more leak at the belly pan. The manager was chatting with the security lady on the golf cart as I drove off to McDonalds, McDonalds for coffee on this bone-chilling now 53* evening. Because this quicky little repair actually worked, I can tell you I love these cars for their simple easy elegant design.
Colin