
Side Tent Thread
-
bretski

- Ellipsis-Meister

- Location: out of hibernation...for now
- Status: Offline


-
Sylvester

- Bad Old Puddy Tat.
- Location: Sylvester, Georgia
- Contact:
- Status: Offline
I would have to go with a free standing unit, so I can drive away and come back.Ryno wrote:I like the Wally world option too. There's nothing wrong with a little homebrewed ingenuity IMO.
Up, up the long, delirious, burning blue, I’ve topped the wind-swept heights with easy grace. Where never lark, or even eagle flew. And, while with silent, lifting mind I've trod, The high untrespassed sanctity of space, Put out my hand, and touched the face of God.
-
Bookwus

- IAC Addict!
- Location: City of Roses
- Status: Offline
Hiya Sly,
Actually that's just what the WallyWorld option is. A dining canopy to be exact. Four steel support poles plus guylines and stakes. It takes a bit of modification to make it a two leg on one side and supported by the bus on the other side kinda deal.Sylvester wrote:.....I would have to go with a free standing unit, so I can drive away and come back.
I have cancer.
It does not have me.
It does not have me.


-
Emily's Owner
- Old School!
- Location: Canby, Oregon
- Status: Offline
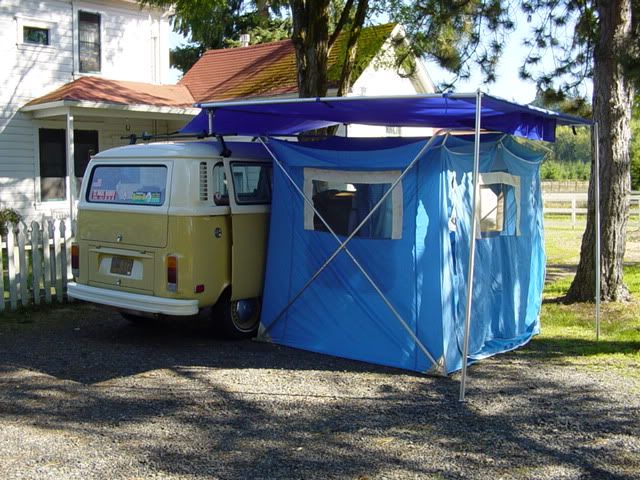
I got my canopy from a dirt bike racing site, it's not a 10 second set up, but it shades a good size area, although it's not the best rain fly. My side tent was an accessory from Sunset Motors when the bus was purchased by the original owner, Beckel Canvas Products in Portland. They're still in business IIRC.
Margaret
Lead me not into temptation...... Oh hell, who are we kidding, follow me, I know a shortcut.
Lead me not into temptation...... Oh hell, who are we kidding, follow me, I know a shortcut.
-
pjalau

- Getting Hooked!
- Contact:
- Status: Offline
How to: Fold a side tent
I posted this on the "other" forum, thought it would be useful here.
Tutorial: How to fold the side tent so it fits in the original bag
(Crazy anal retentive version)
Let's begin:
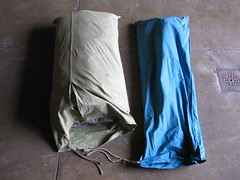
It need to look like this (tent and poles)
So start by zipping up everything except the interior windows. Them them partially unzipped like this:
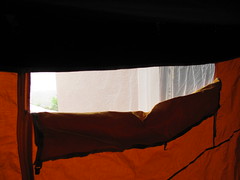
But be sure to hook the top hooks on the window.
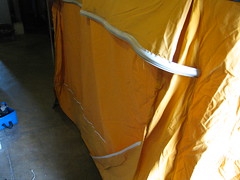
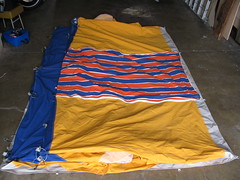
We also want to keep in mind the front and the back. since we will be protecting the gimping on the back side shown here:
Start by lowering the extendable poles on all four corners.
Then remove the corner poles and let the tent deflate (this is why we left those zippers partially down, to let the air out).
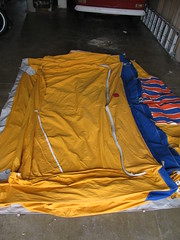
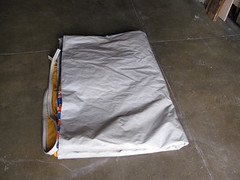
Remove the poles and you get this frumpy tent on the ground, with all the grace and formality of a used condom.
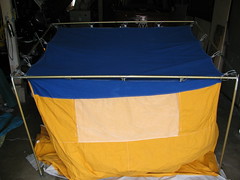
So let's act like anal-retentive engineers and fix that. Start by folding the top (roof) of the tent on the back side up to the middle so it looks like this:
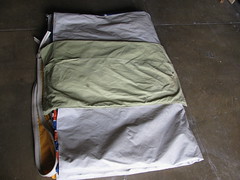
Carefully fold it back so there is a solid crease, then fold the front side in the same manner.
Then the two sides, trying to keep the first folds you made as organized as possible:
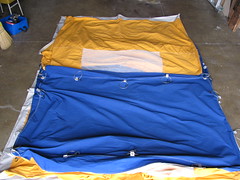
And the last side (corner folded up to show what I am doing)

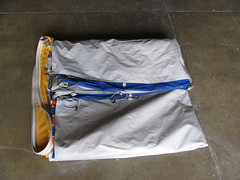
The tent should be flat like (insert raunchy joke here) and you can now pull the gimping out of the back so it can be folded like the rest of the tent.

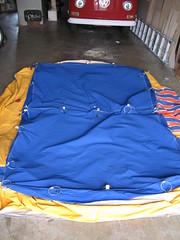
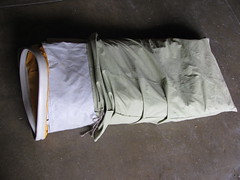
From here on out, it's simple folds. One in half:
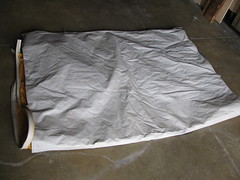
And in Quarters:
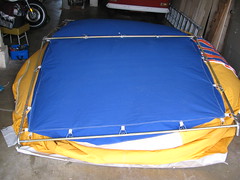
Before I continue... this is a picture of the original bag laid over the tent before you make the final fold. I'm placing it here to show you why it needs to be done one way - in thirds:
Hook and loops side goes in first for protection:
Nicely rounded rubberized folds go last:
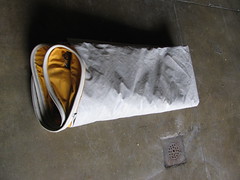
And the bag slips over it like a python eating a baby.
Now you too can go to campouts and get accused of ironing your tent.
Do you want to see it bigger? Click on this set for stupidly large photos.
http://www.flickr.com/photos/pjalau/set ... 499589035/
Much thanks to my uncle for teaching me this.
Tutorial: How to fold the side tent so it fits in the original bag
(Crazy anal retentive version)
Let's begin:
It need to look like this (tent and poles)
So start by zipping up everything except the interior windows. Them them partially unzipped like this:
But be sure to hook the top hooks on the window.
We also want to keep in mind the front and the back. since we will be protecting the gimping on the back side shown here:
Start by lowering the extendable poles on all four corners.
Then remove the corner poles and let the tent deflate (this is why we left those zippers partially down, to let the air out).
Remove the poles and you get this frumpy tent on the ground, with all the grace and formality of a used condom.
So let's act like anal-retentive engineers and fix that. Start by folding the top (roof) of the tent on the back side up to the middle so it looks like this:
Carefully fold it back so there is a solid crease, then fold the front side in the same manner.
Then the two sides, trying to keep the first folds you made as organized as possible:
And the last side (corner folded up to show what I am doing)
The tent should be flat like (insert raunchy joke here) and you can now pull the gimping out of the back so it can be folded like the rest of the tent.
From here on out, it's simple folds. One in half:
And in Quarters:
Before I continue... this is a picture of the original bag laid over the tent before you make the final fold. I'm placing it here to show you why it needs to be done one way - in thirds:
Hook and loops side goes in first for protection:
Nicely rounded rubberized folds go last:
And the bag slips over it like a python eating a baby.
Now you too can go to campouts and get accused of ironing your tent.
Do you want to see it bigger? Click on this set for stupidly large photos.
http://www.flickr.com/photos/pjalau/set ... 499589035/
Much thanks to my uncle for teaching me this.