I have a sheet of 16 ga witch is a little easier to work with since the oxidized original 18 ga does not take much heat to fuse so it give you somewhere to concentrate your heat without blowing through the material.
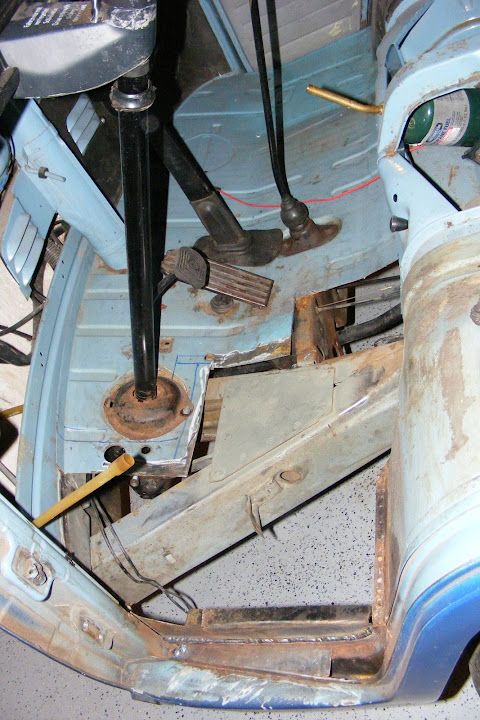
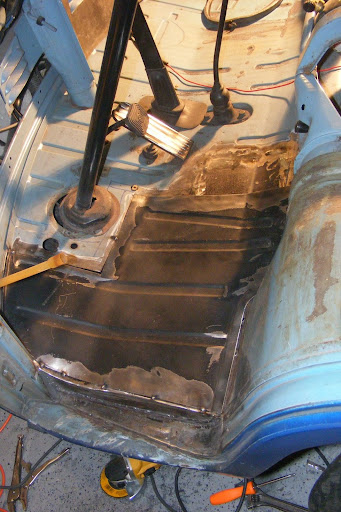
The master cylinder has been removed.
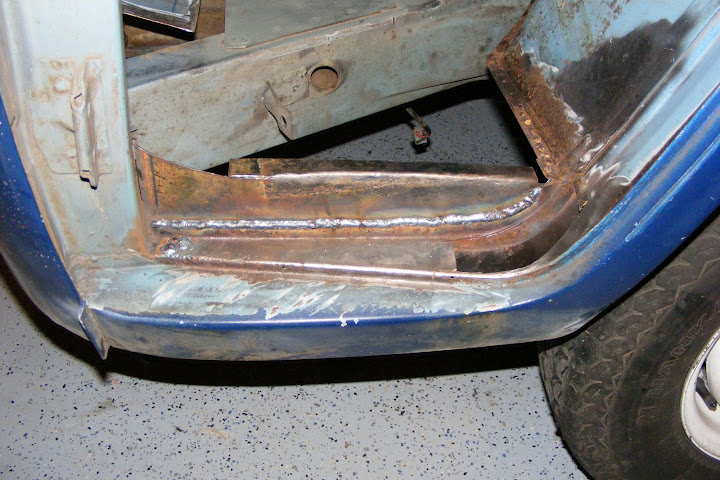
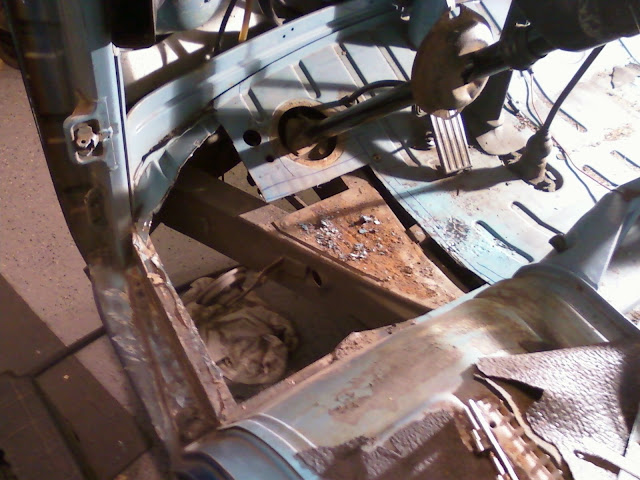
I made my own rocker panel from a cardboard pattern I made prior to removing the original.
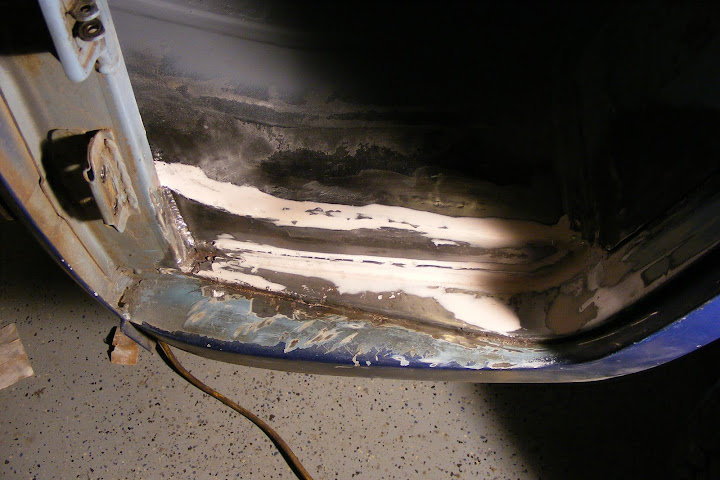
Top view. New rocker welded in.
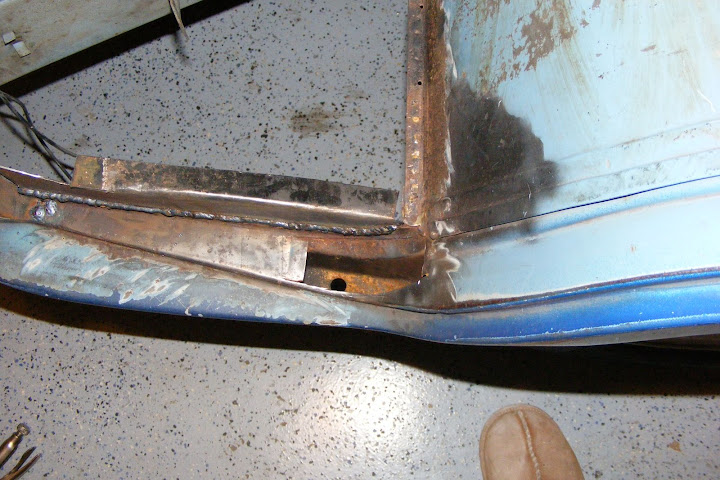
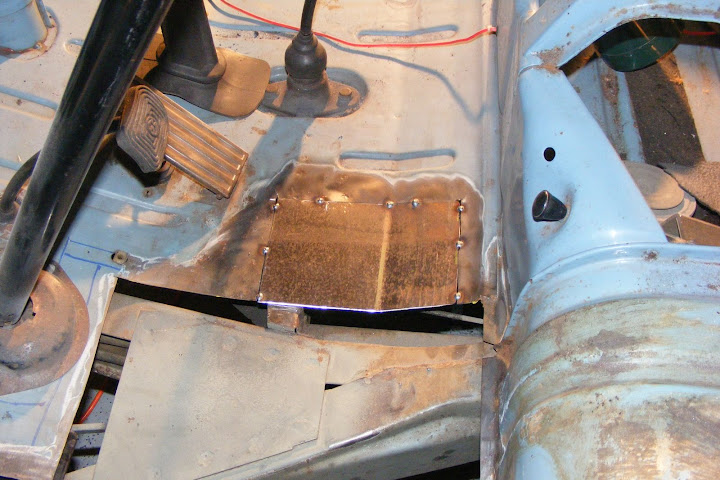
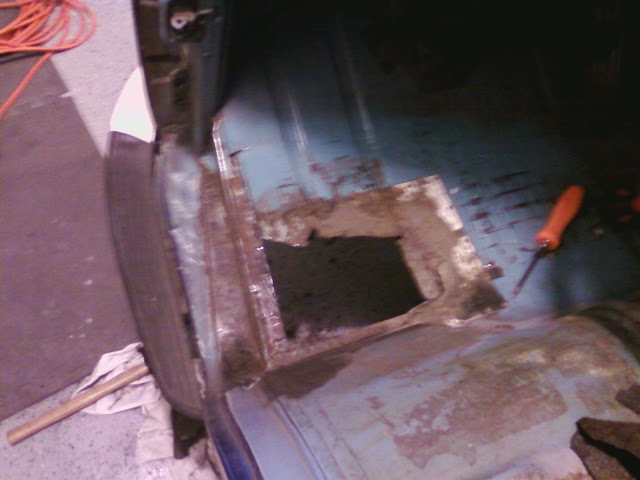
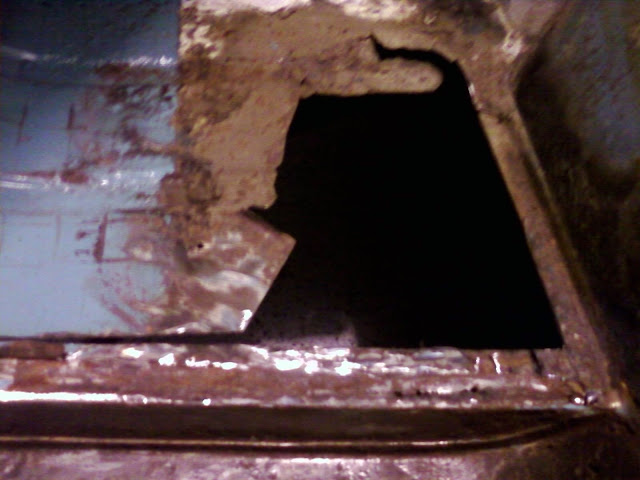
After cleaning up the welds on the rocker, it is time to patch that hole. I started by again, using cardboad to make a rough pattern. The more accurate the pattern, the less time on the bench grinder it will take to make the piece fit.
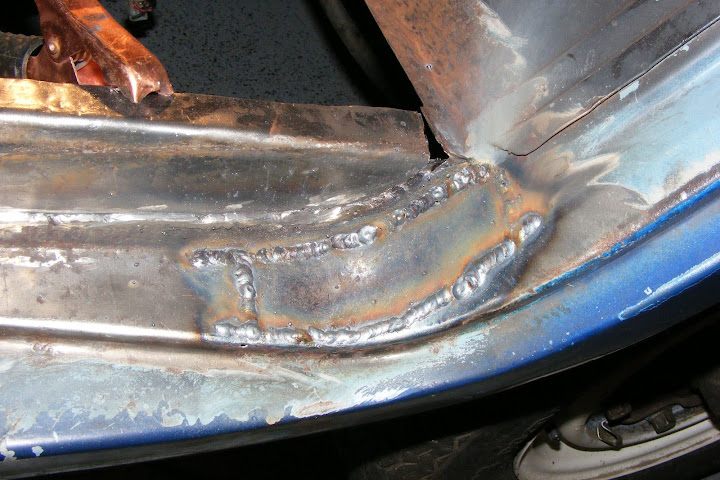
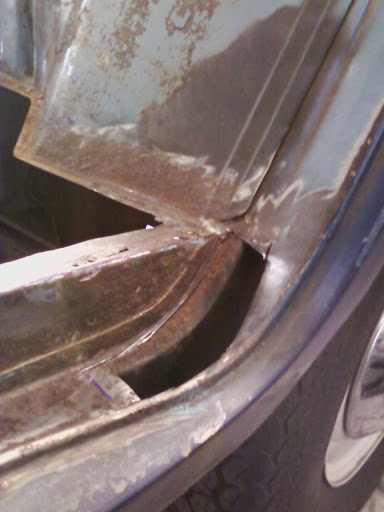
With enough times back and forth between the bench grinder and the rocker, I finally got the piece to fit. Formed the piece on a vice and a body hammer. There is a gradual slope in the corner of the lower rock, the vise made it really easy to also put a twist in the patch. Tack in and weldout.
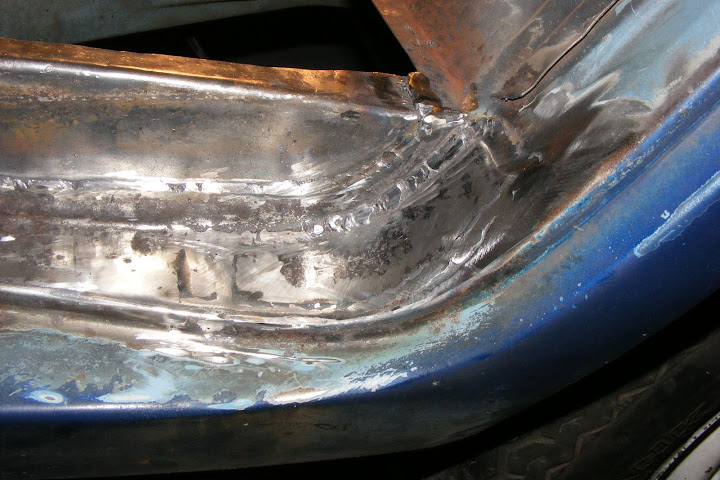
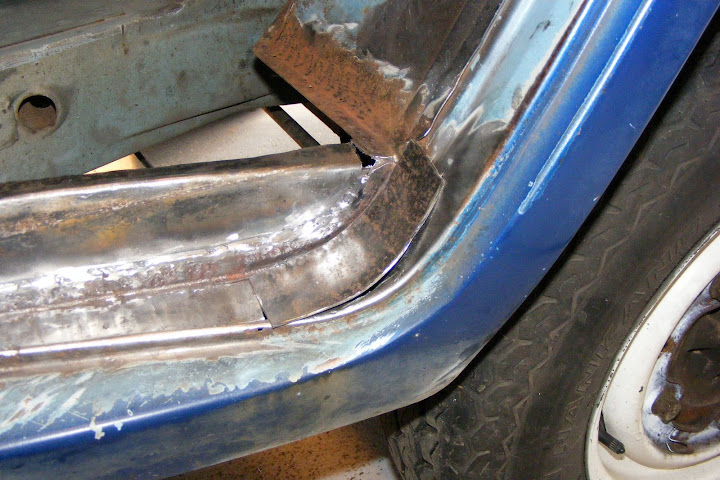
I like to use an abrasive flap wheel on the 4". It really give the surface a nice surface. However, the do take a lot more material off than you would expect.
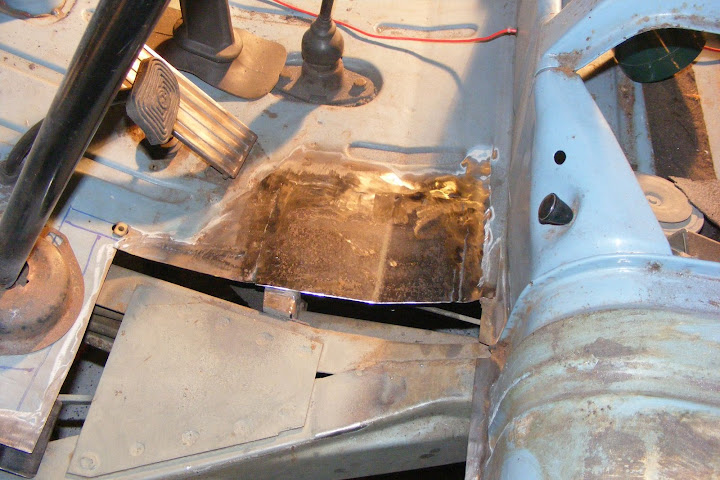
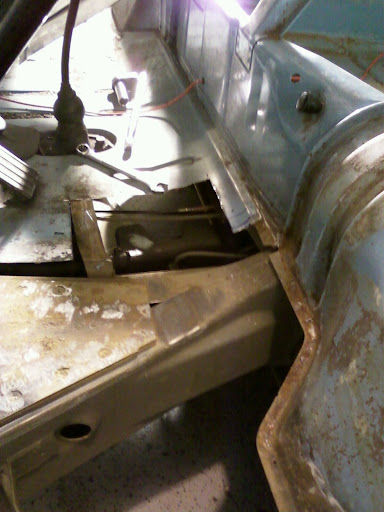
When I tried smothing the surface of the patch off the right of the main replacement floor board, the disk actually ate through the original material and had to fill it back in with the welder. Grind some weld and bondo the rest to fill if you want a smooth finish. I don't know why I care so much in this case becasue the mat will hide it anyways.
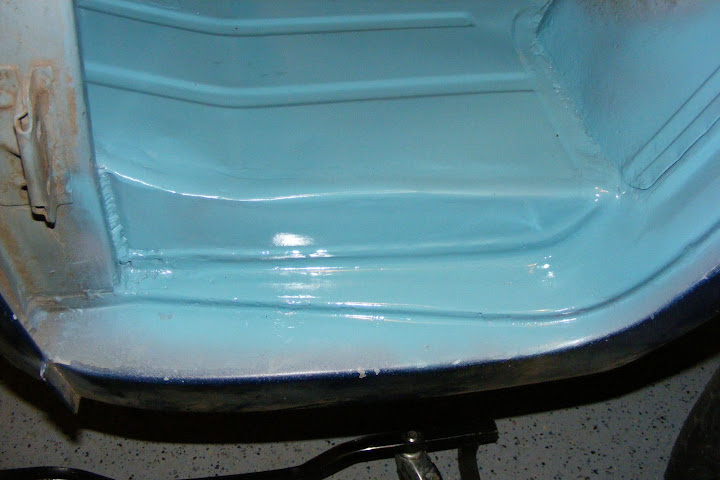
After I complely welded the floor in from the top side, I welded the underside also to keep moisture from getting beween the two layers of material. With a light shinning down on floor, I could double check all my welds to make sure there were no pin holes from under the vehicle. In order to hide the welds in the rocker panel, I filled in the divits left over after the weld was smoothed out with Bondo.

I primed and painted the floor. I will apply many layers to form a thick durable surface. I will also seal the underside, as sugested, with a rust inhibiting paint.
I got most of this done but I am going to need a die grinder with a knureld bit to get in that tight corner to smooth the welds out. I don't think I could have done this without removing the door.


