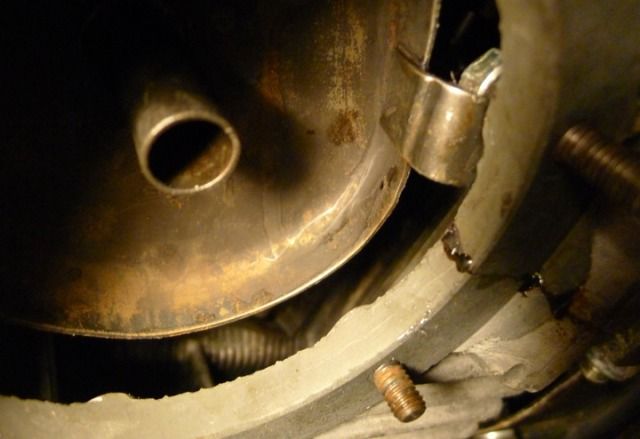
You are right SlowLane, referencing it would appear that yes, there is a flat spot on the cup of the assembly where the tab comes down that appears to be normal, the same as the one I checked in the newfound case.
And yes, the tab is crimped a bit out towards the drain plug so that the bottom lip of the strainer hits it.
Without the nut holding down the assembly at that tab, it flopped up, pivoting on the tube that goes into the case. Loose, but in place.
I did get the nut back on, tightened as best I could with Permatex red threadlocker on the stud.
I have a feeling I'm going to be sticking a finger up there to confirm that nut is still there every time I drop the screen for an oil change.
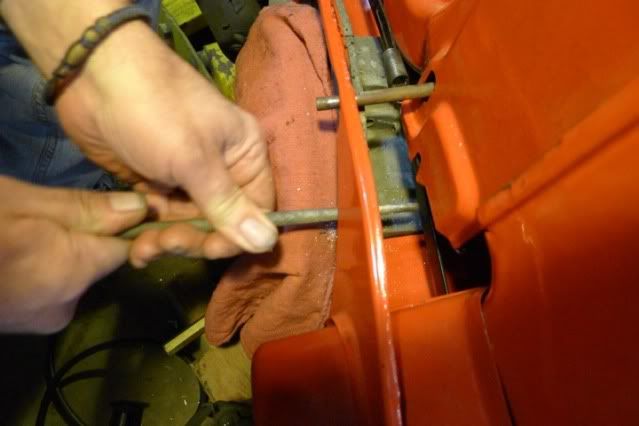
I tried box wrenches, pliers, fingers and nothing was cutting it to get that nut back on so I crafted a quick inexpensive specialty tool.
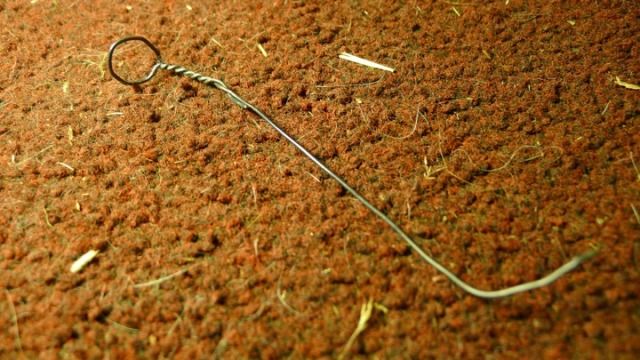
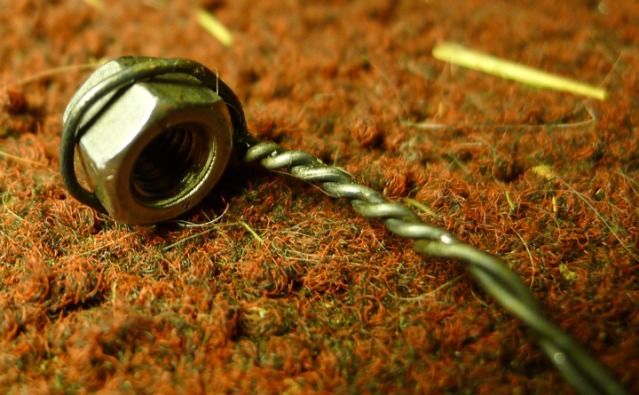
With a little "Gypsy Gel" aka petroleum jelly to keep it in place did the trick and helped with the tightening process, too. So next is bending that bottom lip on my screen enough to clear the gimped tab on the cup.
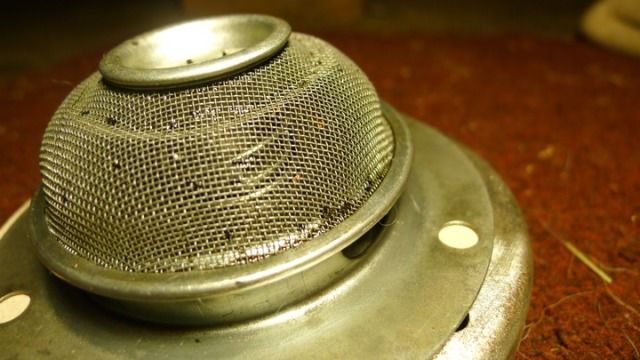
My instinct is to try the bend over one of the three open slots under that lip rather than the solid walled option along the base.
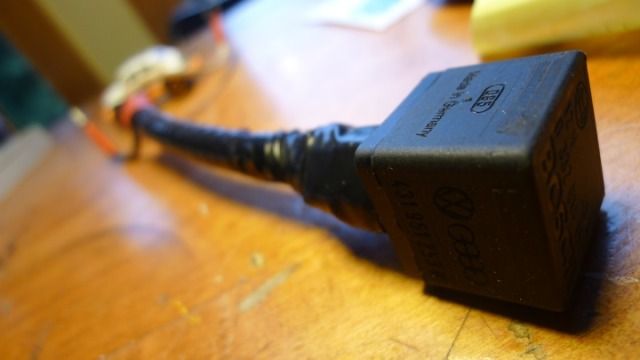
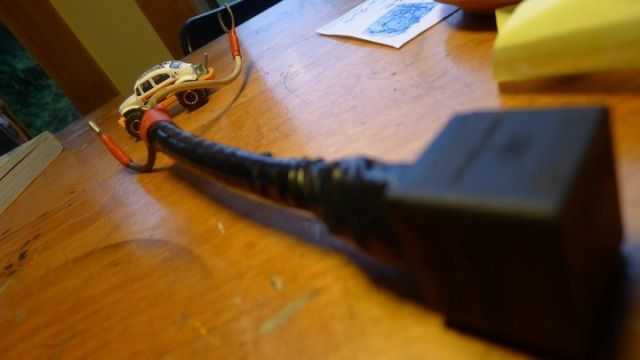
Otherwise, got the wire for the backup lights fed through the back tin rather than between it and the seal like it was. Was lucky to find a rubber grommet on a spare piece of tin I was able to use. Fantastic. Can you connect those two spades wrong? Got heater tubes placed, missing one seal/clamp assembly on the driver's side, so it just flops loose at the moment. Checked the clutch, and yep, adjusted much too tight, have to back that off still. Made sure the engine seals were fully in place. Put the back tin on with the two little heat riser bits, had to adjust the exhaust bubble connections to the exchangers that come up through that back tin, and it is less than just exactly perfect. And last but not least soaking and cleaning the air filter with clamps for the heater hosing.
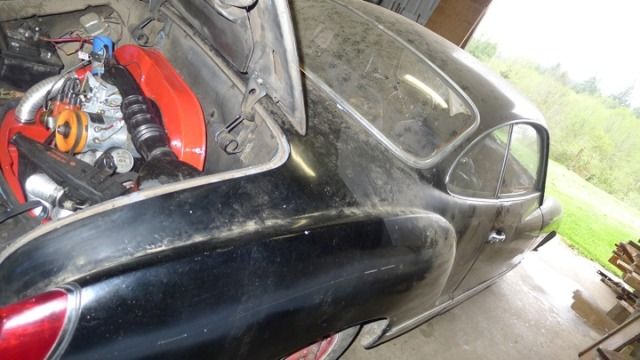
Air cleaner, screen drain plate bit (letting the permatex fully fully cure), clutch adjust, electric, charge battery, add oil, oops, forgot, still have to reattach the coupler to the transaxle, check valve gap, check point gap just to be sure, static timing and should be good to start if the starter assembly doesn't melt because I've wired it wrong. Smoke tests.
The kittens haunting me when I began are now having sex,
neal
The slipper has no teeth.