We do what we can, but 100% awesome is a bit high :)
I've waited way too long to post about Colin's visit at the end of June. We ended the visit with a windshield removal for rust eradication. Too many bugs in the summer to run without a windshield, so between everything else life requires, I've been fixing rust and learning the ropes of body work. All of that to say I'm happy to finally write this update with a successful windshield channel fix. I'll let some photos do a little bit of the talking as they take the end of the visit destruction through to a redeemed windshield channel.
A little more introduction. After last year's very short visit (see story
here), my goal for this year was mainly to get Colin's view of my bus and its current state of affairs and then spend the day working on small projects. This bus has taken us all over with at least one long trip (2,000-4,000 miles) out west per year see family and lots of shorter (a couple of hours is a short drive out here) drives throughout the non-snowy season. I've done a lot of work slowly repairing previous owner issues, and while I have plenty of mechanical experience, I don't have a lot of time behind an air-cooled steering wheel other than my own. Sometimes it's hard to know what is considered normal or ideal with the sounds and feel of driving a bus, so Colin's experience and expertise is greatly appreciated!
The list of projects is always changing and shifting, so we put priorities first and began the day drinking coffee on the back patio to both sort out tasks for the day to and get to know Colin a little bit. After all of that and delving into the typical political and social commentary, we moved on to the vehicle at hand. I can hardly remember what my list looked like that morning, but below are a few photos from the day.
My apologies if this sounds like an old family vacation slideshow. I'll do my best to narrate and avoid boredom.
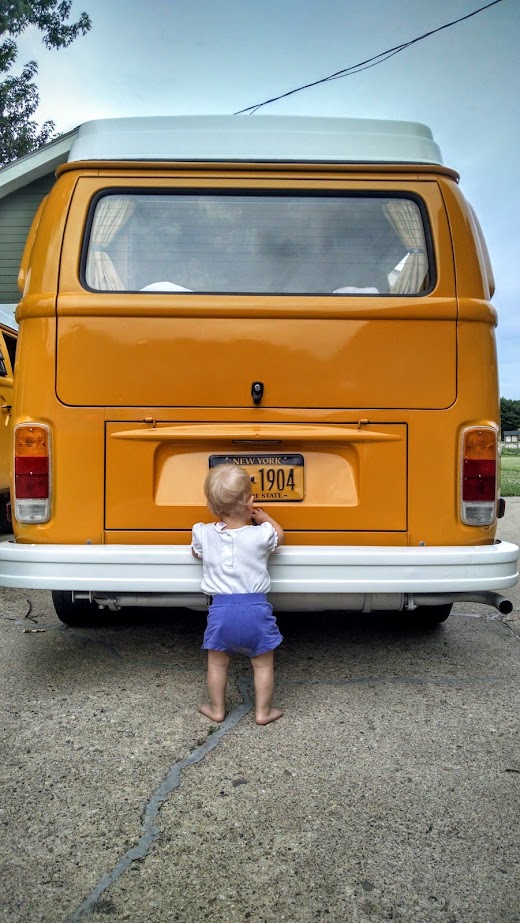
The little piglet gave Naranja Westy her approval...not surprising as it's a beautiful bus!
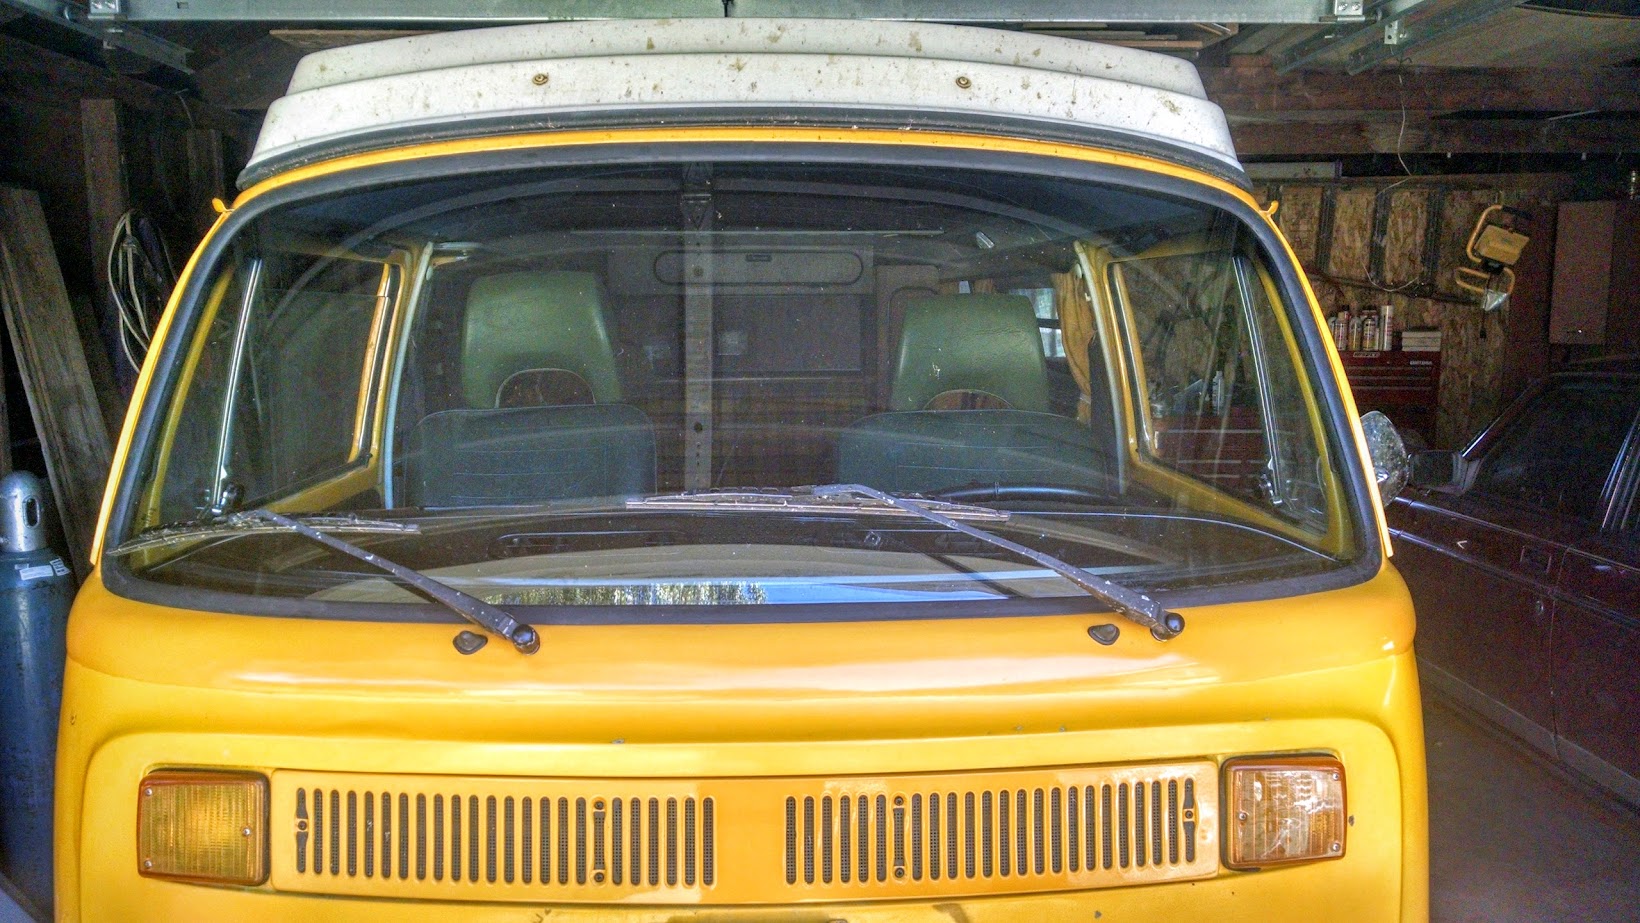
I didn't need more impetus to work on my bus, but seeing what's possible is always encouraging. The day began like this...

and ended looking like this.

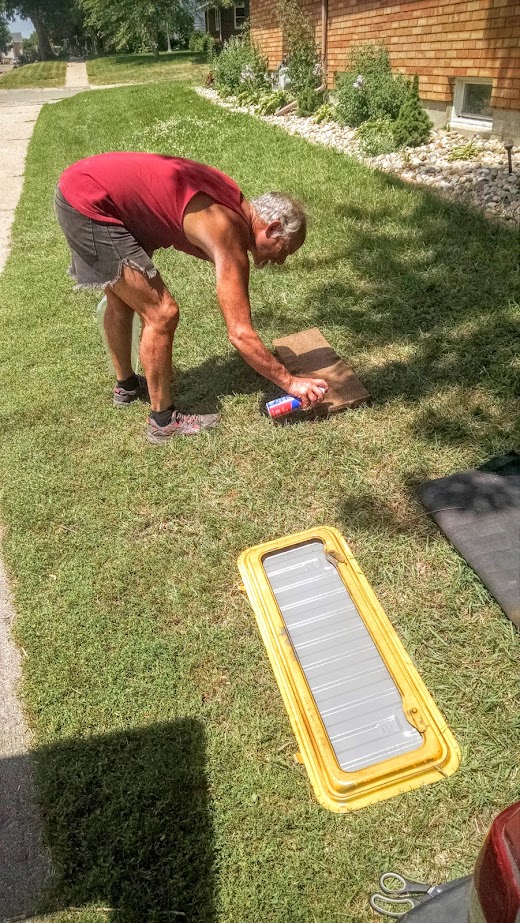
Colin was interested to measure a stock AFM (not the one in my bus) spring so we looked for creative ways to get a consistent measurement. Something like 124 grams (force) to get the flap to move using a socket (19mm?) to locate a consistent point force on the AFM flap. Our results were converging, so we moved on...

We re-plasticed the underside of the rear engine hatch. This is a good, simple project to do if you need encouragement and want to make your bus a little bit happier.
I looked for more photos to figure out what else we did during the day but to no avail. We drove around to do a good brake test (pass) and get warm oil to confirm a VDO pressure reading. Colin was surprised that this engine with a 9590 cam and bigger valve heads had decent low rpm torque. I was happy to hear this as I've always wondered how this engine I built compared to a stock motor. After driving Naranja, I like both but the stock engineering is so perfectly beautiful!
Sometime in the later afternoon, we decided to tear into the windshield channel. It was obviously poorly fixed sometime in the past and it was my the project list for "some day..." With Colin's encouragement, We cut the old, dried seal and pulled the windshield. Sometimes diving in is the hardest part, and I knew that would be the case with this project. The time commitment scared me a bit as I have never done body work before - a good push over the edge and I can now say it was very enjoyable!
The previous repair was a combination of body filler and fiberglass and was built up too high in the front. This maybe looked good but was functionally awful. I knew it wasn't going to look good underneath and our initial evaluation was that there was potential to keep some of the channel and I could weld patches in some of the holes.

After Colin left, I spent some time grinding away the non-metal filler(s). Not a lot of good metal left to work with.

Old channel cut out. Lots of measuring and careful dissection...but sometimes just winging it.

Welding in the Just Kampers' repair channel offers a good starting point but definitely is not a perfect fit out of the box. It takes a little modification and persuasion (cutting, bending) to get the channel to fit like the old one. One of the reasons for this is that the new channel has only one bend from the pinch weld out and this bend angle is greater than the original 90 degrees. However, the original channel (as Colin was thankfully quick to point out) has a 90 degree bend from the pinch weld and then another slight bend as the channel flows into the front curve and down.

Finally we get to melt some metal. Ended up using cold galvanizing compound as my weld through primer as it's all i could easily source. We'll see how it holds up. Everything else was treated with rust catalyzing primer and left to do its thing for a day or so.

Here is the channel welded in without an extra bend (as it comes).

After one pass welding the channel in, I re-cut and re-welded to better follow the old shape. I'm not recommending this - it was simply what was required here to get things to line up and fit properly. I used the windshield with the old seal (inside lip cut off) to test fit as I went through the process.

Finally starting to take shape. After a slight layer of filler, blocking and primer it's looking more like it should. (note: lots of time in this step!)

I decided to not worry about matching the paint as the rest of the bus will eventually get new paint (especially the rest of the front) so I went with a single stage matched to the vehicle paint code. The new paint is closer to the original color but not quite as yellow as the repaint someone did in the past. The dash paint is simply dark gray primer (rustoleum) with a clear coat over top. Looks like a gray black to me!

After all of that, I half expected the window to fit weird or crack while going in or to find the seal not doing its sealing job very well, but so far everything surpassed my expectations. The seal fit well all the way around, and installing the windshield was not as daunting as I had anticipated.
One annoyance worth noting is that the new windshield squirters broke upon installation. I will let Wolfsburg West know. There is not enough flex in the tabs. I figured there was filler or something that had reduced the hole sizes, but all is still original in the wiper hole realm. The original VW nozzles went back in without a hitch - happy to continue their service life.

And there we have it. If you made it this far, congrats!
The bus is now ready for it's next trip to the west coast in a week!