Itinerant Air-Cooled Greetings From Florida I
Posted: Fri Feb 19, 2016 8:39 am
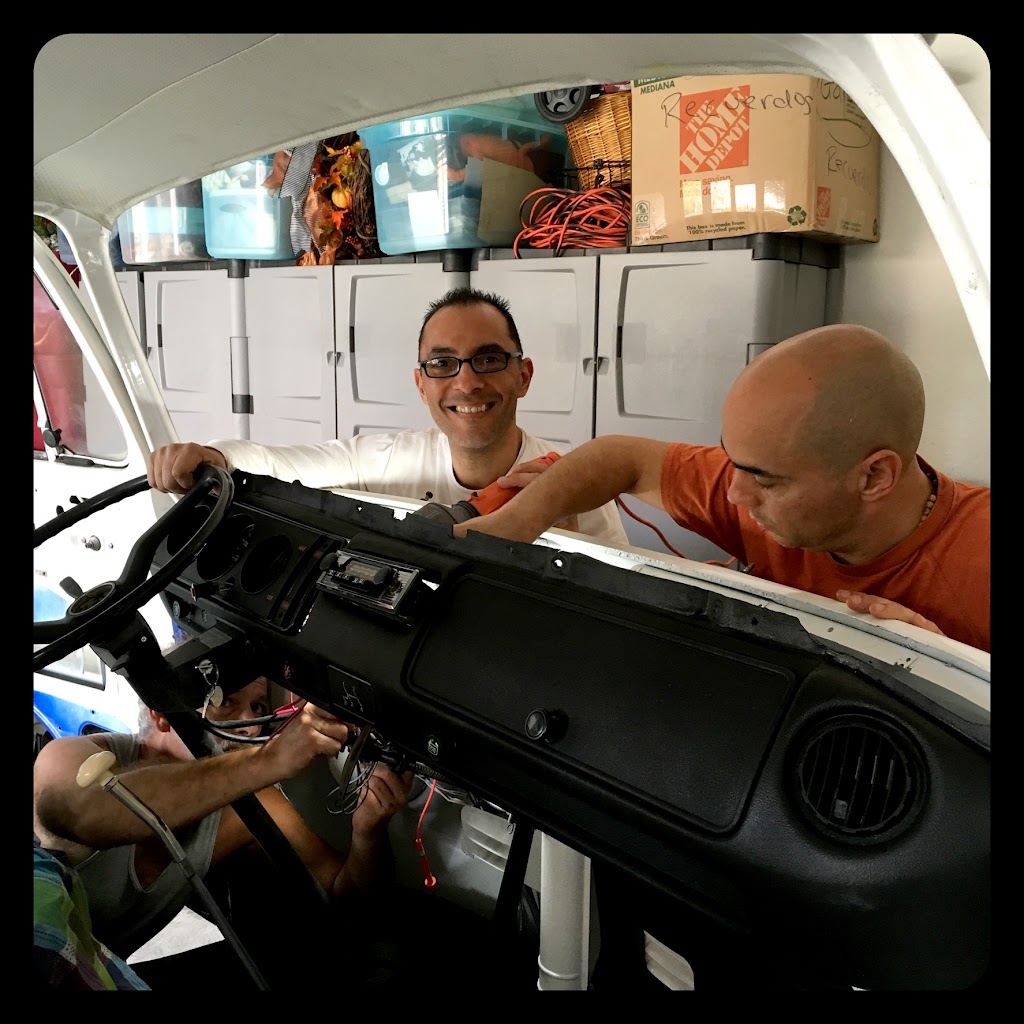
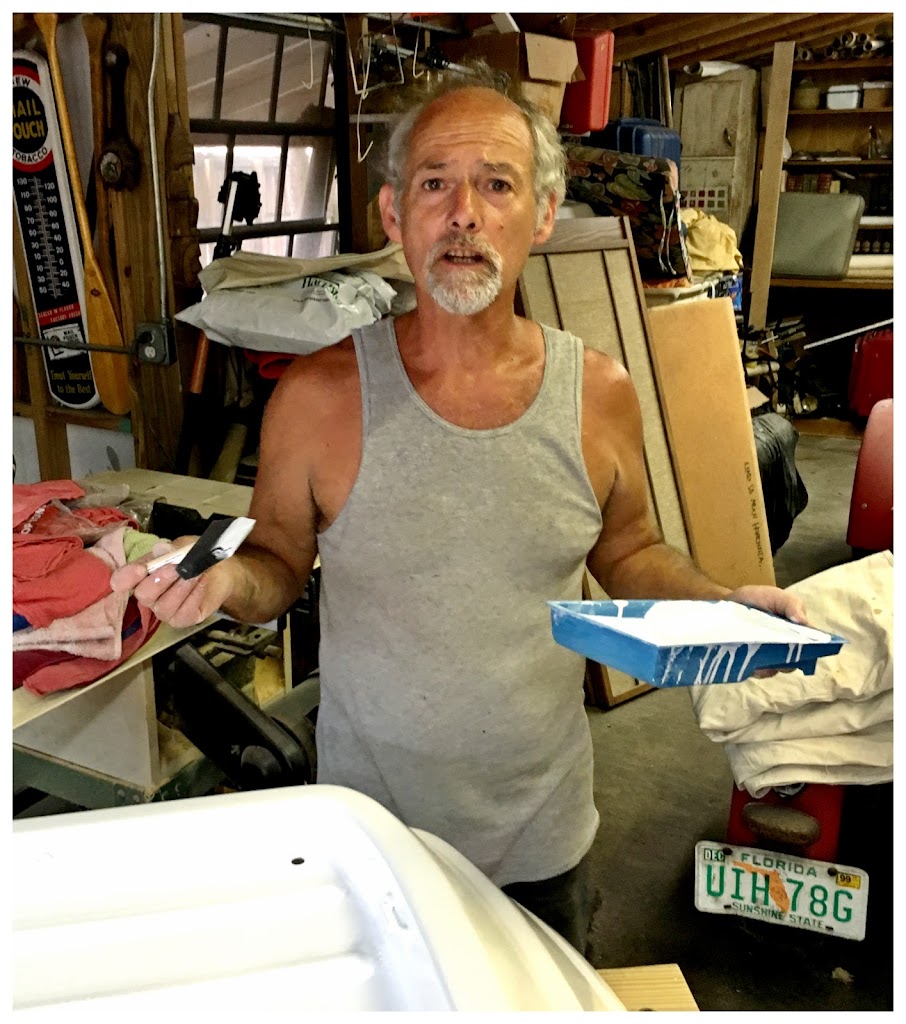
Here I am at Farmer Jeff's Big Building once more for yet another round of crushingly crazy caniptions with this orange monstrosity. Here's the gracious accommodating Farmer Jeff Himself:
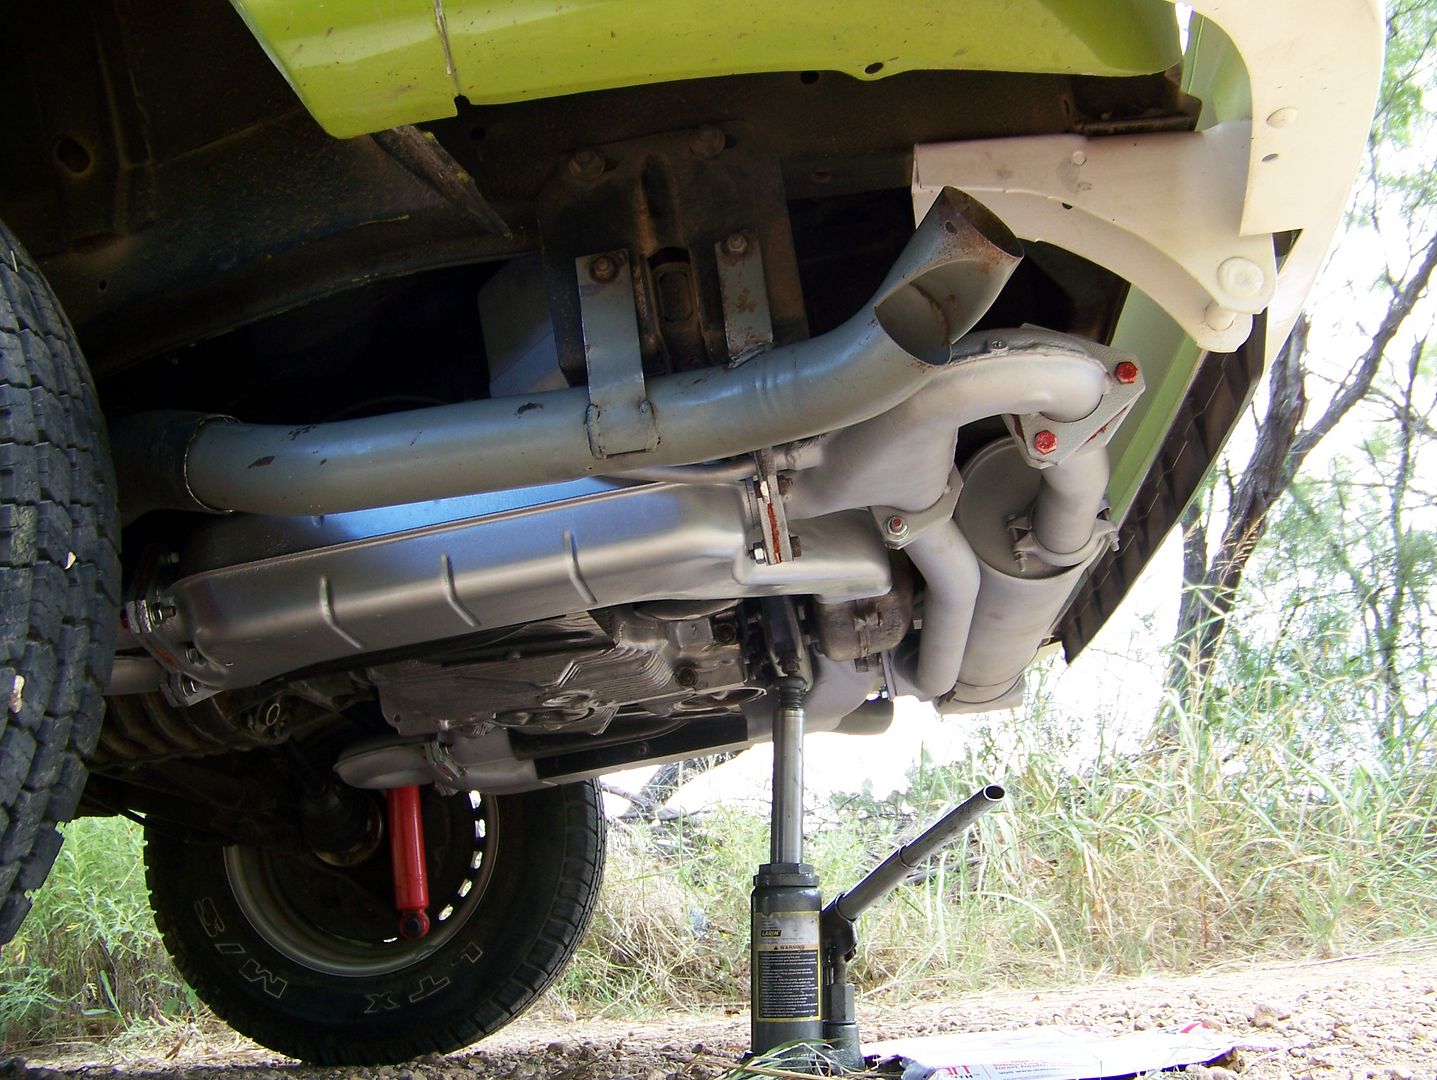
The ostensible reason for my visit was to install new bolts nuts and gaskets and repaint the heat exchangers and manifolds. Michigan, however, intervened once more with a reminder that road salt is the bane of all automobiles everywhere. Having experienced the invasive rust at the windshield and rear quarter panel, having almost been stopped cold in Valdosta by a hideously crusted crossover pipe, do you think I would have been a little more conscious of the possibility that the exhaust system would be exceptionally challenging? Naw.
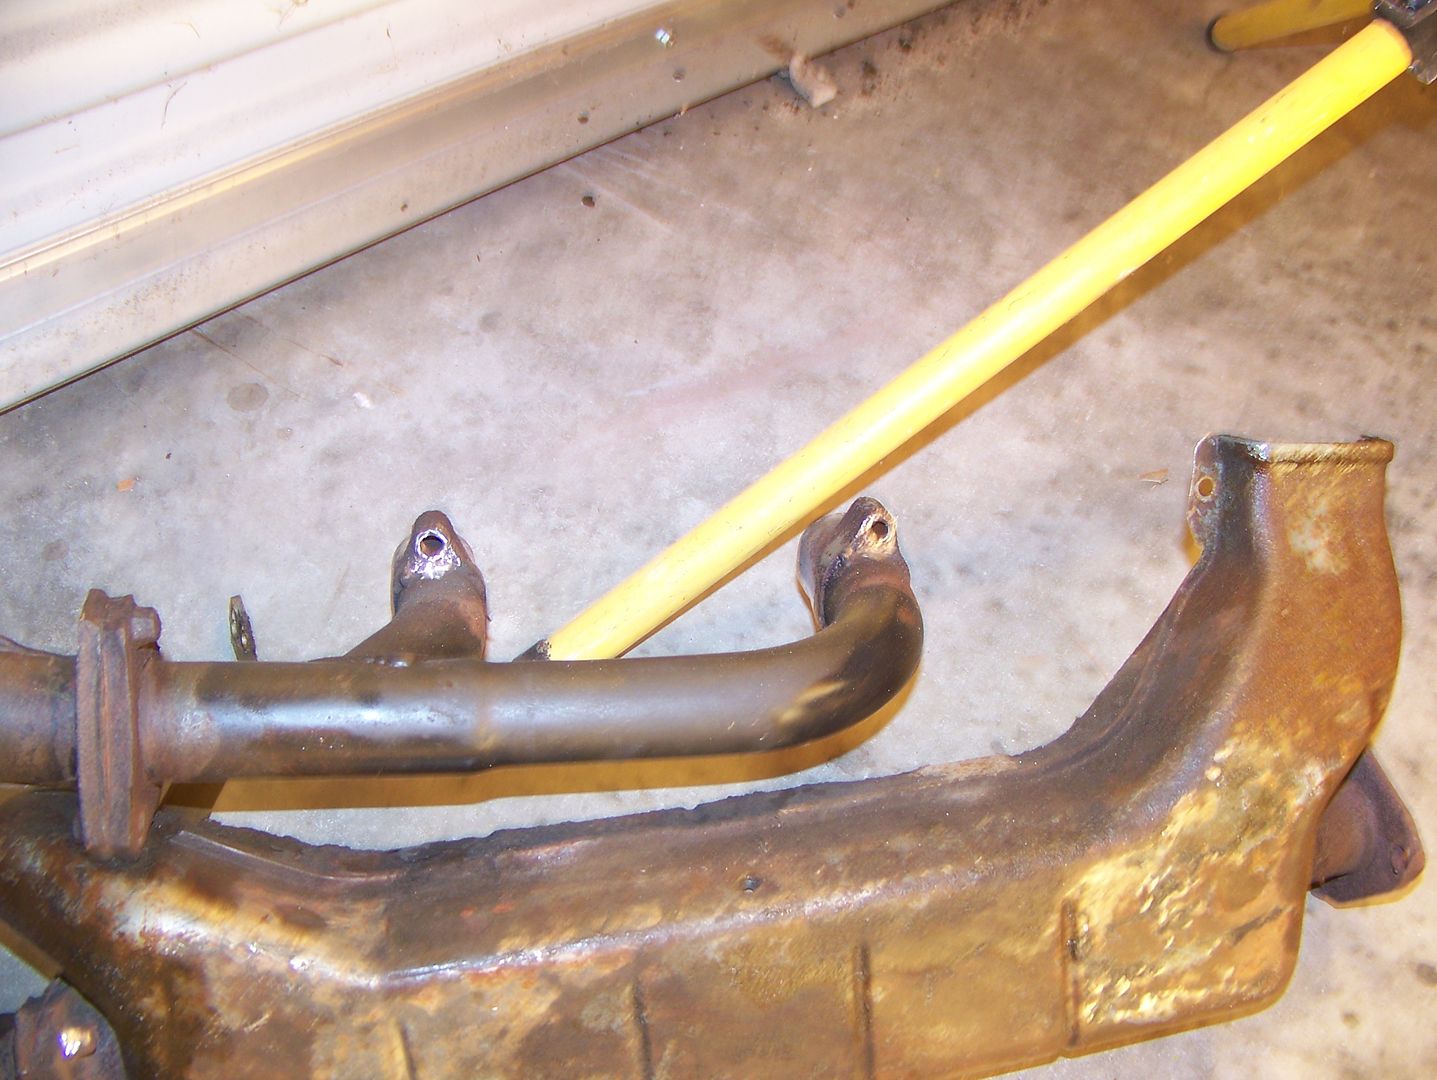
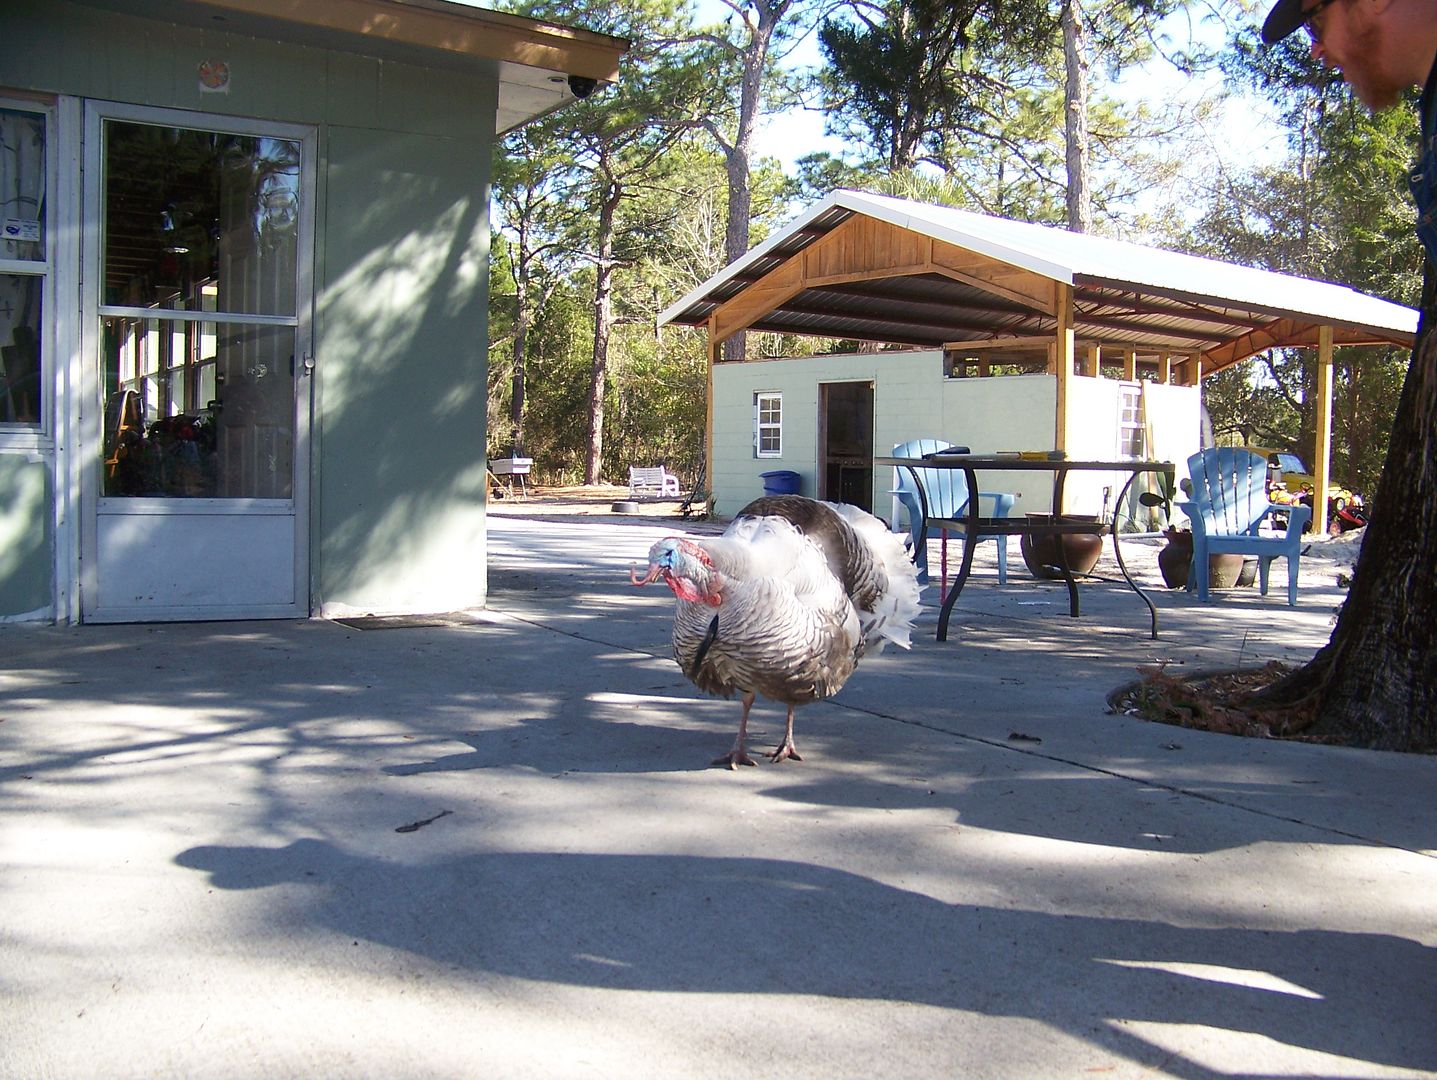
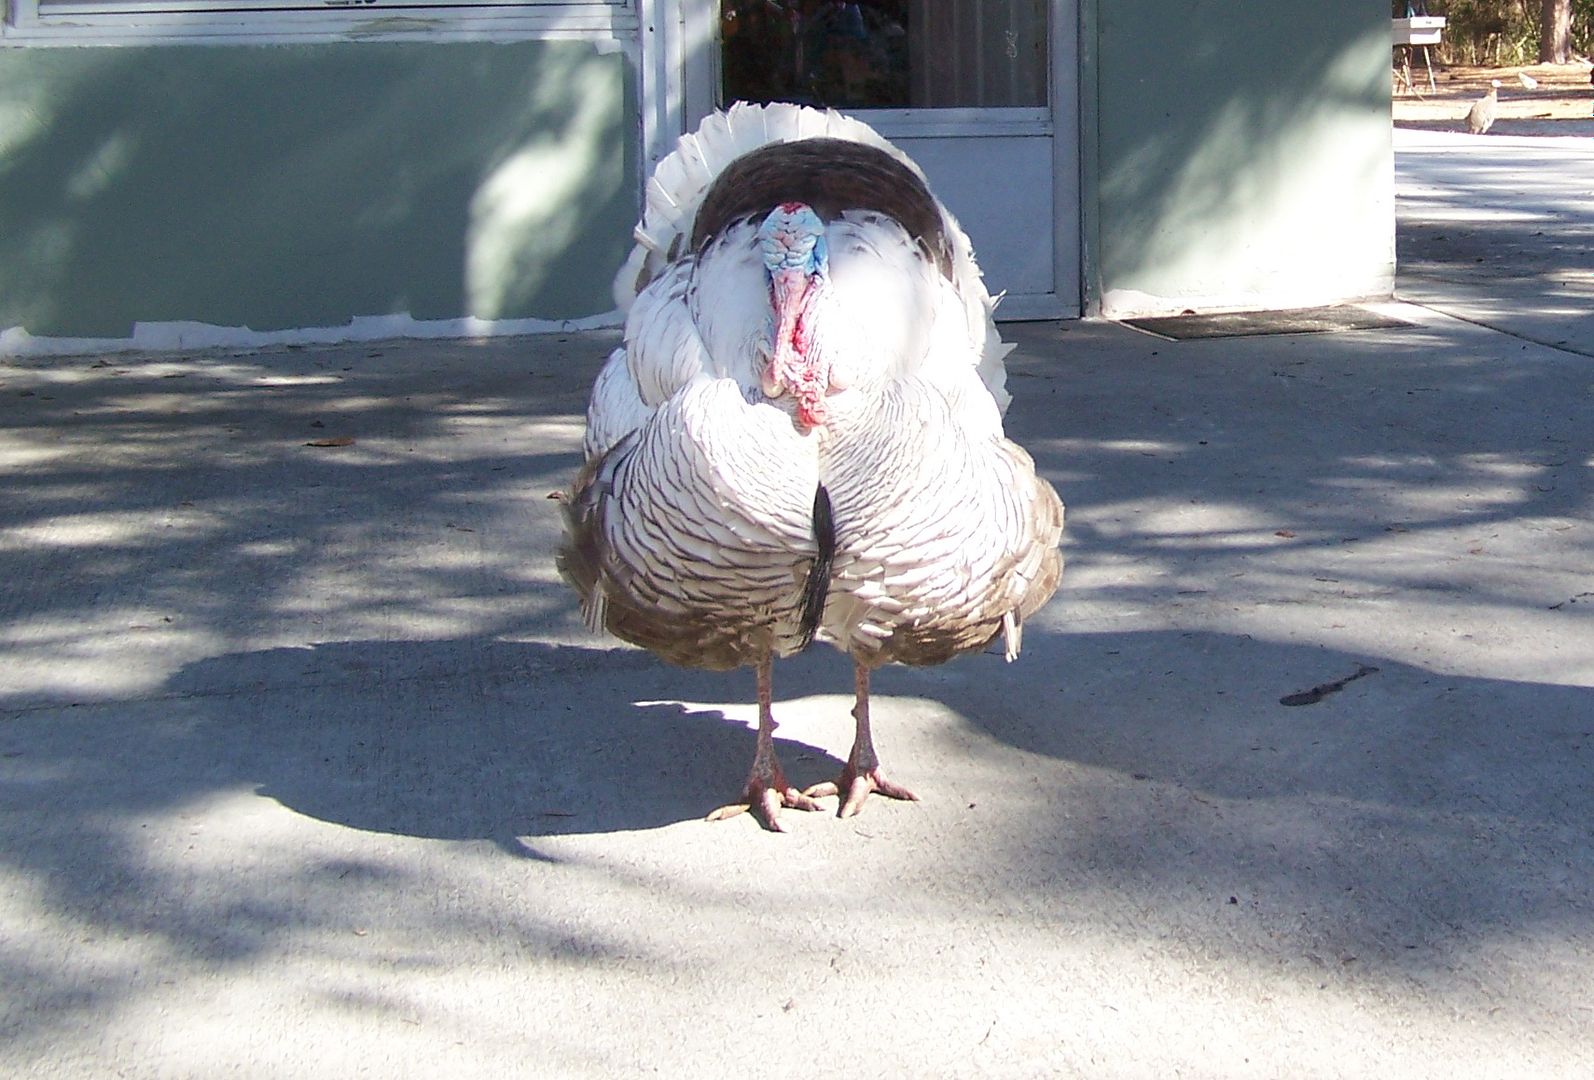
You might see over on the left side of the above photograph that I dremeled off the bolts between the u-pipe and the manifold. Then I realized that this disassembly just was not going to happen. The flanges were in no shape to take hits as I attempted to punch out the headless bolts. So I stopped trying, good for me, stop while I am ahead, but who is ahead with headless bolts? The manifold studs were the next treat. Seven of the eight came out with the manifolds, three of those gave me the dreaded loosen-then-tighten as I turned them out. Tightening while loosening is evidence of galled threads and a dam of shredded aluminum piling up in the threads. Normally, I drench the threads with PB Blaster and screw the stud back up into the head then back down. These guys seemed to get tighter still as I did that. When I committed to getting them out damn the torpedoes, they squawked hideously and pissed off the turkey. See, there was a dandy pompous turkey on the premises who thought I was getting too friendly with his hens (I photographed the one who was sweet on me last visit), and he started stalking me. Every time a stud would squawk, the turkey would do a gobble. Hilariously demented, that's how I like it:
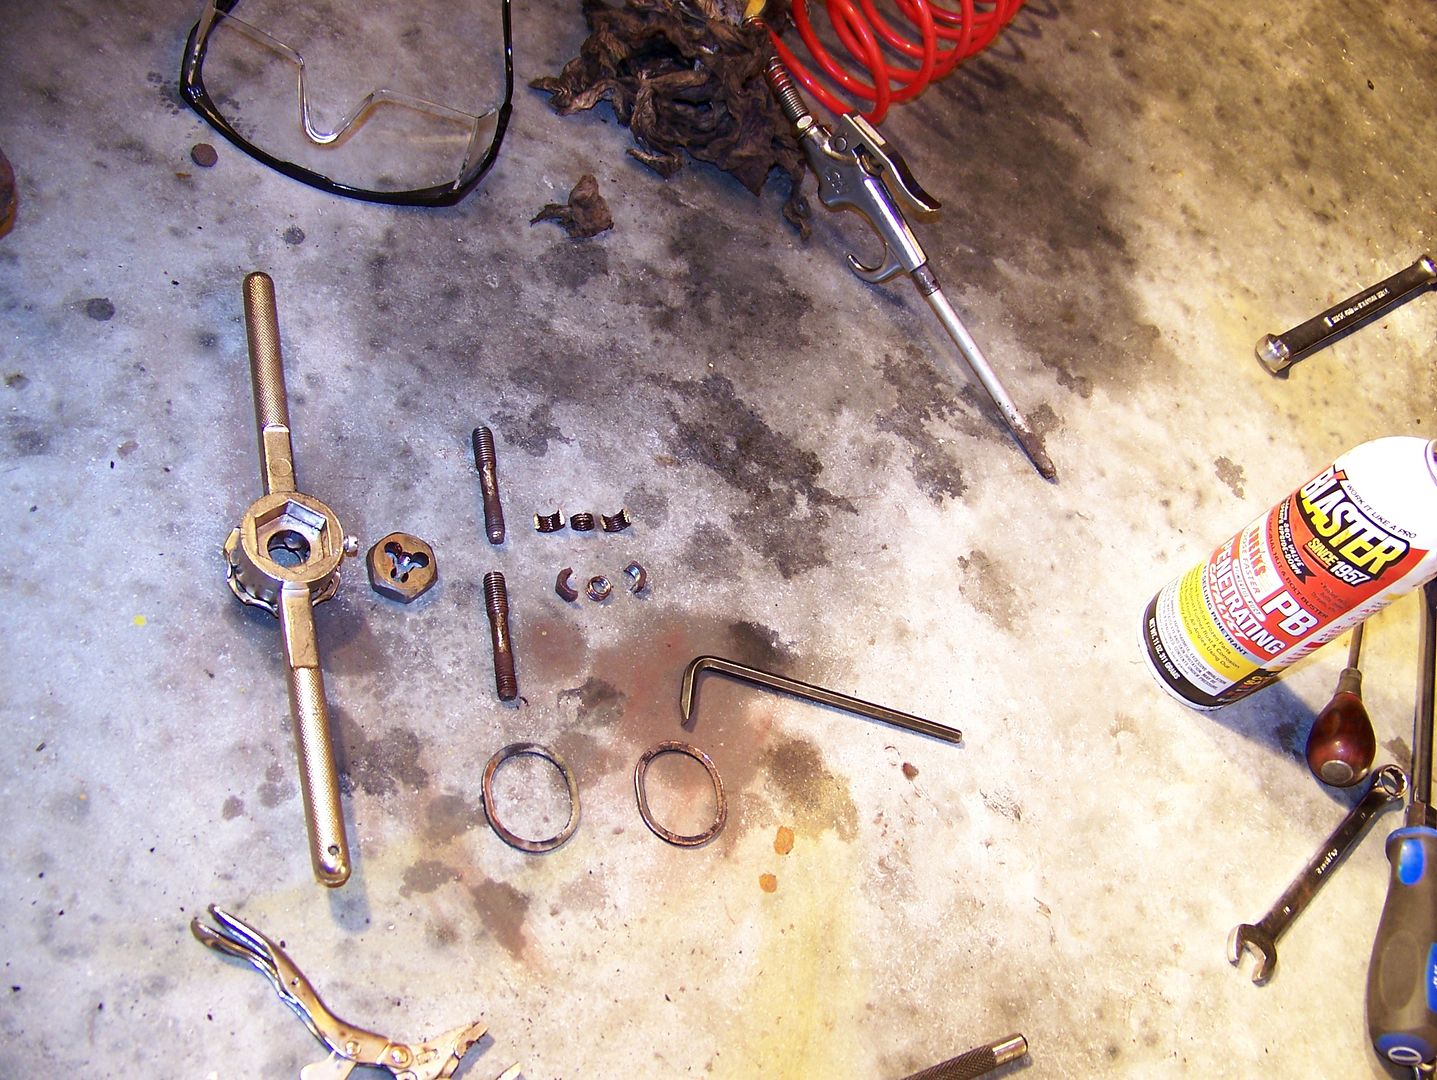
The manifold studs came out with varying degrees of aluminum and the self-locking nuts were rust-welded to the other ends. I dremelled the nuts carefully in half, ran a die over both ends ( 9x1.25 on the head side, 8 x 1.25 manifold side ) then dremel-smoothed the center portion of each stud to remove the vise grip marks, sort of like shot-peening connecting rods to reduce stress. In the photograph, you can see the copper ring removal tool that used to be a 5.5.mm allen wrench. This thing worked perfectly to get the rings out without a speck of damage to the exhaust ports:
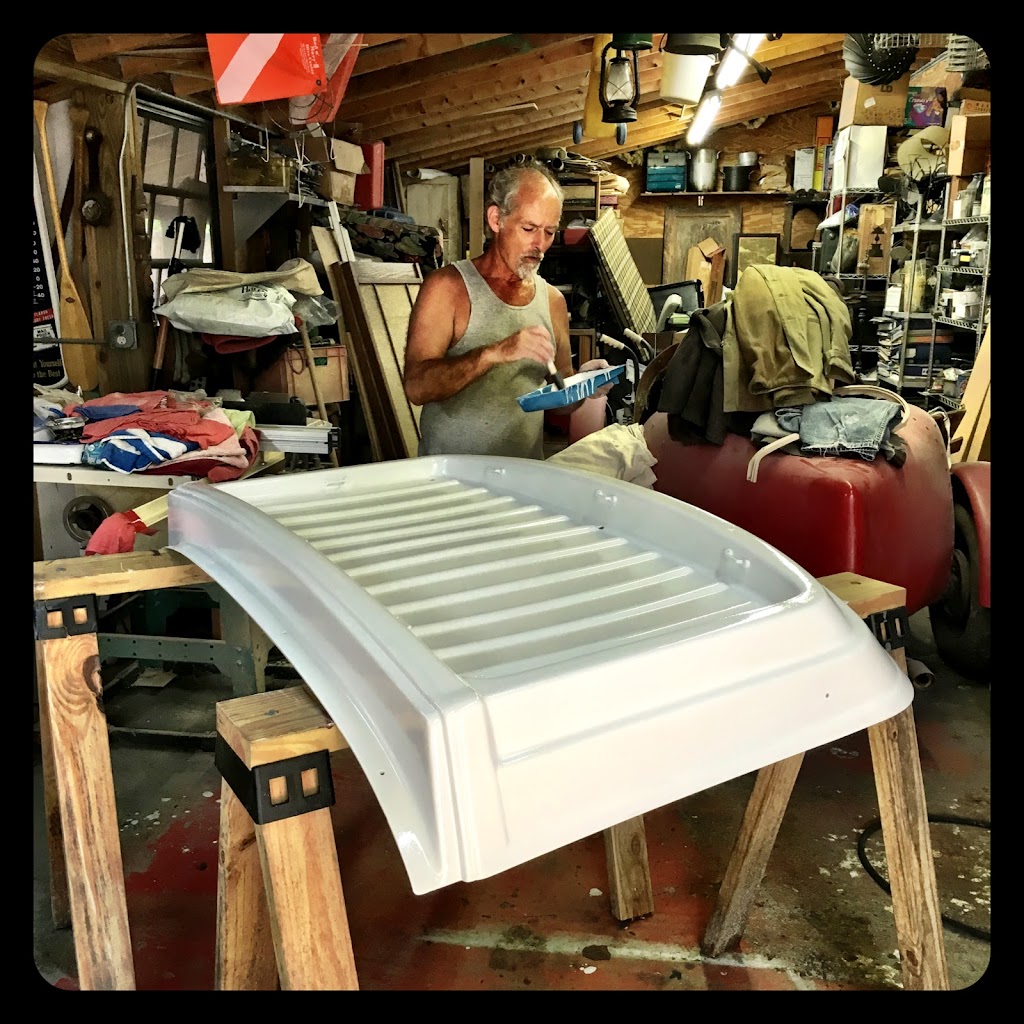
What the heck, let's re-condition the heat shield, I am way behind schedule, stoned on PB Blaster, gasoline, rust dust, paint fumes, why not? :
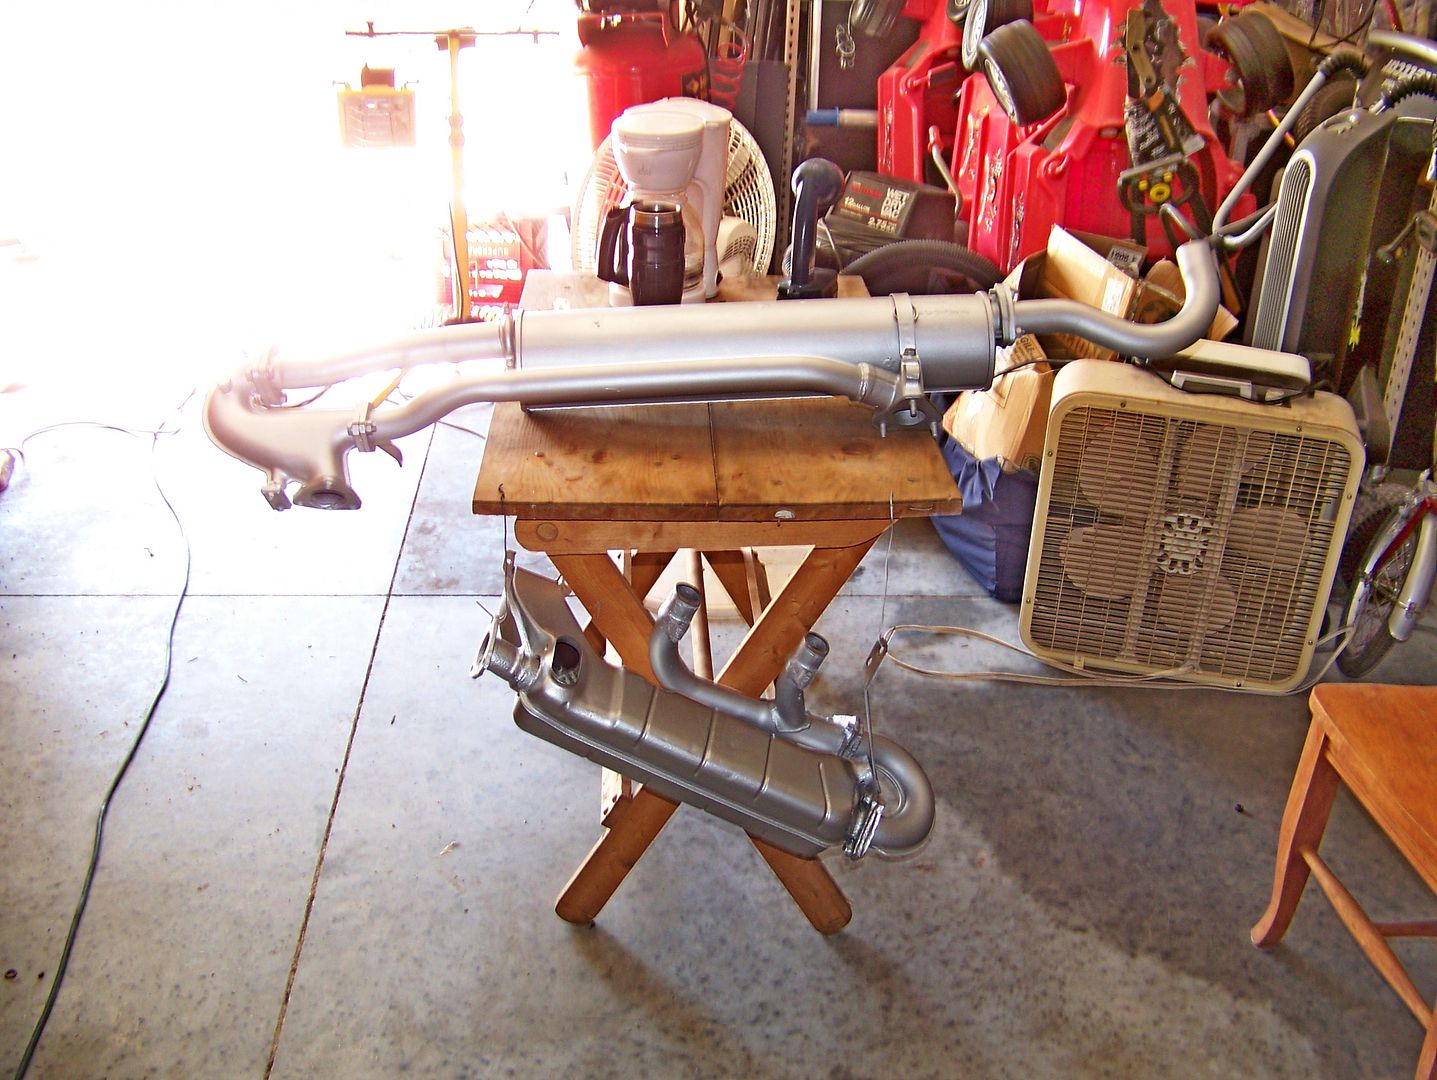
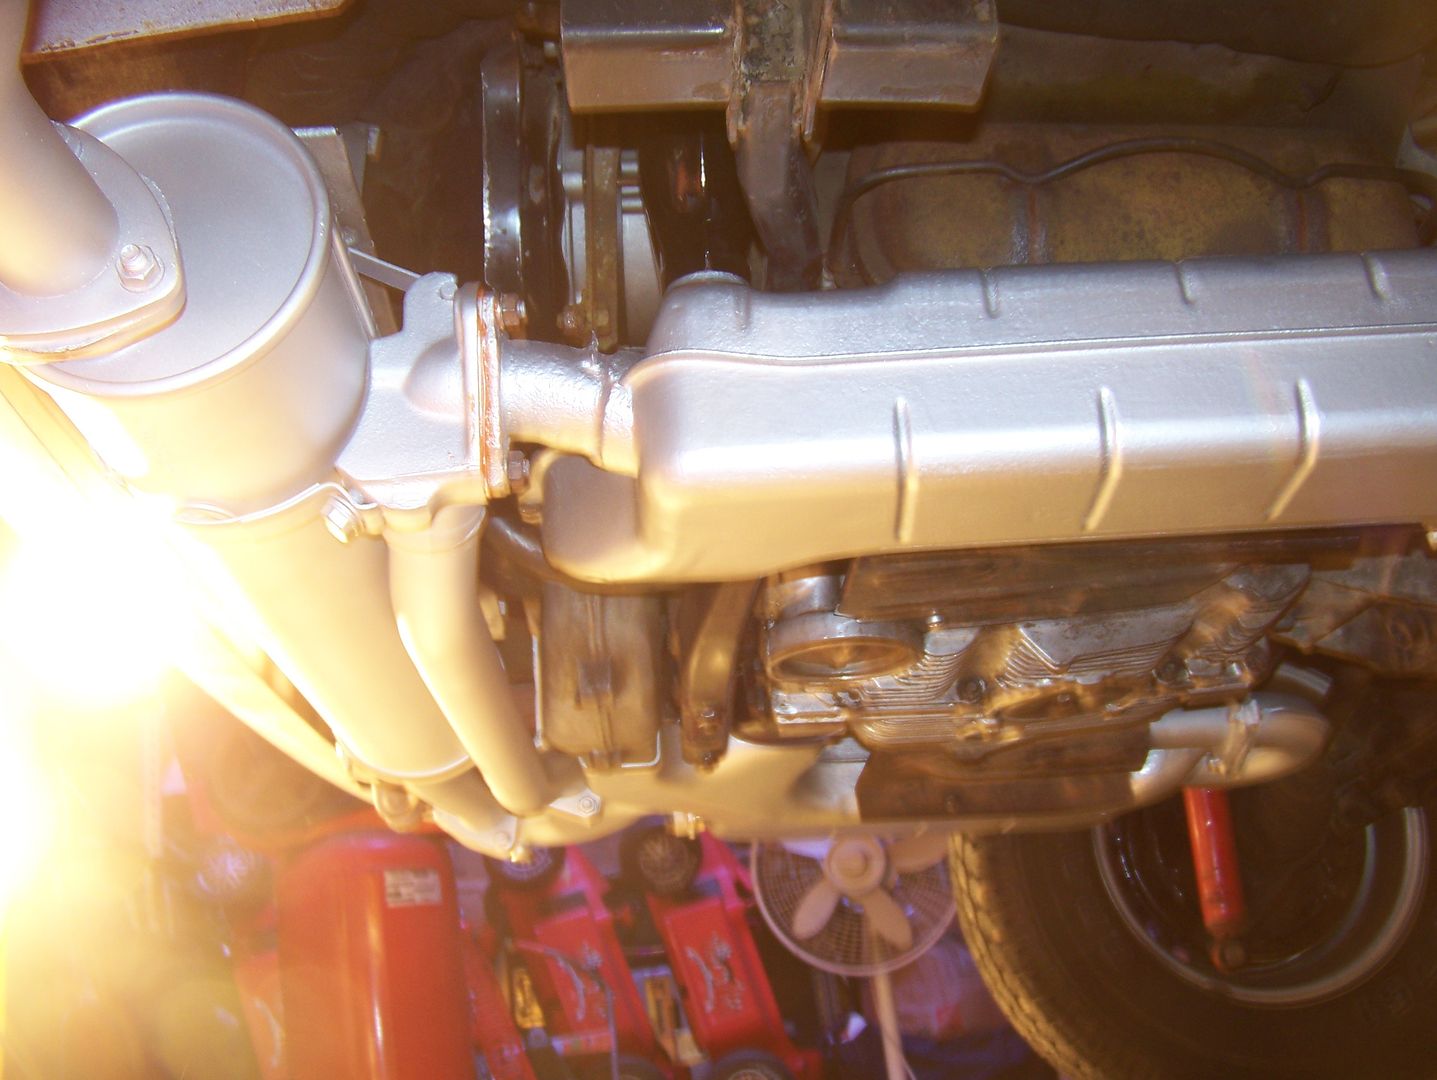
Here's the repainted muffler/crossover pipe, and the right side exchanger/manifold with the cut off bolts just painted over. See that coffee POT? These guys are the best:
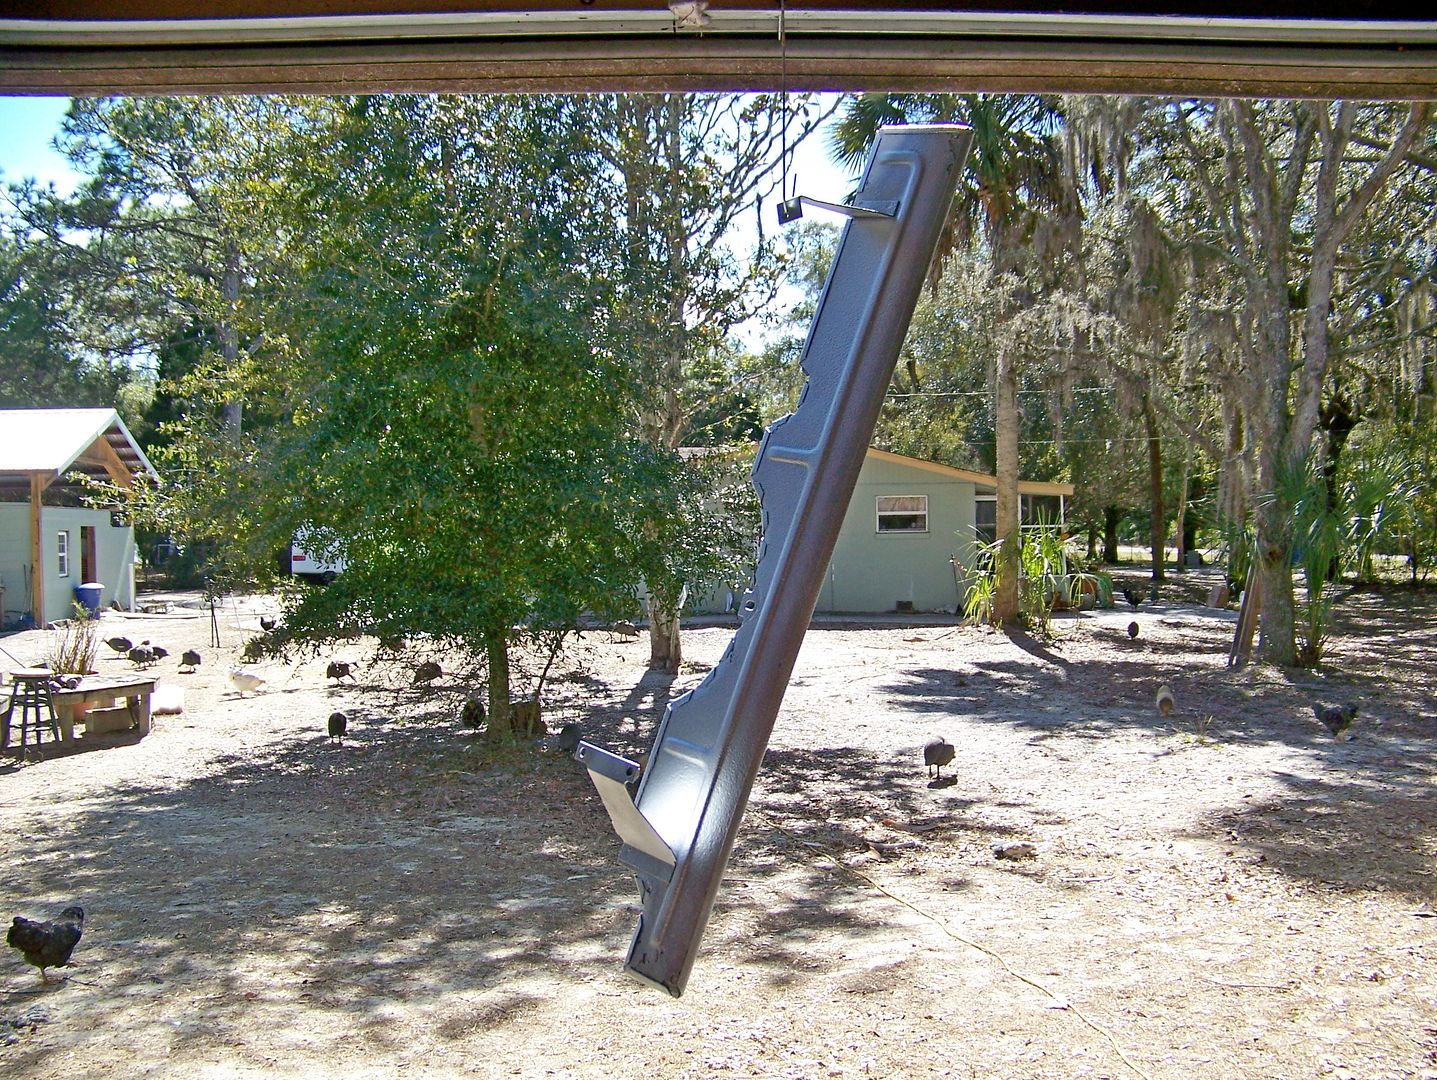
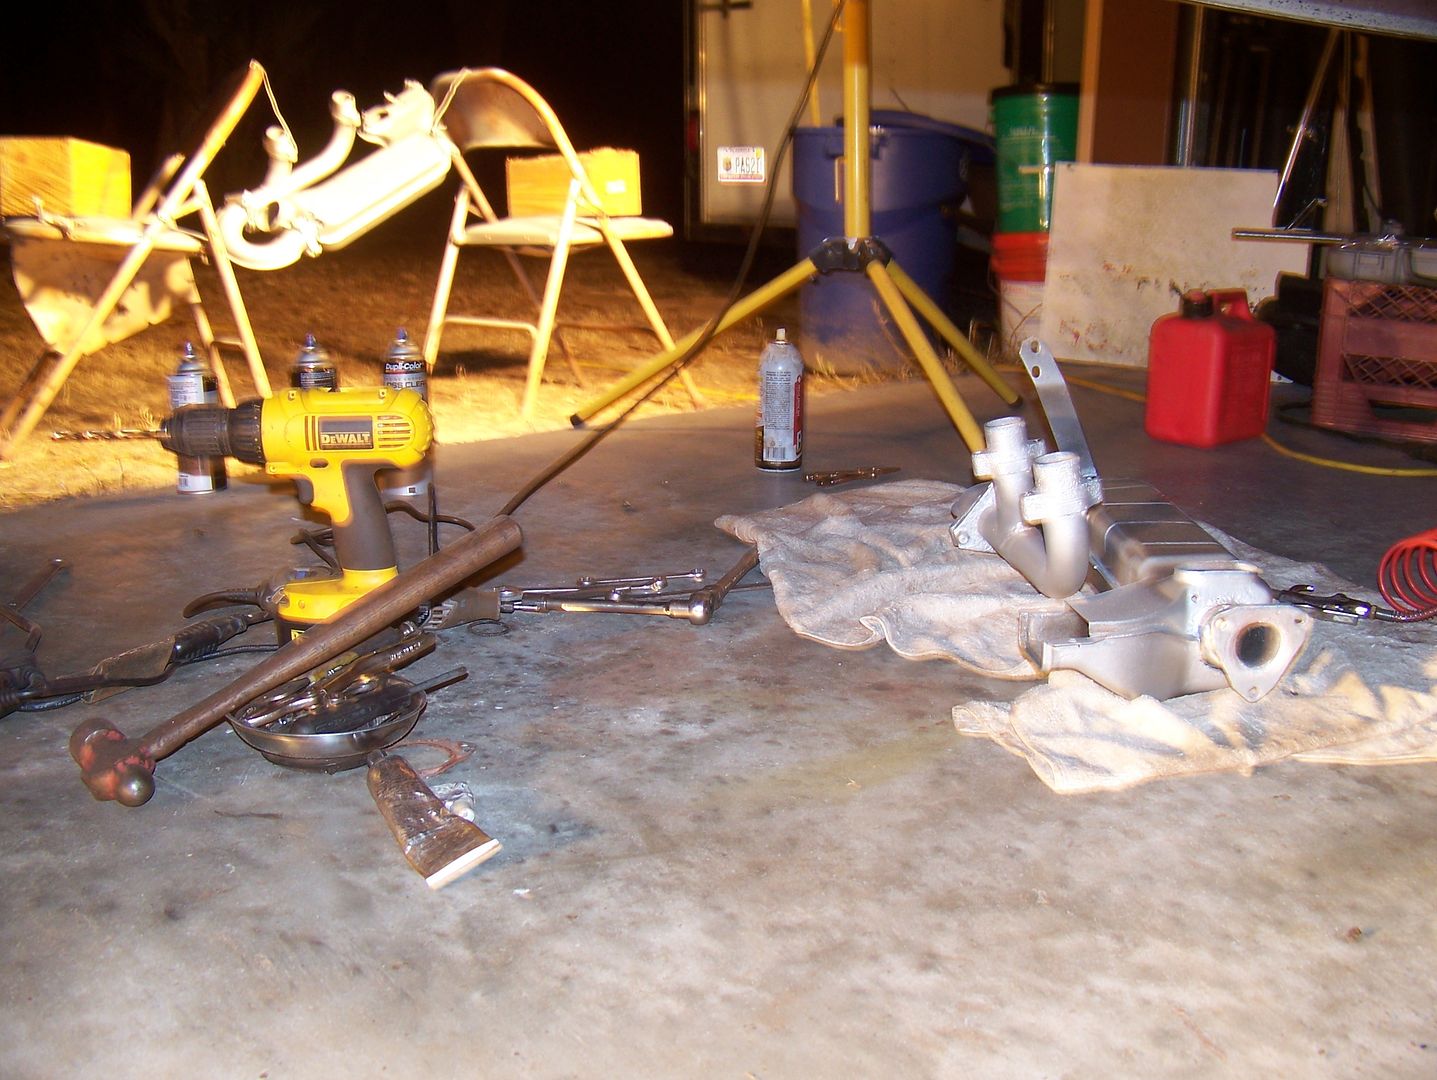
I did not cut off any bolts on the left side exchanger. I went straight to milling the pipes with a bastard file and drilling out the flange holes. Hideous shrieking of the drill bit occurred while Jeff was on the phone, the turkey got all challenged again, ahh, life on the farm . . . Cleaning the rust off of each exchanger took six hours per side. Someone, some person, some . . . . . one, had undercoated the exchangers but good, thus blocking drain holes, hello, then our good friend Fred The OverSprayer had oversprayed the baked-on undercoating, and these things were a fiend to clean. Late on the second day, the left side exchanger was finally ready for paint, hanging precariously from two folding chairs:
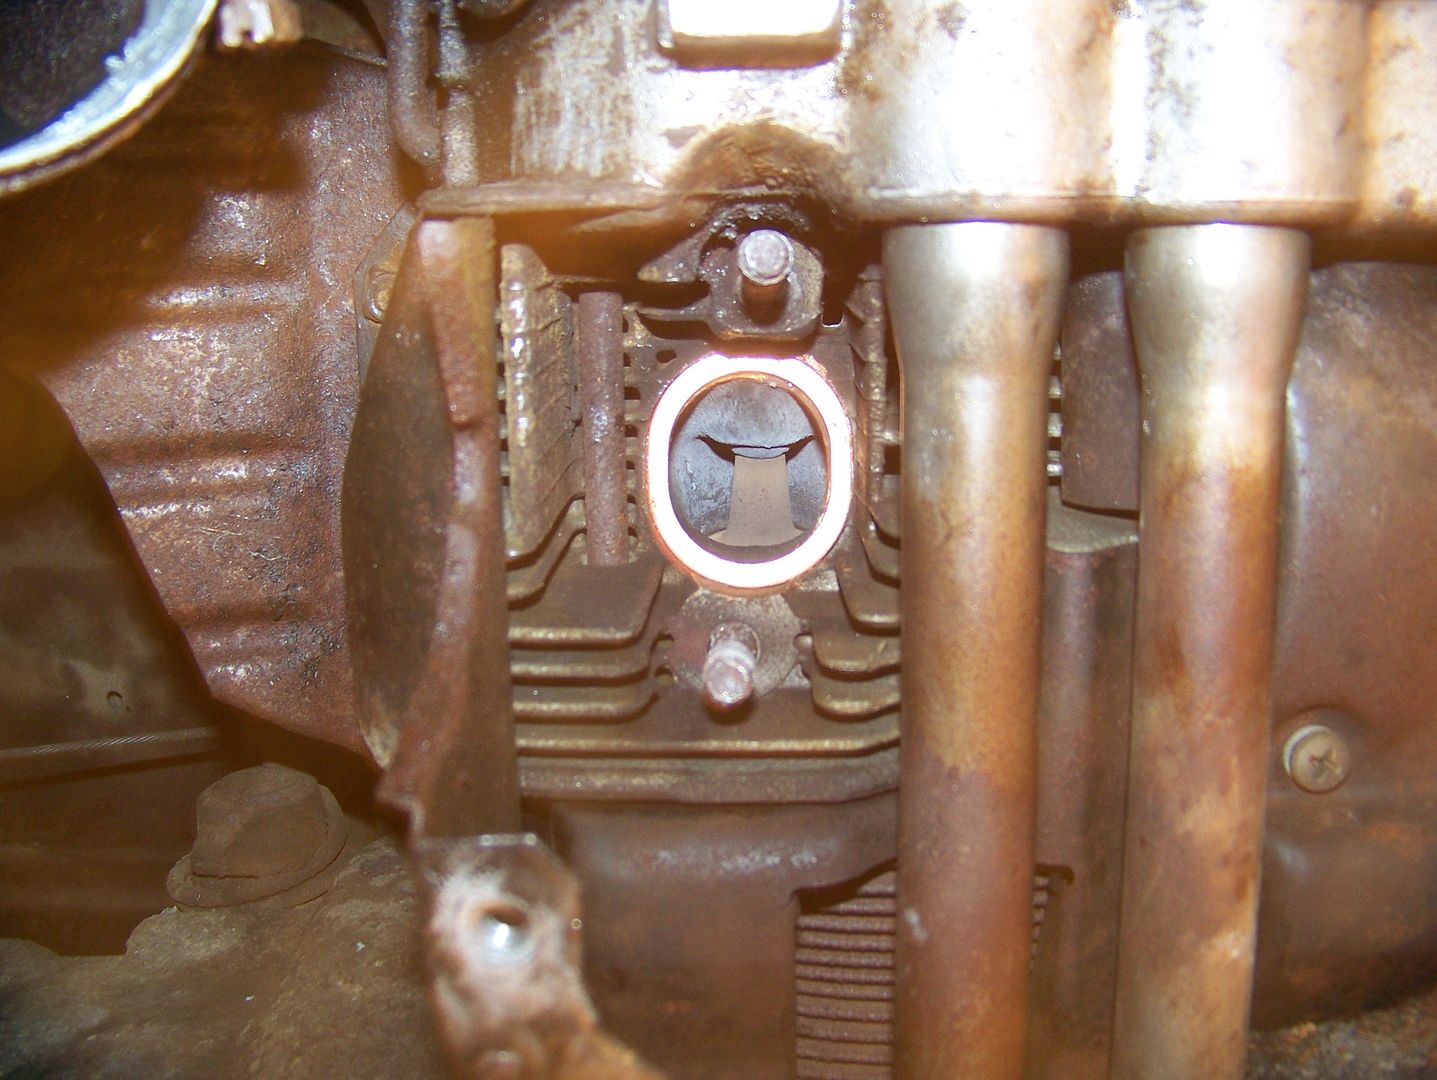
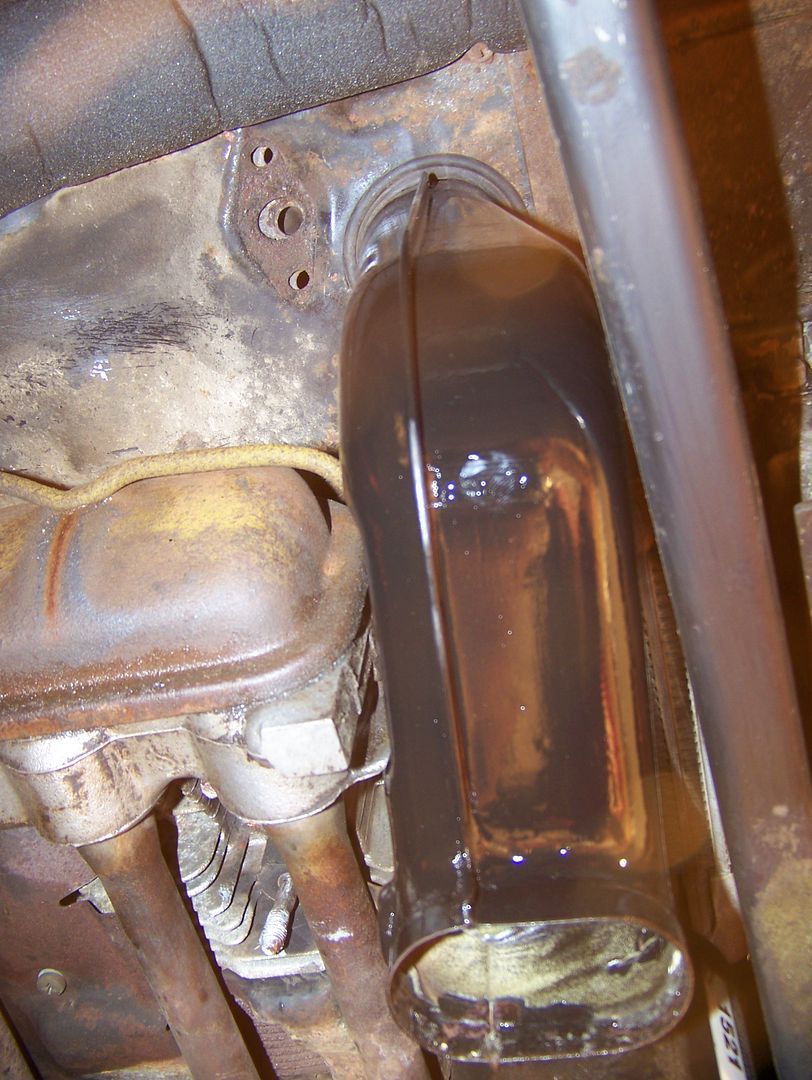
Exhaust valve and port #3, a tad lean:
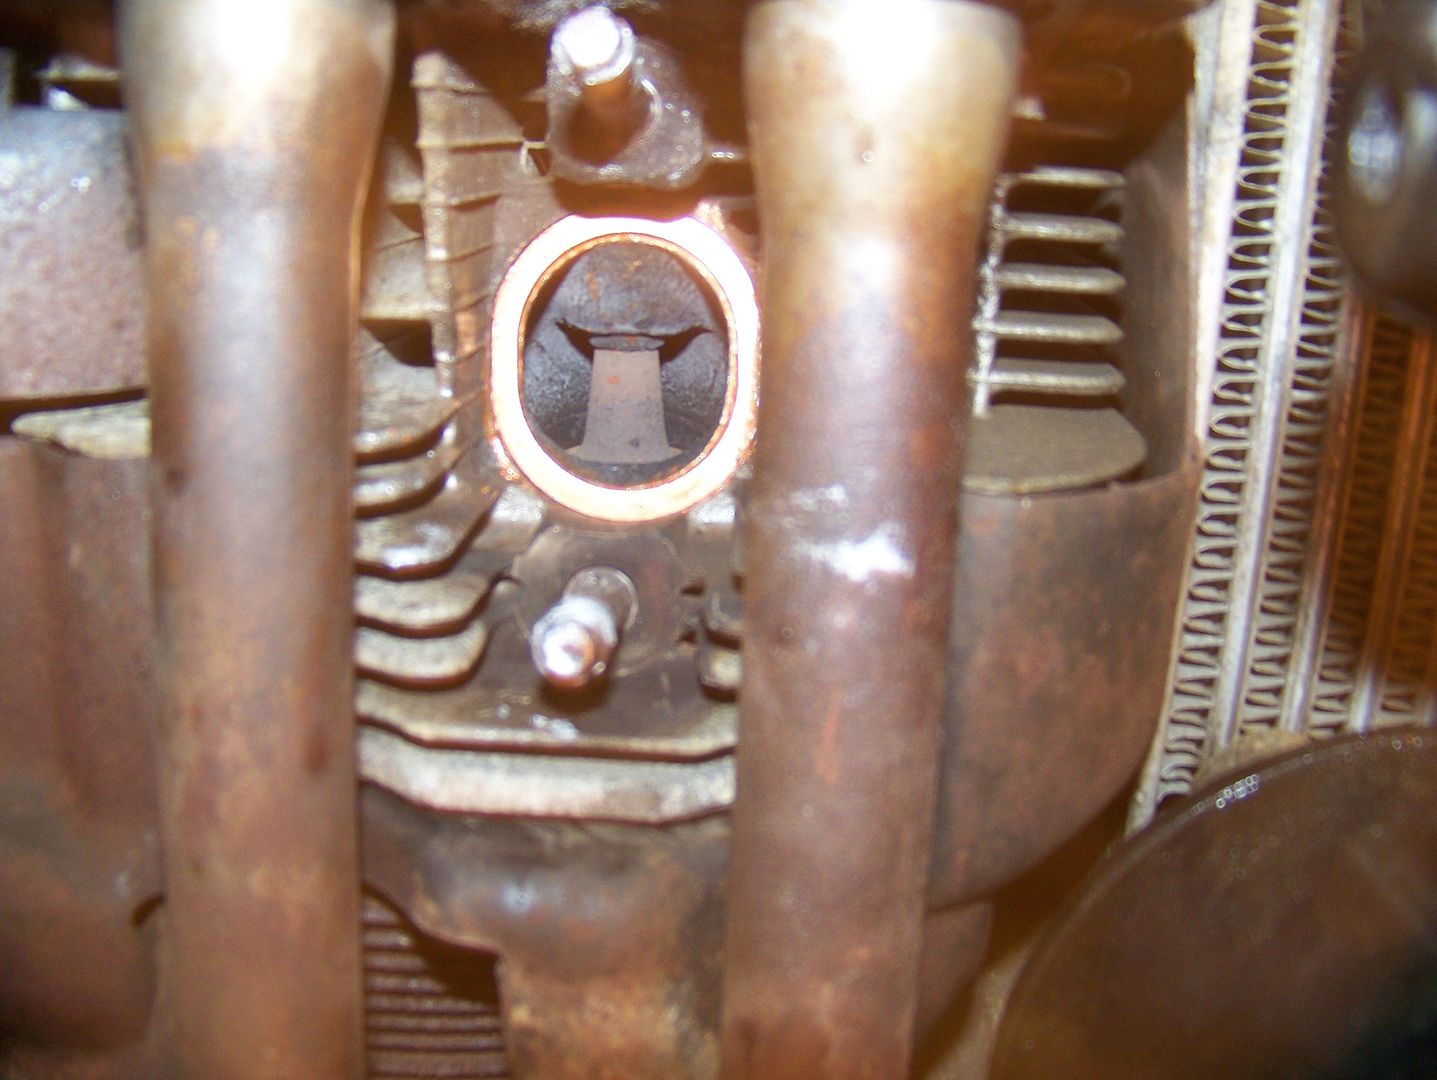
Exhaust valve and port #4, a tad less lean but still a tad lean:
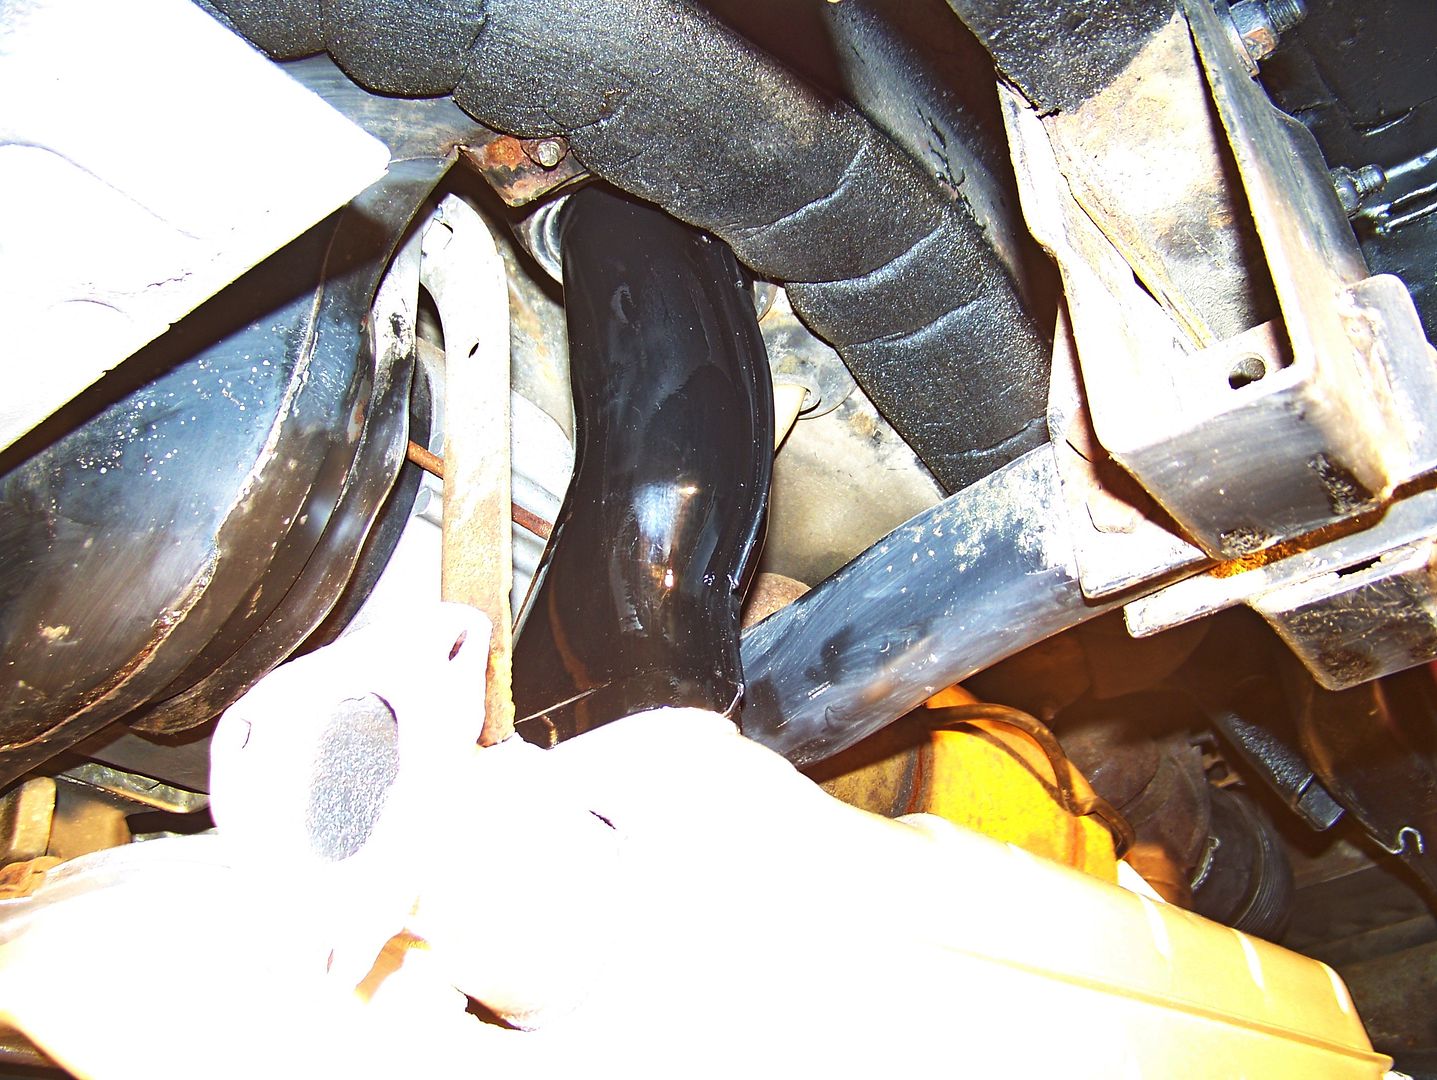
Did I mention that I scraped/sanded/painted the fresh air pipes that lead from the heater blower hoses to the exchangers?:
Here's midnight on the second day after a second disassembly to double up the gaskets between the damaged exchanger flanges and new old stock new crossover pipe:
So this system is sporting new paint over old rusted flanges and gaskets and is missing four bolt heads on the right u pipe:

From 1:00am to 2:00am I played with a dancing thermostat cable trying to thread it through the eye of a plastic disc way up in the darkness of shadows cast by a hot halogen lamp that blinded me every time I looked to the side. Finally got that squared away and lurched off into the cold night to the Scotty travel trailer, exhausted, filthy, and wondering if this effort to save the exhaust system was all for naught.
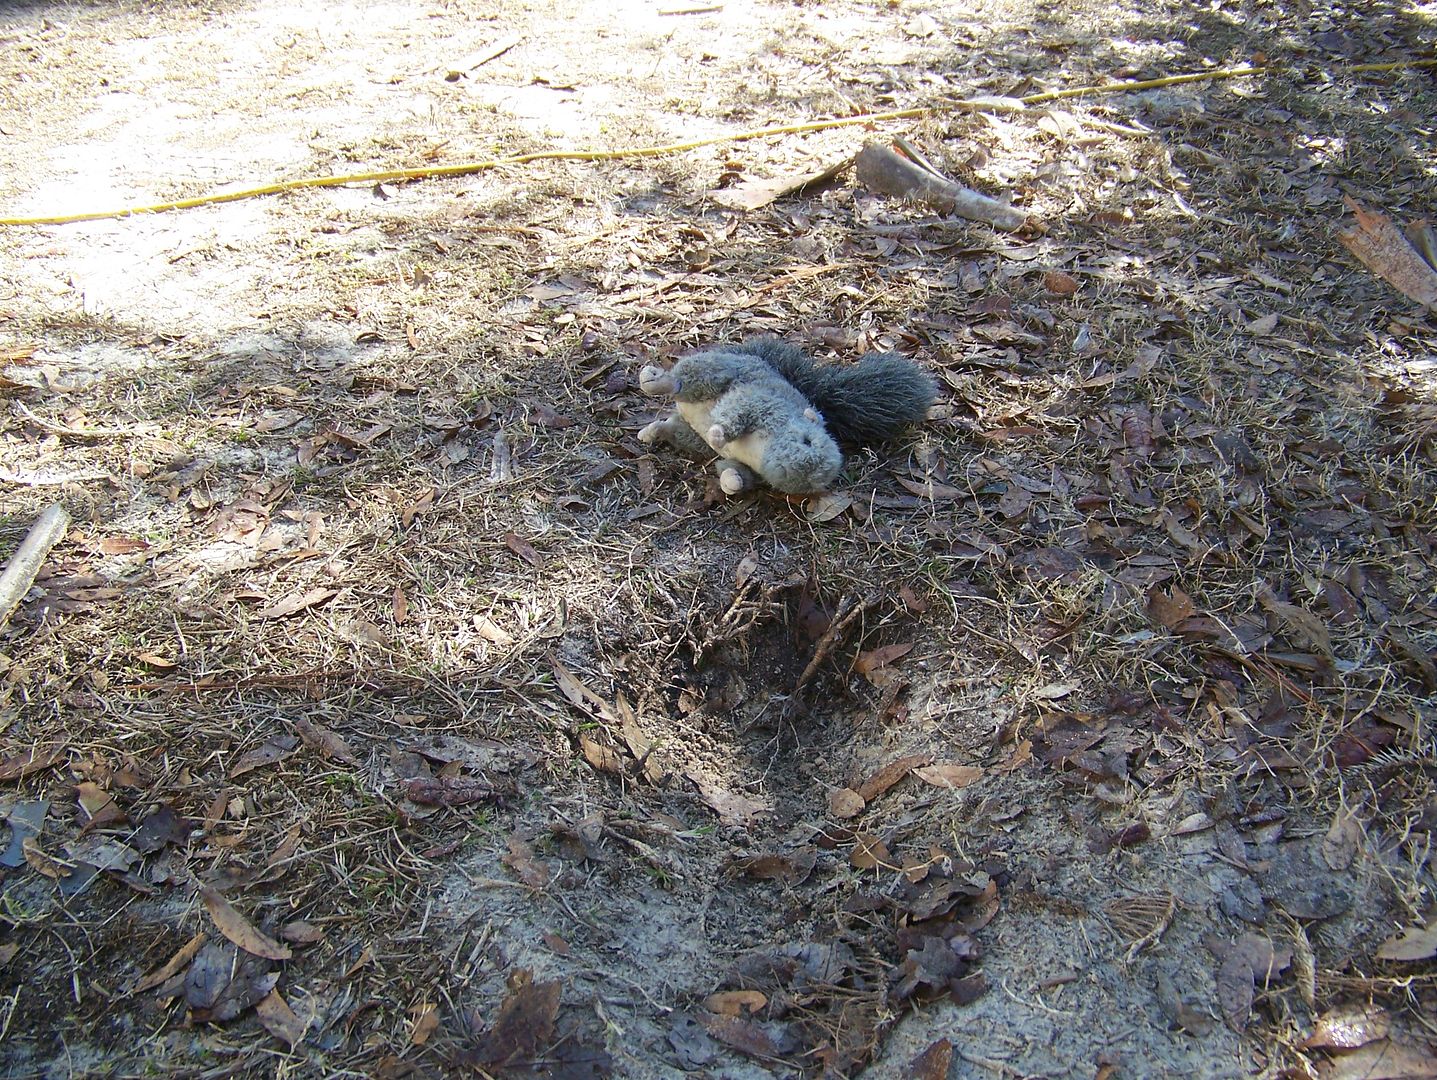
In the morning, I happened across this horrendous crime scene, some poor stuffed squirrel in an advanced state of rigor mortis had been savagely mauled and was about to be buried in a shallow grave:
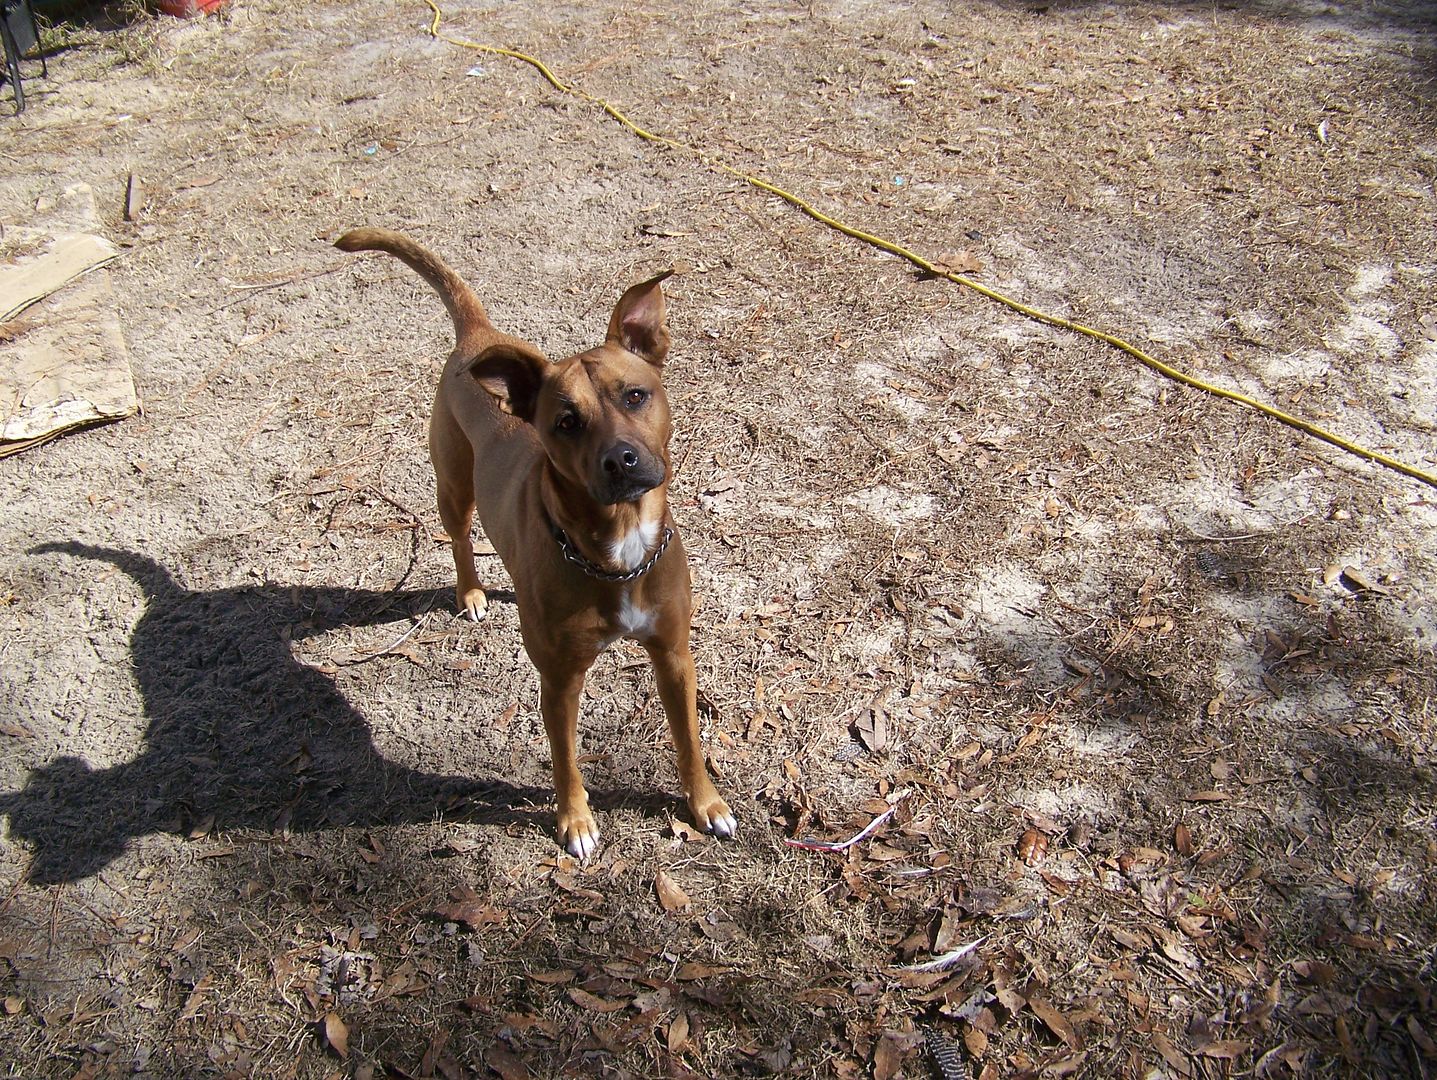
The criminal posed nearby:
I am on the road to Miami and the exhaust system is apparently not too bothered by its boltlessness:

The ostensible reason for my visit was to install new bolts nuts and gaskets and repaint the heat exchangers and manifolds. Michigan, however, intervened once more with a reminder that road salt is the bane of all automobiles everywhere. Having experienced the invasive rust at the windshield and rear quarter panel, having almost been stopped cold in Valdosta by a hideously crusted crossover pipe, do you think I would have been a little more conscious of the possibility that the exhaust system would be exceptionally challenging? Naw.
You might see over on the left side of the above photograph that I dremeled off the bolts between the u-pipe and the manifold. Then I realized that this disassembly just was not going to happen. The flanges were in no shape to take hits as I attempted to punch out the headless bolts. So I stopped trying, good for me, stop while I am ahead, but who is ahead with headless bolts? The manifold studs were the next treat. Seven of the eight came out with the manifolds, three of those gave me the dreaded loosen-then-tighten as I turned them out. Tightening while loosening is evidence of galled threads and a dam of shredded aluminum piling up in the threads. Normally, I drench the threads with PB Blaster and screw the stud back up into the head then back down. These guys seemed to get tighter still as I did that. When I committed to getting them out damn the torpedoes, they squawked hideously and pissed off the turkey. See, there was a dandy pompous turkey on the premises who thought I was getting too friendly with his hens (I photographed the one who was sweet on me last visit), and he started stalking me. Every time a stud would squawk, the turkey would do a gobble. Hilariously demented, that's how I like it:
The manifold studs came out with varying degrees of aluminum and the self-locking nuts were rust-welded to the other ends. I dremelled the nuts carefully in half, ran a die over both ends ( 9x1.25 on the head side, 8 x 1.25 manifold side ) then dremel-smoothed the center portion of each stud to remove the vise grip marks, sort of like shot-peening connecting rods to reduce stress. In the photograph, you can see the copper ring removal tool that used to be a 5.5.mm allen wrench. This thing worked perfectly to get the rings out without a speck of damage to the exhaust ports:
What the heck, let's re-condition the heat shield, I am way behind schedule, stoned on PB Blaster, gasoline, rust dust, paint fumes, why not? :
Here's the repainted muffler/crossover pipe, and the right side exchanger/manifold with the cut off bolts just painted over. See that coffee POT? These guys are the best:
I did not cut off any bolts on the left side exchanger. I went straight to milling the pipes with a bastard file and drilling out the flange holes. Hideous shrieking of the drill bit occurred while Jeff was on the phone, the turkey got all challenged again, ahh, life on the farm . . . Cleaning the rust off of each exchanger took six hours per side. Someone, some person, some . . . . . one, had undercoated the exchangers but good, thus blocking drain holes, hello, then our good friend Fred The OverSprayer had oversprayed the baked-on undercoating, and these things were a fiend to clean. Late on the second day, the left side exchanger was finally ready for paint, hanging precariously from two folding chairs:
Exhaust valve and port #3, a tad lean:
Exhaust valve and port #4, a tad less lean but still a tad lean:
Did I mention that I scraped/sanded/painted the fresh air pipes that lead from the heater blower hoses to the exchangers?:
Here's midnight on the second day after a second disassembly to double up the gaskets between the damaged exchanger flanges and new old stock new crossover pipe:
So this system is sporting new paint over old rusted flanges and gaskets and is missing four bolt heads on the right u pipe:
From 1:00am to 2:00am I played with a dancing thermostat cable trying to thread it through the eye of a plastic disc way up in the darkness of shadows cast by a hot halogen lamp that blinded me every time I looked to the side. Finally got that squared away and lurched off into the cold night to the Scotty travel trailer, exhausted, filthy, and wondering if this effort to save the exhaust system was all for naught.
In the morning, I happened across this horrendous crime scene, some poor stuffed squirrel in an advanced state of rigor mortis had been savagely mauled and was about to be buried in a shallow grave:
The criminal posed nearby:
I am on the road to Miami and the exhaust system is apparently not too bothered by its boltlessness: